The Correct Way to Braise Meat

Do you struggle to get venison shanks to fall off the bone? Or wonder why a pot roast comes out tender but still dry? Cooking tough cuts from wild game presents many challenges, but with the right knowledge you can transform any hard-working muscle into an amazing meal. The most effective cooking technique to achieve this result is braising.
Braising is a two-step process using dry and wet heat. It seems simple: Sear the meat in a hot pan then gently simmer it in a flavorful liquid until fork-tender. Still, many at-home chefs struggle with braising.
Braising is the cooking method used to create classic recipes like French bourguignon or Italianosso buco. Some of these dishes may seem overwhelming at first, but with a little guidance even the most novice cook can successfully braise wild game. Here are eight steps for getting the perfect braise.
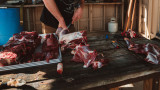
Choose the Right Cut
Tough cutssuch as deer shanks or turkey thighs, are best suited for braising because they have a lot of connective tissue. It can be tempting to trim these gnarly bits away, but don’t do it. Tendons and ligaments are full of collagen, the main protein structure in meat, which dissolves into gelatin when cooked. That gelatin holds onto moisture and imparts a silky texture to the braising liquid. You won’t wind up with much meat if you trim out these cuts anyway, so they’re best cooked low and slow.
Season Early
If you can, season orbrinethe meat up to two days in advance. The salt will inbue the muscle with flavor and help the meat retain juices.
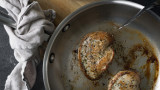
Brown the Meat
The first cooking step is to sear the meat in a Dutch oven (orcast-iron skilletif you’re using a crockpot to cook) over medium-high heat. Leave space in between cuts of meat; this lets the flesh develop a golden crust instead of steaming. Take your time and work in batches if needed. Don’t overlook the importance of this step because it infuses your dish with a richer flavor.
Sauté Aromatics
Remove the meat from the pan and sauté whatever aromatics or herbs your recipe calls for. If you’re working without a recipe, you can’t go wrong with a mirepoix consisting of yellow onion, carrots, and celery.
The next step is to add the liquid to your pot. Deglazing lifts the browned bits from the bottom of the pan, adding color and caramelized flavors.
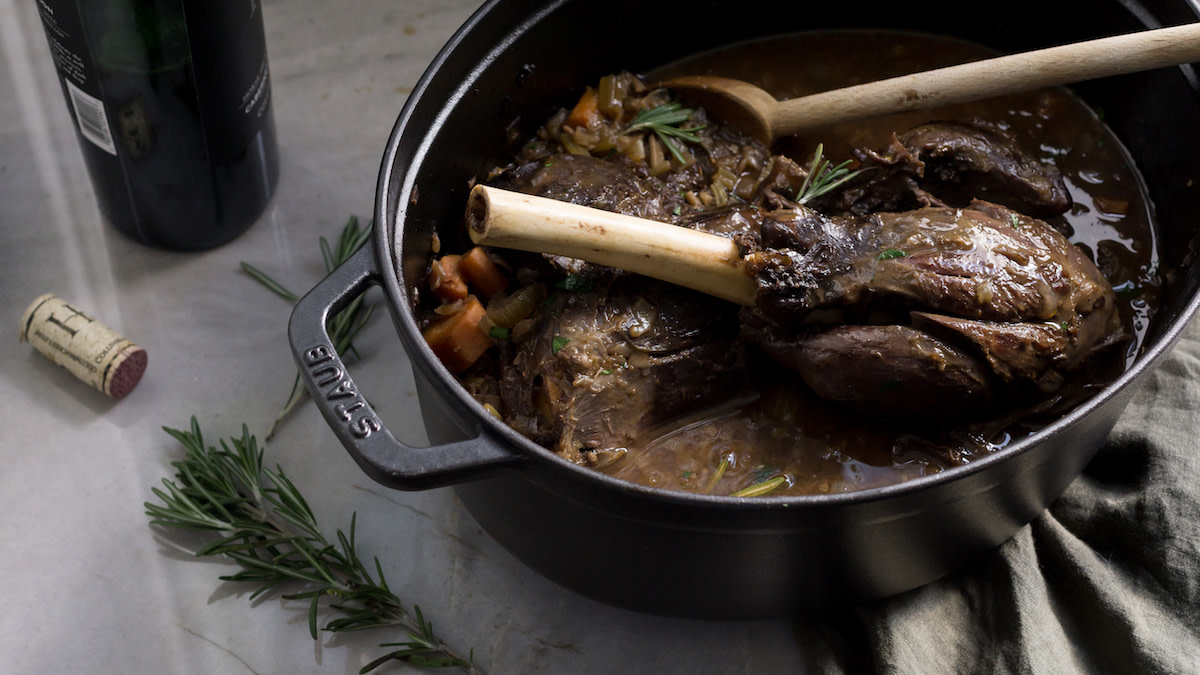
Typically, the braising liquids will includestockand something acidic. You can use wine, tomatoes, beer, or a splash of vinegar. Acid assists in the breakdown of collagen.
If you fill the whole pan or pot, chances are you’ll dilute the flavors and end up with a stew. However, if you don’t add enough, you run the risk of over-concentrating the sauce. A good rule of thumb is to add enough liquid to come one-third or halfway up the meat.
I find that a big, wide Dutch oven does a perfect job of dispersing the liquid evenly, whereas a tall and narrow pot will give you a stew-like consistency. Make sure to use a fitted lid to cover the top.
Low Heat
Set the temperature of your oven between 250 and 300°F for the best results. If cooking a roast, I lean towards the lower end of this temperature scale, whereas gristly cuts stand up better to the higher end.
The key here is gentle heat. You never want to let the liquids reach a boil. It should be a soft simmer where hardly any bubbles reach the surface. Cooking with too much heat will cause moisture to squeeze out of the muscle, resulting in dryness.
Give it Time
With wild game, time investment is crucial. It takes longer totenderizewhen cooking at such low temperatures, but the reward is worth the wait.
One of the best things about braising is that you can walk away and let the magic work. If you need to leave the house, follow the steps above and transfer the ingredients to a crockpot on the lowest setting. Be cautious as some crockpots tend to run pretty hot even on low.
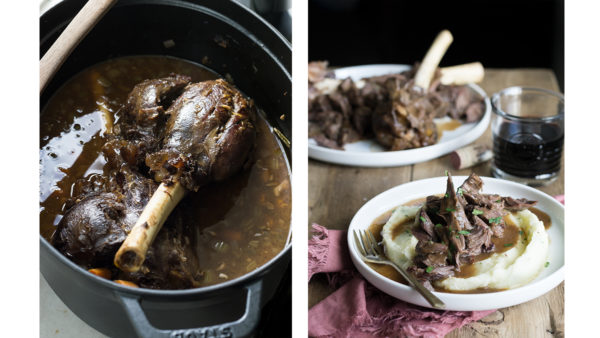
The meat is ready when it begins to fall off the bone or shred apart with a fork.
Rest, Strain, Serve
At this point, the enticing aromas should have you feeling hungry. If you can resist the urge to dig in right away, let the meat rest before serving. Similar toresting a steak, resting a roast drops the internal temp and allows the meat to reabsorb moisture.
You can serve the braise as is with vegetables, but if you find the liquid is a bit bland or thin you can reduce it. You’ll need to strain the solids and reduce the broth separately on a stovetop until it reaches the consistency you desire.
Braising is one of the best ways to cook tough cuts. The most important things to remember is that low heat and slow cooking are the keys to success. Follow these simple rules (along with the other seven steps), and you’ll be able to turn any chunk of tough meat into a tender piece of delicious protein.
Shop
Sign In or Create a Free Account
Related
Cooking Techniques
The Science of Aging Meat

Cooking Techniques
How to Make Carpaccio