How to Vermicompost

Around 22% of household garbage in the US is organic food waste, and another 13% is yard waste like leaves and grass clippings. That means that a third of the material being lugged around our neighborhoods by giant trucks and piled up in steaming mountains of refuse could be easily recirculated into our gardens and farmland. If you’re thinking, “Yea, thanks for the guilt trip Jordan, but I live in an apartment,” my answer is vermicomposting.
My wife Silvan and I have kept a vermicompost (aka worm compost) bin somewhere in almost every home we’ve lived in, from closets of tiny apartments to the basement of our current house. We do have a fulltwo-bin compost system in our gardennow, but we happen to live in Pittsburgh, where running kitchen scraps up the hill to our compost pile is a very unpleasant activity in thefrigid winters. Compost worms are voracious critters and they convert our food scraps to beautiful nutrient-rich worm castings. We use our worm castings to fertilize our gardens, fruit trees, and houseplants. Read on to learn how you can set up your very own vermicompost system at home.
Materials
While there are premade vermicompost bins available online they’re often expensive and—in my opinion—overengineered. Our preferred bin setup is two large lidded plastic storage bins stacked one inside of the other. The inner bin is where the worms will live, so you’ll need to drill a series of small drainage holes in the bottom of the bin and air holes in the top. The drainage holes will allow any excess liquid that builds up in the compost to drain into the second bin. This way it doesn’t drown your worms or make a mess of your floor. The air holes at the top of the bin will provide oxygen for your worms.
The next item you’ll need is some worm “bedding.” This is another item that can be purchased online, but I recommend making your own. You’ll probably be shocked to hear that worms are not very picky about where they live. As long as the bedding is some kind of dry organic material like dry leaves, straw, or even shredded paper, they’ll be happy. Keep in mind that they will break down the bedding over time, so you’ll need to replenish it periodically.
Finally, you’ll need some kind of grit to aid the worms in digesting their food. Similar to birds, worms have a crop that agitates the food they ingest to break it down before it enters their stomach. Some kind of gritty material like sand or cornmeal will help the worms digest your food scraps more efficiently and speed up the turnaround time from food scraps to compost.
Acquiring Worms
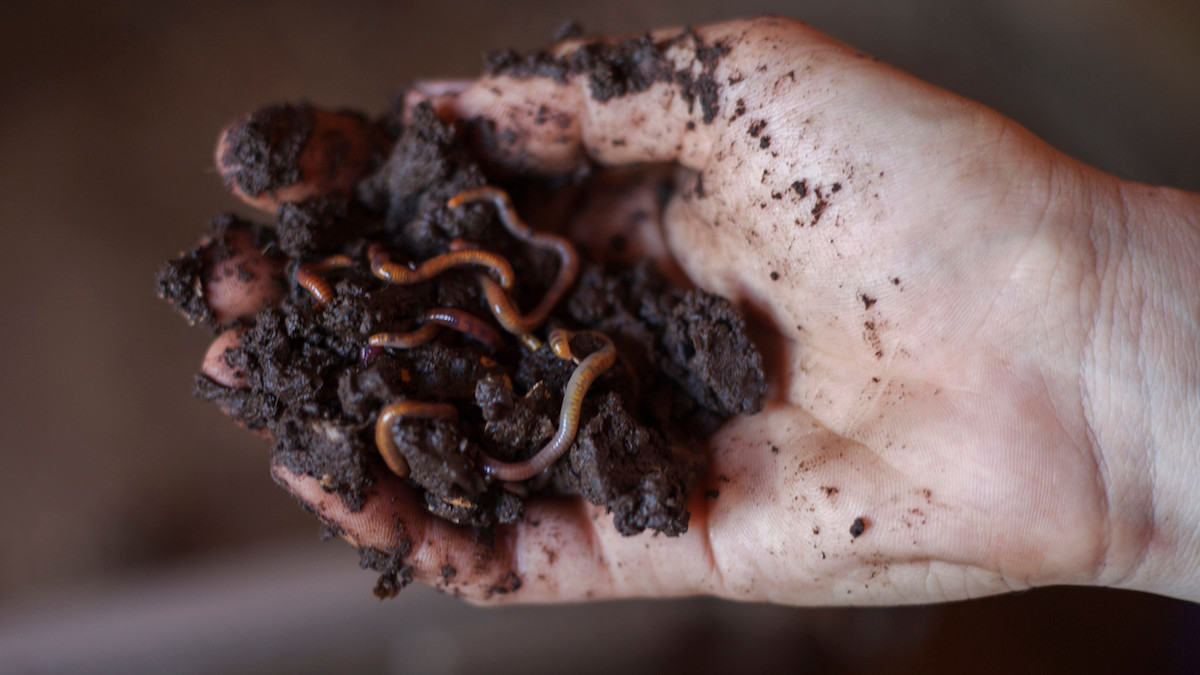
When it comes to acquiring your new pet worms, you might be tempted to go dig some up in your garden or run down to the local bait shop, but these are not the type of worms you want. The best species of worm for a vermicompost system are red wigglers (Eisenia fetida). Red wigglers are ravenous and are extremely efficient at reproducing in the conditions provided by a compost system.
These worms can be initiallypurchased online, and then they’ll continue to reproduce indefinitely as long as they are kept healthy. We purchased the worms for our bin 7 years ago, and we haven’t had to replenish it with new worms once. Alternatively, if you have a friend with a vermicompost system, ask them if they would be willing to share a handful of worms with you to get your bin going.
Feeding your Worms
When you first start your vermicompost bin be careful not to overwhelm your worms with food. I recommend starting with about a 1-to-1 ratio of food to worms and don’t add more food until they have mostly eaten through the initial feeding. The worms will multiply exponentially if they are fed consistently and provided proper bedding, so before you know it they’ll be able to handle as much food as you can provide them. Though there are a few food items to avoid feeding them.
Your worms will do best in a bin with a neutral pH, so extremely acidic fruits like citrus should be left out to avoid throwing off the balance. Cookedfood with a lot of fat, meat, or saltis also not something I’d recommend adding to your worm bin. Outside of that, your worms will pretty much eat any organic material. One thing we do to help them process their food more quickly is pulverizing our kitchen scraps in a blender with a little bit of water before adding it to our worm bin.
Using your Worm Castings
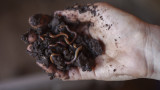
After a few months of feeding your worm bin will begin to develop a deep layer of “the black gold” or worm castings. This compost is rich in nutrients, organic matter, and its structure is excellent for holding onto nutrients in the soil and preventing them from running off. In order to remove our worm castings without taking half of the worms with it, we begin adding all of the food scraps to one side of the bin a couple weeks before harvesting the worm castings from the other side of the bin. Most of the worms will migrate to the side of the bin where the food is, leaving the other side relatively worm-free.
We like to add our worm castings to our houseplants, vegetable starts, andraised garden beds. As you’ll soon see, plants thrive in soil enriched with worm castings. Composting also provides you with the peace of mind that you produced your very ownsoil amendmentand as a bonus, your garbage can is probably a lot lighter and less smelly!
Shop


Sign In or Create a Free Account
Related

Gardening
How to Compost at Home
Homesteading
How to Turn Bird Manure into Garden Fertilizer