How to Compost at Home

When I first became interested in composting, I was uninterested in learning how to do things correctly and more interested in just doing them. I grabbed an old 5-gallon bucket with a lid, dumped all of my kitchen scraps and garden waste in it, and put the lid on top. A month later, I opened the lid and was smacked in the face with a stench so thick I could almost taste it. At the bottom of the bucket was an oozing black soup that looked more like dirty motor oil than the rich soil I was expecting. I proceeded to dump the bubbling concoction in the woods and decided that I wasn’t cut out for composting.
In the years since, I’ve developed more gardening skills and, perhaps more importantly, the patience to learn how to do things correctly. Composting is actually pretty simple, and we now generate enough compost on our homestead to regularly replenish all of our garden beds with nutrient-rich organic matter.
If you’re new to composting or traumatized from creating a bucket of stinky muck, I want to help you understand a few simple home composting methods that will give you the confidence to start a successful pile this year.
Plants thrive in soil with added compost because the high levels of organic matter increase natural water and nutrient retention levels. The addition of compost will take your garden’s growth to the next level. Composting is also good for the planet because it helps reduce greenhouse gas emissions that contribute to climate change. When vegetable scraps, grass clippings, and even paper products are sent to landfills, they break down in an oxygen-free environment (like my 5-gallon bucket). When piled high and left to rot, the bacteria that break them down emit methane, a powerful greenhouse gas. However, when these same materials break down in an oxygen-rich environment like a compost pile, the bacteria and fungi that break them down emit trace amounts of carbon dioxide, which is far less powerful a greenhouse gas than methane.
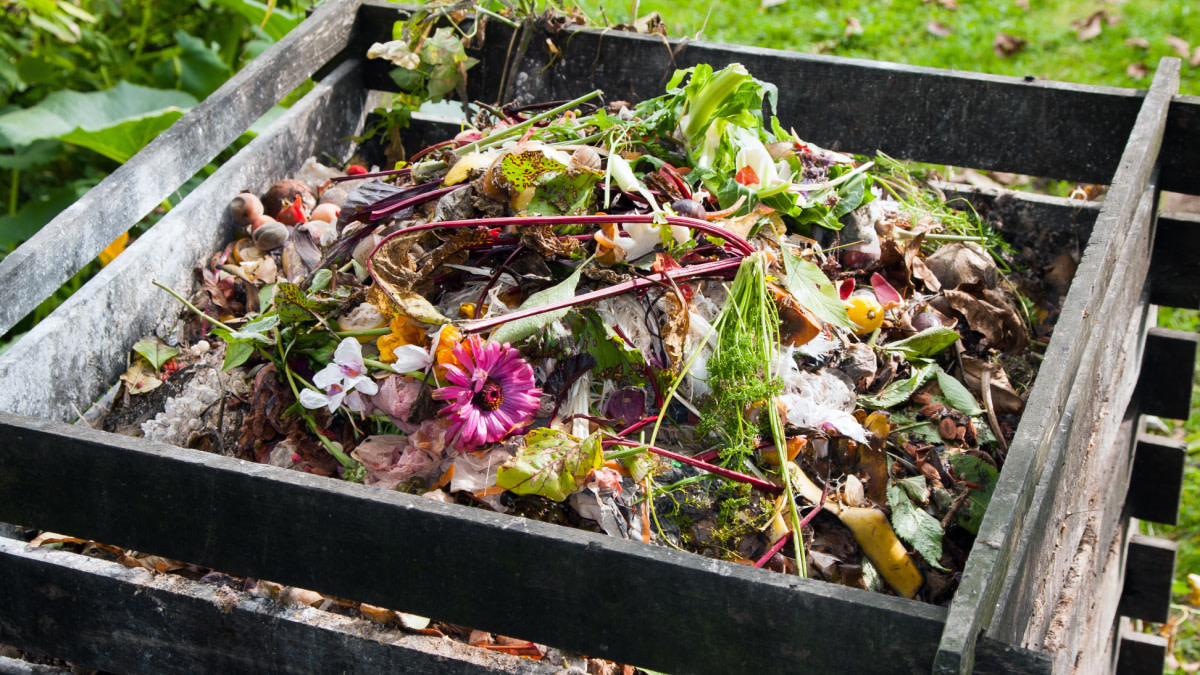
How to Cold CompostCold composting, sometimes called “no rules composting,” is generally the easiest method for home gardeners because you can slowly add materials to the pile over time as they come out of your garden. Choose a spot to begin your pile and, every time you add vegetable scraps or grass clippings, try to add a layer of leaves, straw, or other dry brown plant material as well.
After several months or even up to a year, the bottom of the pile will begin to look like usable compost at which point you can dig that out to use in your garden, leaving the rest of the pile to continue breaking down.
Keep in mind that any seeds that enter your cold compost pile from fruits, vegetables, or weeds will still be viable when the compost is ready. So be careful about where you use the finished compost to prevent spreading weed seeds in your garden beds, or avoid adding any seeds to your compost pile in the first place.
How to Hot CompostHot composting is the most common method used by commercial growers and more advanced home gardeners because it produces usable compost in the shortest amount of time. Additionally, the heat generated during the process kills weed seeds and plant diseases.
Hot composting places all inputs into a pile at once rather than periodically over time. To start a hot compost pile you want to mix a 1 to 1 ratio of dry brown plant material like dead leaves, straw, or even paper with fresh green plant material like grass clippings or vegetable scraps. Layer them in a pile at least 3 feet by 3 feet.
The brown material is often referred to as “carbon” and the green material is often referred to as “nitrogen,” even though both elements are present in each of the materials (just in different amounts). With a 1 to 1 ratio of green to brown you create the perfect environment for microorganisms that will decompose plant material and release compost and heat in the process. These piles can heat up to 160°F when the microbes are active.
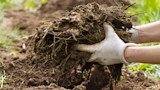
To keep track of the activity, you can either use a compost thermometer or simply stick your hand into the center of the pile at least once a week. If it feels hot, let it continue. When it starts to cool off, turn the pile with a pitch fork or shovel to reintroduce oxygen and get it heated back up.
The turnaround time from plant material to usable compost with these piles can be as short as a month if they are watered and turned regularly.
How to VermicompostVermicomposting is not the best option for a large-scale operations, but when my wife and I were stuck in a small apartment for a year when we moved to a new city, we were able to continue composting our kitchen scraps by feeding them to worms which lived in a large plastic tub in our closet.
The worms typically used for vermicomposting are called red wigglers or compost worms and they have a much more voracious appetite than the earth worms found in most gardens. You can order them online and as long as you keep feeding them, you can grow out your own colony indefinitely. Although we have a large compost operation in our garden now, we have continued to upkeep our vermicompost bin in our basement for six years.
An easy way to set up a vermicompost system is with two lidded plastic containers of the same size. Drill or punch small holes in the side and bottom of one so that oxygen gets in and liquid can drain; this will be where the worms live. Place it inside the second container to catch any liquid and keep a lid on it unless adding food scraps. If it starts to get too moist and the worms start climbing the sides of the bin, add a layer of dry material like shredded paper or straw. There are also many premade vermicompost bins available online.
The turnaround time to complete compost with vermicomposting is relatively short, but if you throw your plant material in a blender before feeding it to your worms it can be as short as a couple weeks.
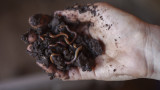
One important principle to remember for all types of composting is that compost is a living organism which requires oxygen and water to thrive. If you live in a particularly dry area, you will likely need to water your compost pile as often as you water your garden in order to keep it active. You should think of your compost operation as being somewhere between a houseplant and a goldfish on the neediness scale. Once you get in the groove, composting becomes second nature. Before you know it, you’ll be putting your hands in some homemade black gold and feeling like you did when you picked your first home-grown tomato.
Feature image via Wiki Commons.
Shop


Sign In or Create a Free Account
Related
Gardening
How to Vermicompost
Gardening
How to Make Organic Fertilizer at Home
