
When theBoy Scouts of Americawas founded in 1910, there were 57 attainable merit badges. The first one of the group to be dropped, due to lack of interest, was thetaxidermybadge in 1952.
Although millions of scouts worked through the seven ranks during that time, only about 10,000 ever acquired the not-so-coveted taxidermy badge. This spoke volumes to America’s lack of interest in stuffed animals, which was mostly thanks to the industry’s horizontal movement for decades.
Then, in the 1970s, a revival was born when the National Taxidermy Association was formed. Technological advances made at-home taxidermy more attainable, which ignited national competitions, dedicated magazines and devoted schools. Suddenly, taxidermy wasn’t just for museums.
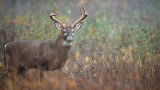
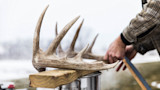
Today, hunters create their own museums with skulls and rugs to commemorate the animals and memories of the hunt. Those of us who plan on getting a full shoulder mount usually rely on a professional to create the final masterpiece. However, a hunter’s responsibility for the end product is more than just pulling the trigger.
“On average, each year I have to come up with replacement capes for half of my customers,” said Matt Gonsor, owner ofRiver Valley Taxidermyin Baltic, S.D.
This frustrating truth stems from avoidable mistakes that a lot of hunters make after a successful shot. Bringing in a damaged cape is a downer for your taxidermist and your wallet. Here are a few rules to keep in mind.
Protect the Cape
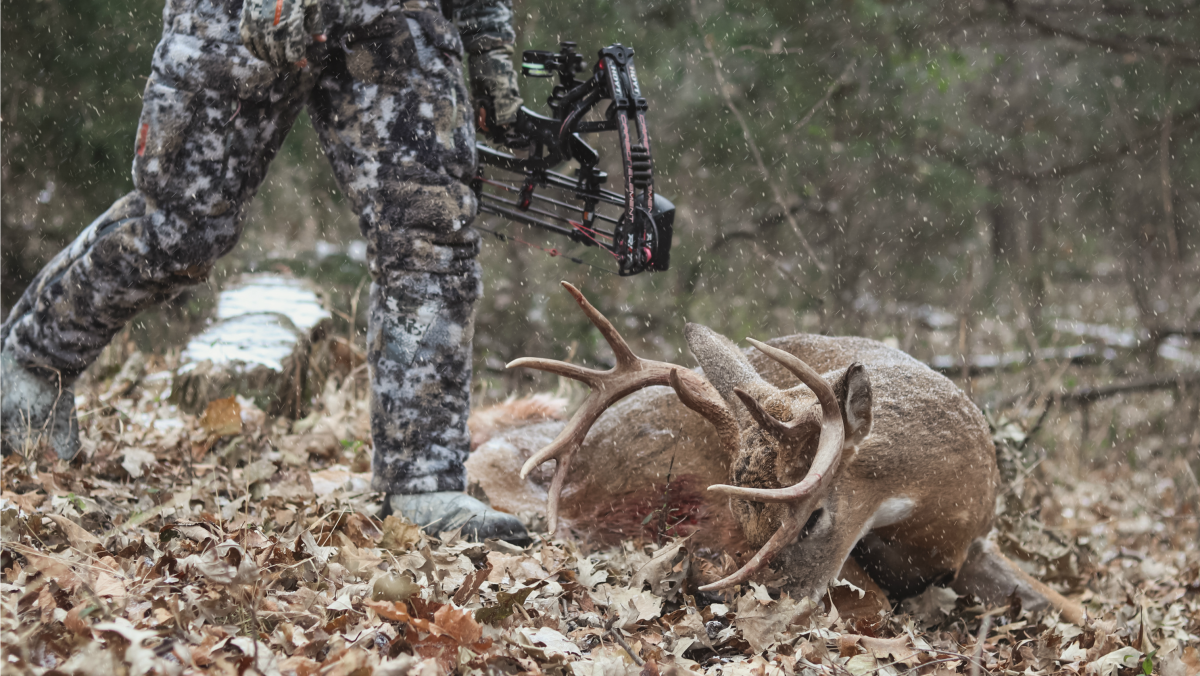
Getting your Booner from field to truck just so happens to be one of the best times to ruin a hide.
Never drag your deer by its back legs, which causes large amounts of friction between the ground and the deer’s cape. Drag the buck by its antlers or front legs instead, as dragging a deer “with the grain” of its fur is not only easier in the long run, but it also helps keep the deer’s shoulders, neck and head—the parts used to create a shoulder mount—off the ground.
When it comes to butchering your buck, never hang it by its neck. The stress of the rope on the deer’s hair and hide can cause irreversible damage. Hang it by its back legs instead, but don’t cut the throat to bleed the deer out.
“A good taxidermist can fix a deer that’s been headshot, but not even the best taxidermist can’t use a cape with a 10-inch cut in its throat,” said Josh Neuharth, owner ofWestern Wildlife Creationsin Menno, S.D.
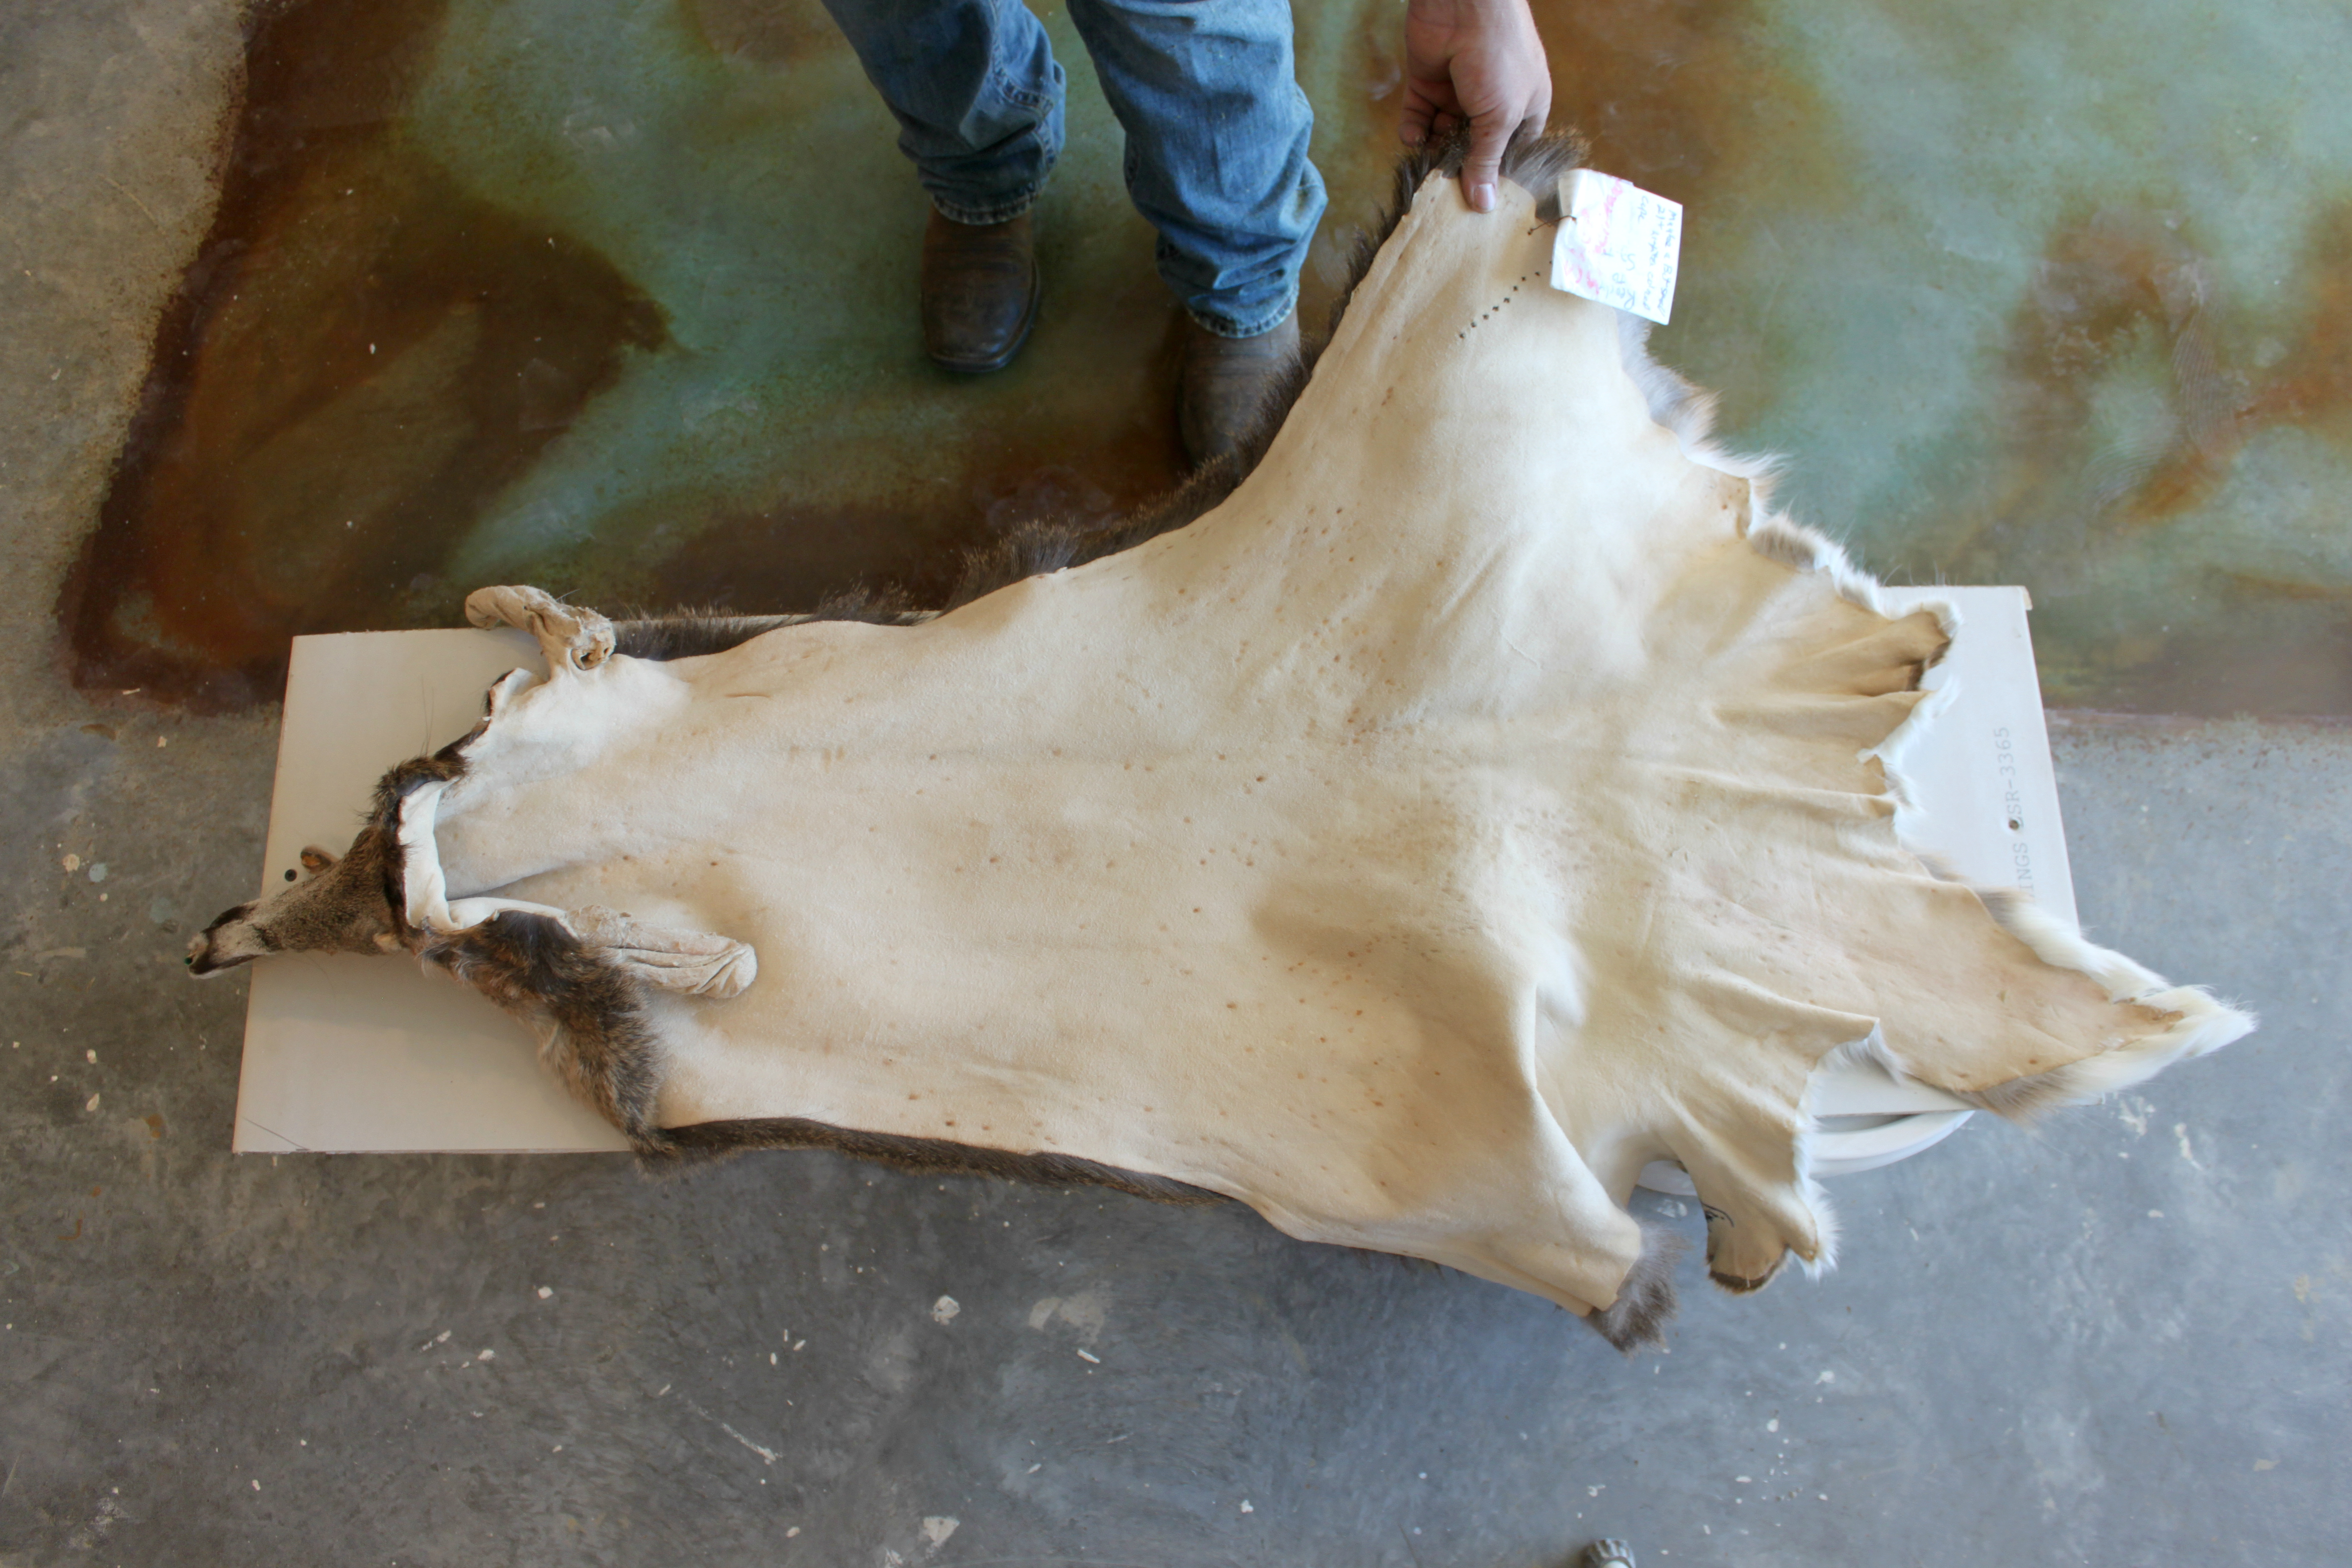
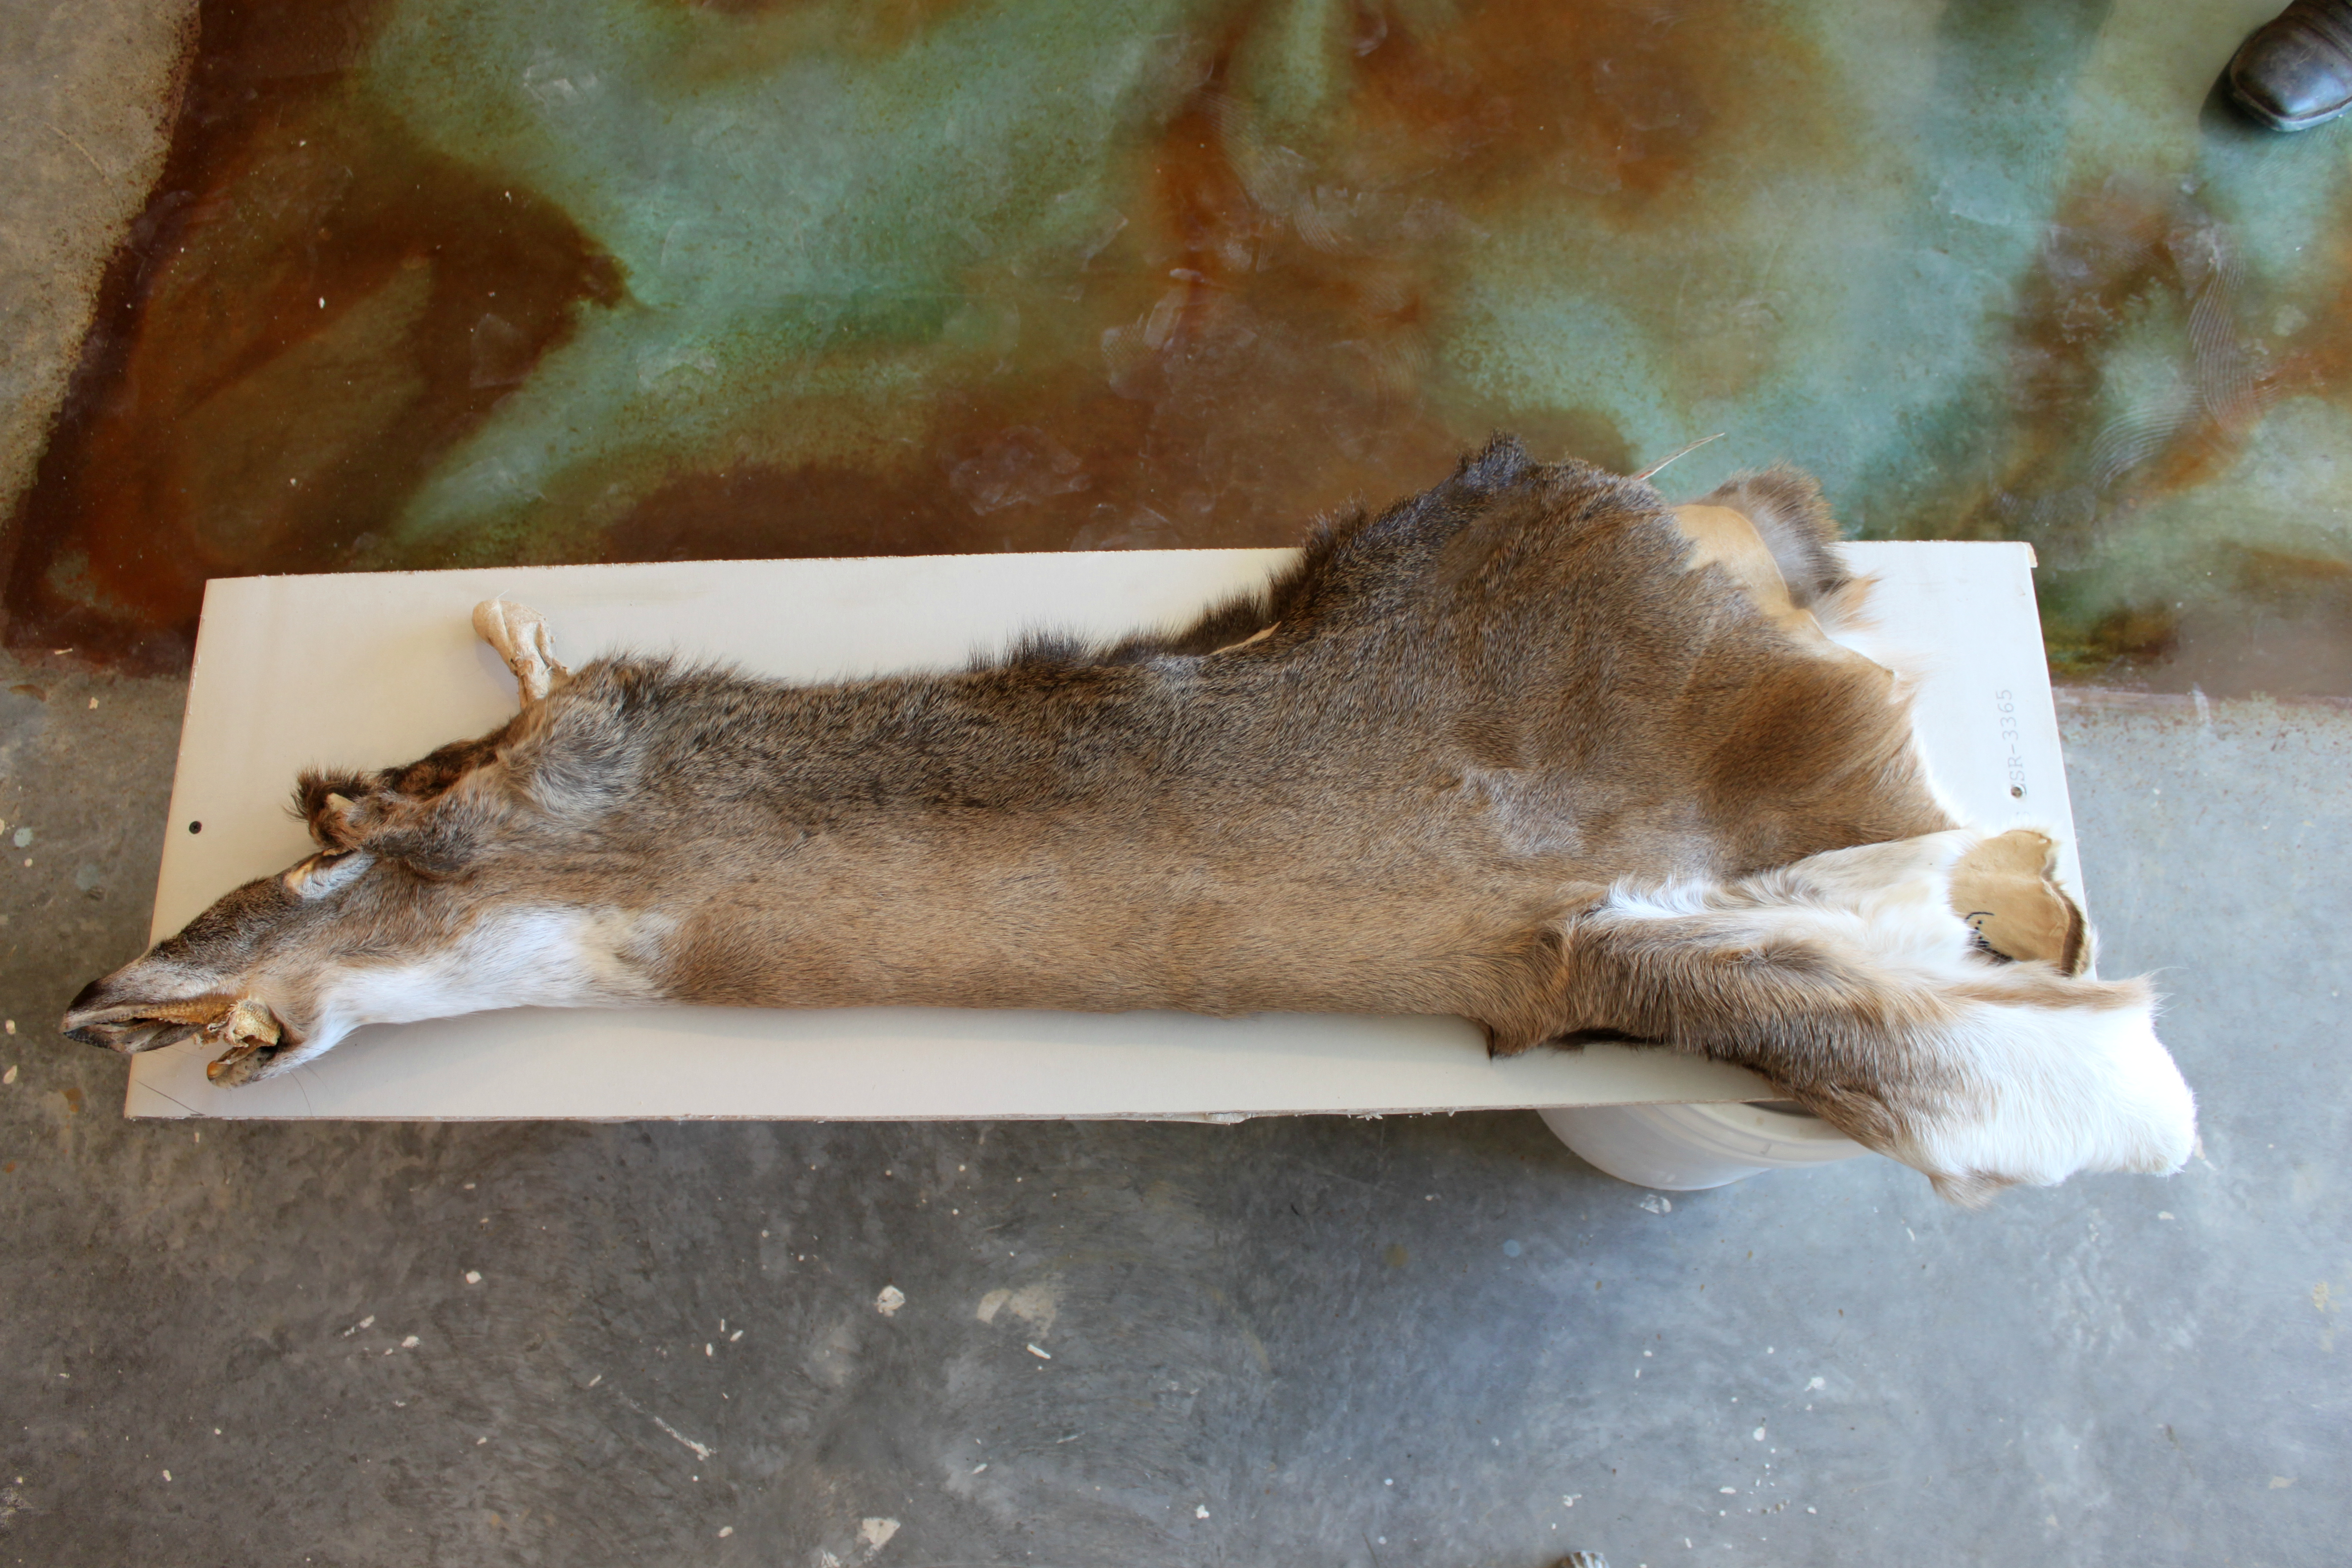
Another issue that taxidermists often see is when hunters make cuts from the wrong side of the hide. If you’re caping out an animal, always make your slices from the inside out. This is good for your mount, and good for your meat.
Don’t go through all the work of skinning your buck to only realize that you didn’t leave enough skin around the brisket, either. It’s an issue that plagues many hunters.
“The most common problem I encounter is people not leaving enough cape on their deer,” Gonsor told me. “My rule of thumb is to start skinning from the middle of the belly and tube skin up as far as you can before cutting off the head.”
A common misconception is that you should salt the hide if you’re not immediately taking it to the taxidermist. Salting is useful on remote hunts to deter bacterial growth, but prolonged exposure to salt dries out the cape and causes issues for fleshing.
If you do salt the hide, make sure you communicate that to your taxidermist. Otherwise you risk having it ruined while in storage.
Instead, make sure you get your cape in a freezer or cooler. If it ends up in a cooler, absolutely don’t let it come in contact with ice or water.
“Melting ice inside a cooler on a hot day is a breeding ground for bacteria, which can cause hair-slippage with the cape,” Neuharth said. “Keeping your hide cold is a must, but don’t screw it up by letting it get wet.”
When going in a freezer, it’s crucial that you don’t let the cape sit in a wrinkled position. This will be noticeable later when it comes time to thaw it. Although the freezer is there to protect the hide, it can also damage it.
If you freeze it with skin touching hair, this can cause hair loss. You can also damage delicate parts of the deer, like the nose and ears, if they become freezer burned. To prevent this, there’s a three-step folding method that taxidermists like to use.
Fold 1 (skin to skin): Fold the cape the short way.
Fold 2 (hair to hair): Fold the cape the long way, with the head extending beyond the brisket.
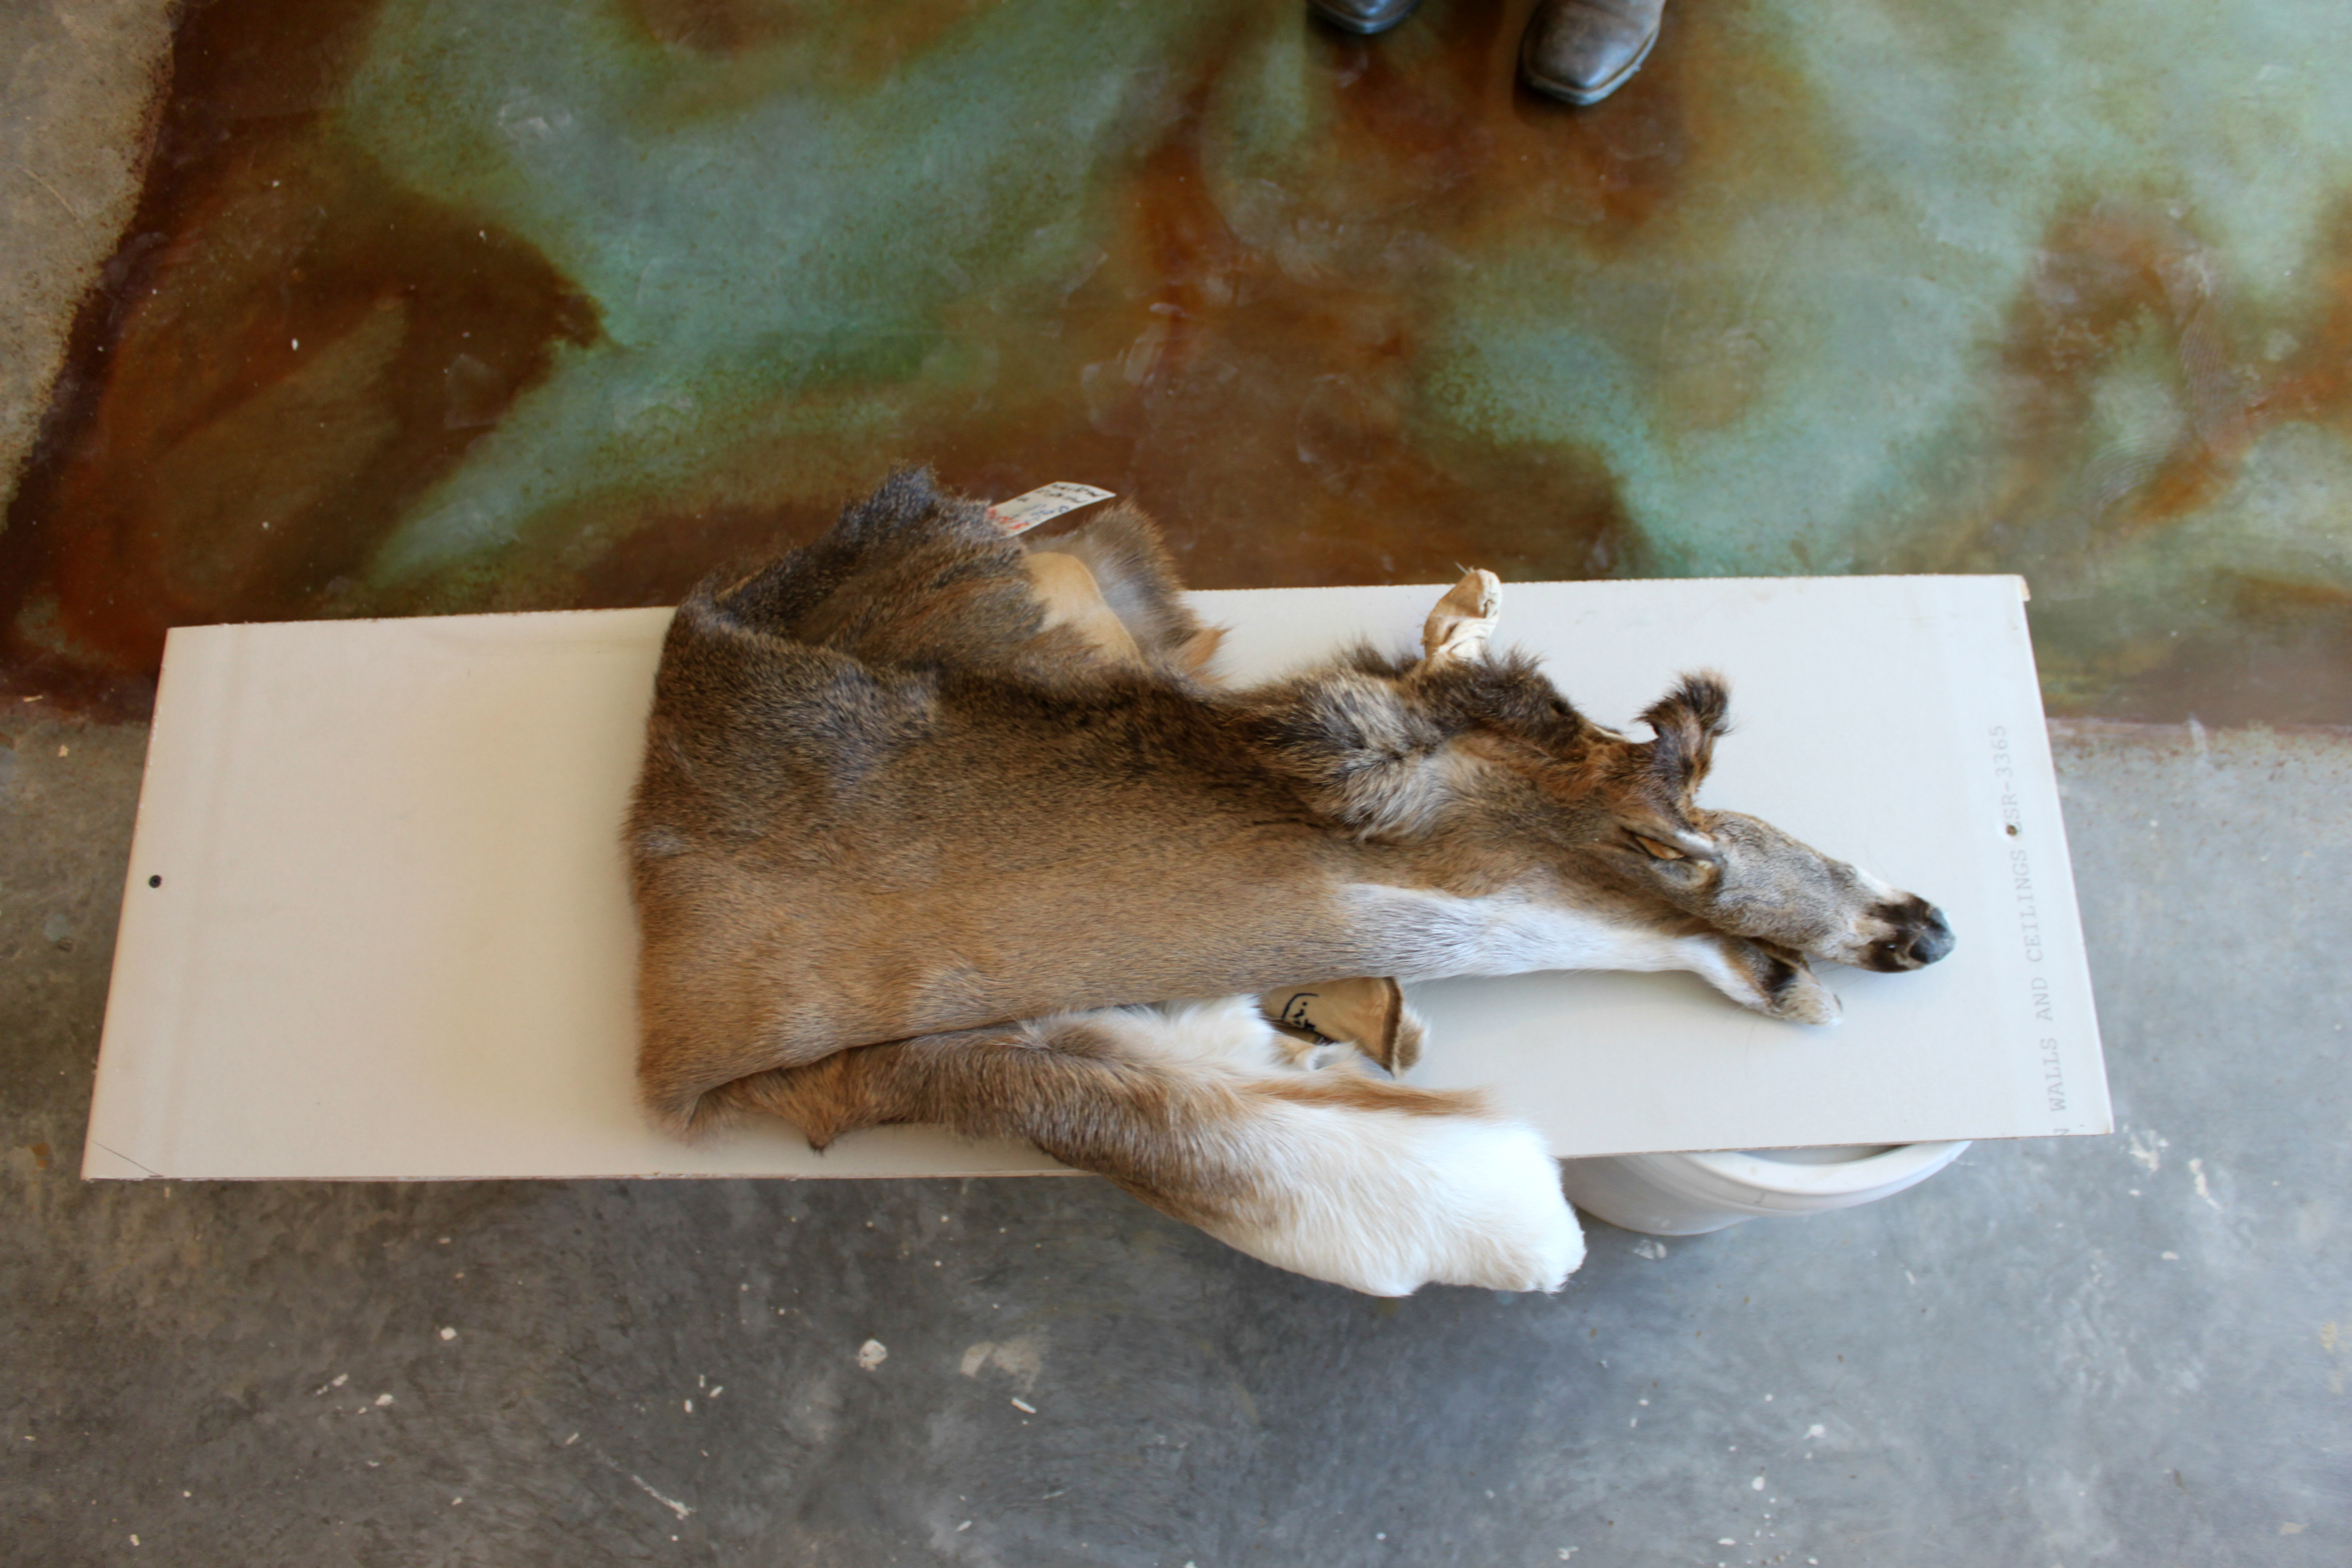
Fold 3 (hair to hair): Fold the head back the opposite direction and tuck the nose under.
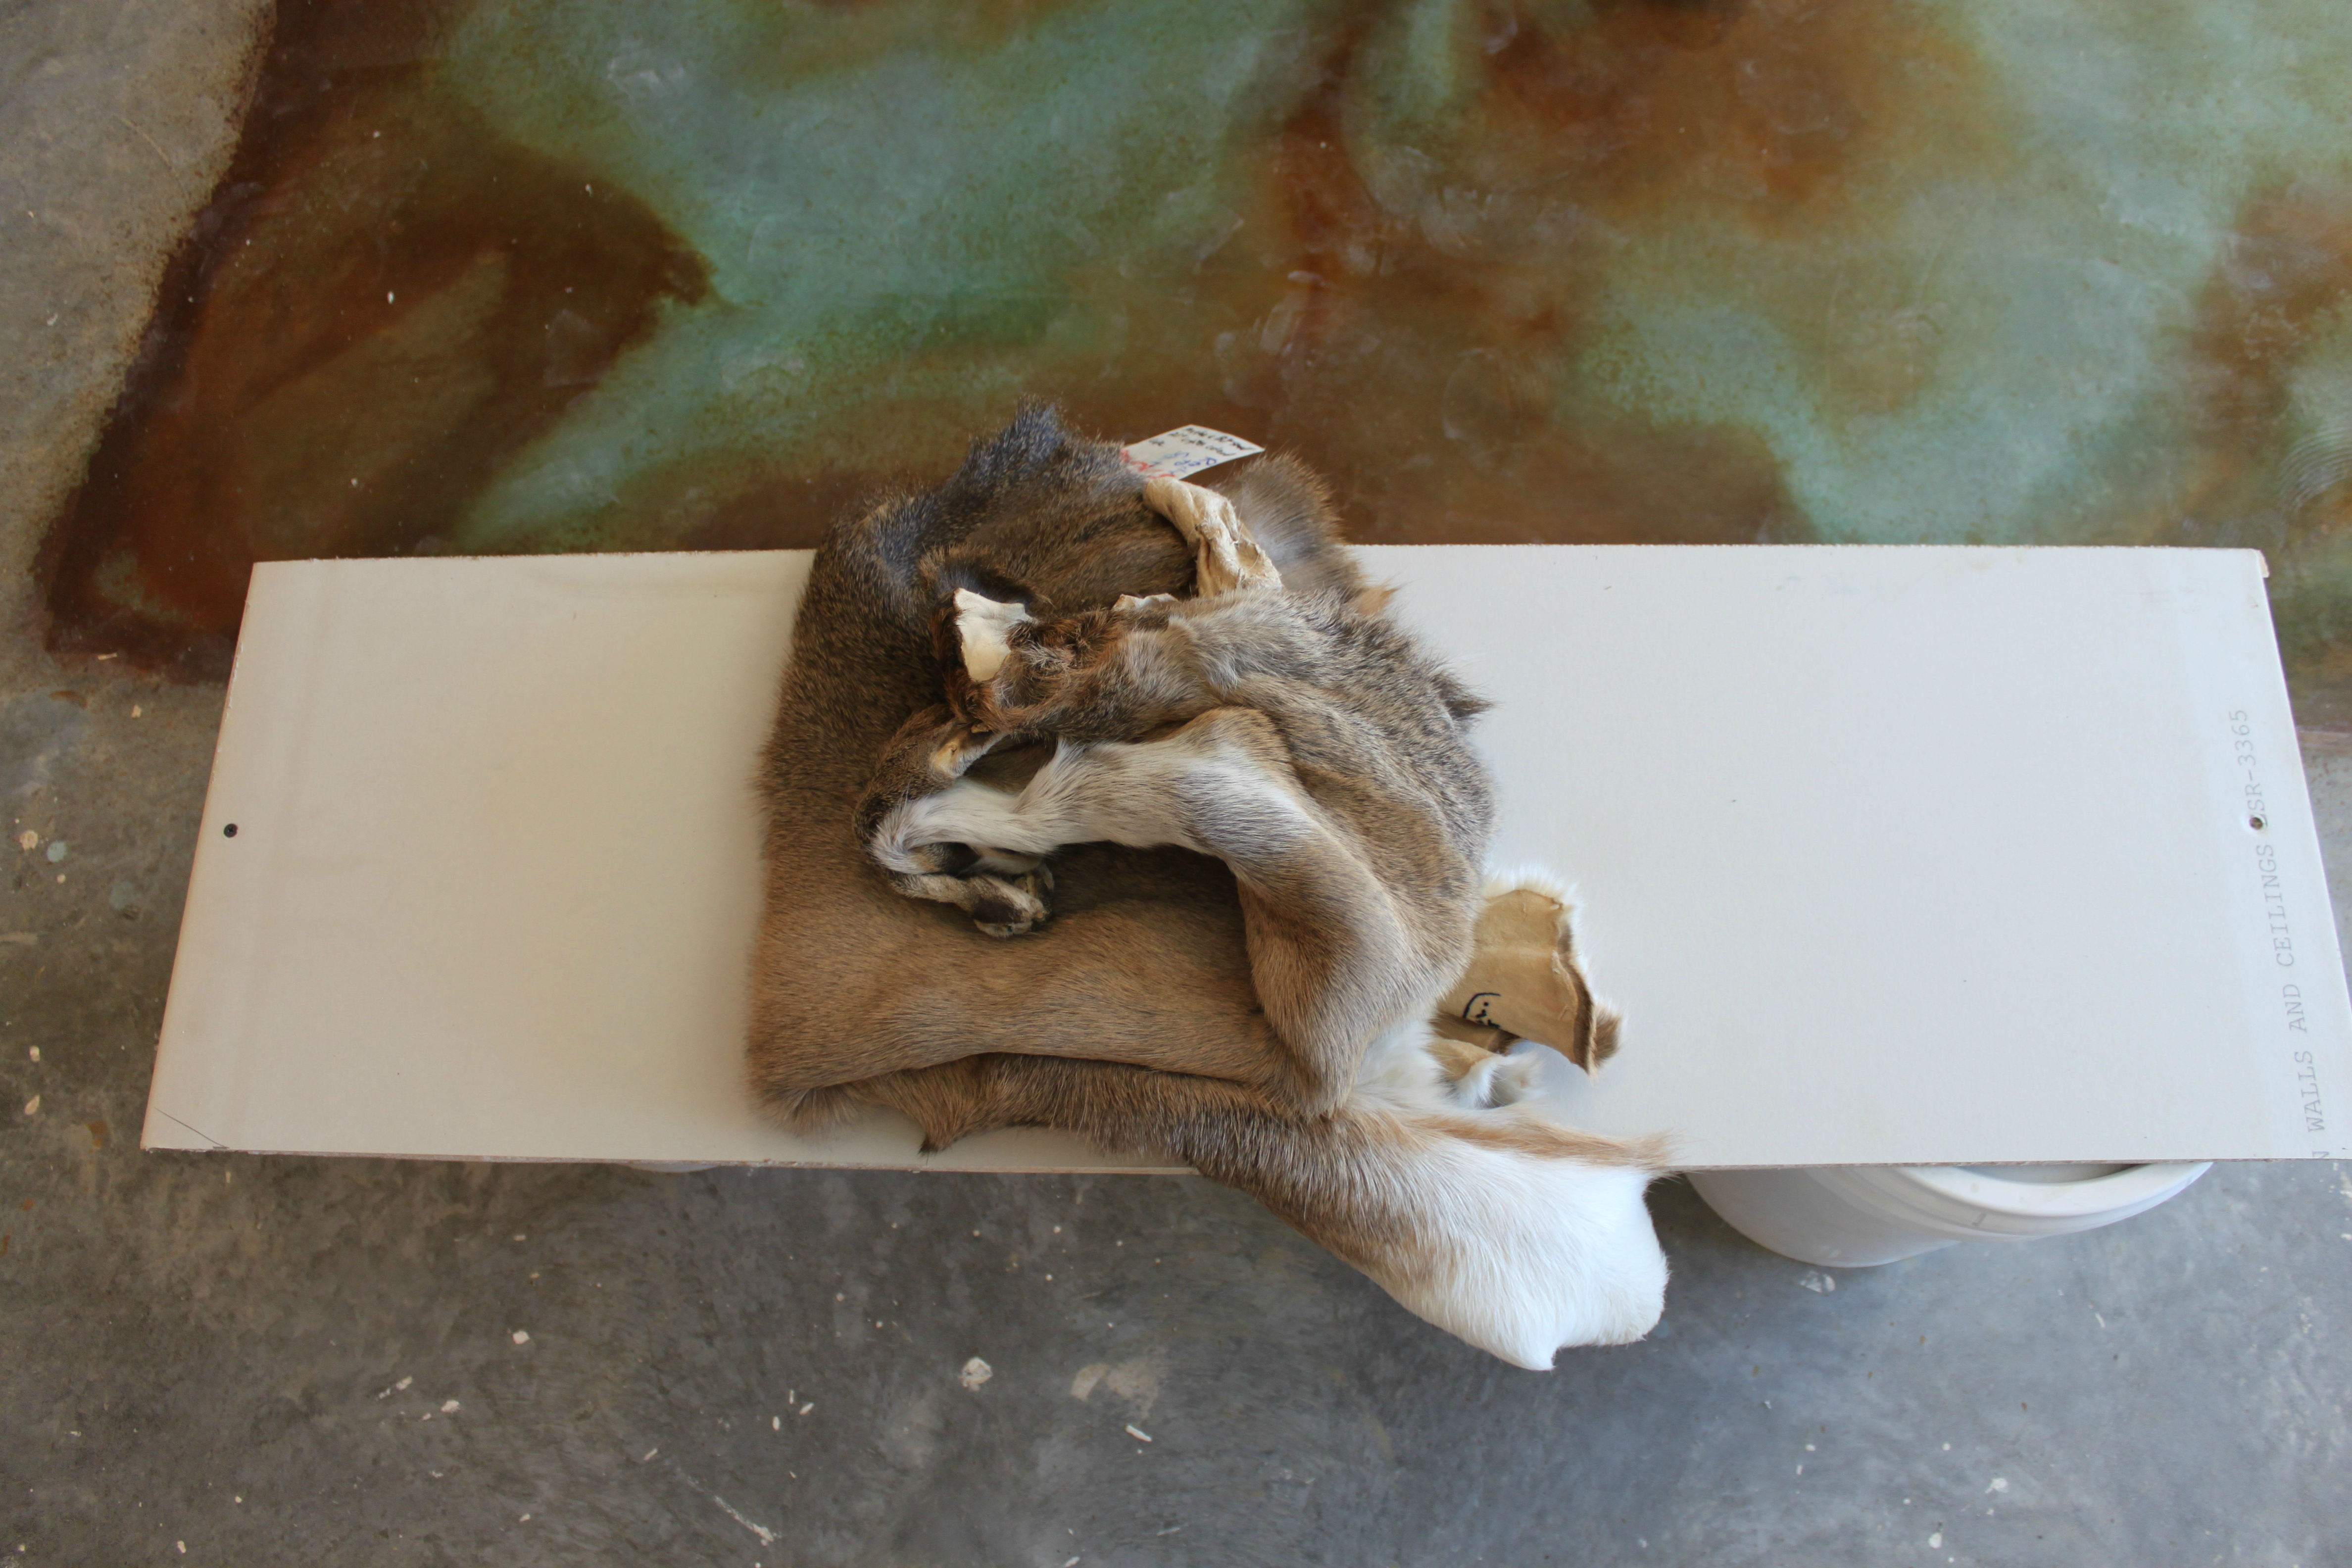
If you take this approach, wrap it in garbage bags and place in a spot where it can sit flat. Don’t stack other items on top of the cape, either.
Maybe most importantly when it comes to helping out your taxidermist is to stop what you’re doing if you’re not confident.
Both Gonsor and Neuharth stressed that the best option is to always get your deer to the taxidermist as quickly as possible. Let their surgical hands do the job, rather than your clumsy, excited ones.
Shop
Sign In or Create a Free Account
Related
Hunting
Ask MeatEater: How Do You Make a Skull Mount?

Manage
Why Do We Put Dead Animals on Our Walls?