
Planning your first hunt out West? You’re going to need to do some scouting. For many of us, getting boots on the ground before hunting season is simply not an option, so we turn toonX Mapsto e-scout from home. Here is what you need to know to make the best of your pre-trip research.
Maps and Layers
OnX Maps has created an app that allows you to turn your phone into a GPS. It’s a game-changing platform based on a dynamic mapping system that includestopographic, satellite, and hybrid options. The satellite view, which is very similar to Google maps, gives you a bird’s-eye look at the country you’d like to explore. Use this function to identify heavily timbered areas or open areas like meadows, clear cuts, and avalanche shoots.
The topo map should be used when you want to understand the severity of the terrain. The overlaid topo lines show the steepness of slopes, along with ridges, valleys, and peaks. Switch to the hybrid map to get topo lines overlaid onto the satellite image and you can begin to identify high points for glassing. The topo allows you to see elevation, while the aerial view gives you a good idea of terrain features like field edges and water sources.
There’s an endless world to explore within the app with over 420 layers available for all 50 states. These layers include game management units, public land, private land, block management areas, and even historic burns.
Take some time to look through the layer library and choose the layers most pertinent to your hunt. Out West you will find that knowing the boundaries for specific units, and the borders of private and public land are of utmost importance. Don’t overlook the historic burn layer, either. While a burn may look desolate and void of life, fire allows for new growth and these burns can be hot spots for elk and deer.
Picking Terrain
Now that you have a basic understanding of the maps and layers that are offered, it’s time to start looking at terrain. Studying the terrain will help you get an idea of where to start your hunt.
This will change depending on season and game pursuits. Some things that stay consistent throughout all seasons and species are access to food, water, and safe bedding areas. Finding terrain that offers all of this in relatively close proximity will put you in a position to find your game.
For example, when I am looking for early season mule deer bucks in the high country, I search for high mountain bowls. These areas can be found at the top of drainages at a high elevation where the lower basin gives way to steep mountainsides.
Bigmule deer bucksspend the summers and early seasons in these alpine bowls. They offer water in the bottom, lush food sources growing in the open avalanche shoots, and bedding areas beneath the rimrock on steep slopes. These bowls usually do not offer easy access for hunters and make for a challenging yet rewarding hunt.
Access Points
You’re familiar with the maps and dialed in the terrain, so now it’s time to find out how to access it. Most of the time it is easy to find an access point, although you should spend time studying the area to make sure it is a viable option for your hunt.
Access points can be limiting factors for many reasons. Roads and trailheads can be inundated by other hunters. The terrain you find could be miles from the closest access point or a prime piece of terrain can be sitting dead center in the middle of two road systems.
You need to weigh your options when looking at access points and make sure you have several options plotted on your map before you leave for your hunt. More often than not, easy access points will land you in the midst of other hunters and possibly an area where game has been pushed out. On the contrary, a 10-mile hike over three ridges may lead you to a valley that’s an elk paradise, but it will put you in a bad situation when it comes to the pack out.
When I look for an access point, I consider areas that may be less appealing to other hunters, but still allow me to hunt confidently knowing I can get the animal back to the truck. This has often led me to park at a heavily trafficked trailhead and break my own trail to other prime terrain.
For example, whilehunting elkin Idaho on public land, I located a pristine bowl with a road and trail that lead right to it. This was a spot I knew other hunters had seen on the map. Knowing this is an area that holds elk but would also be frequented by hunters, I looked for different terrain that could be accessed from the same spot.
Using my maps, I identified a smaller basin, which offered great food, water, and an open ridge top for bedding. With my bivy gear and extra calories in my pack, I set off. The next day—six miles from the truck—my pack was heavy with hindquarters from a bull. I e-scouted, weighed my options, put in the extra work, and came home successful.
Unless you have unlimited time to scout these areas on foot, you need to be using onX to help you do the job. By following these guidelines, you will ensure that your hunt goes off without a hitch. These tools give you the ability to gather the intel you need to be successful.
Just remember to study your access points, what terrain you will encounter, and find the best overall habitat. The only thing left to do is lace up your boots and go hunt.
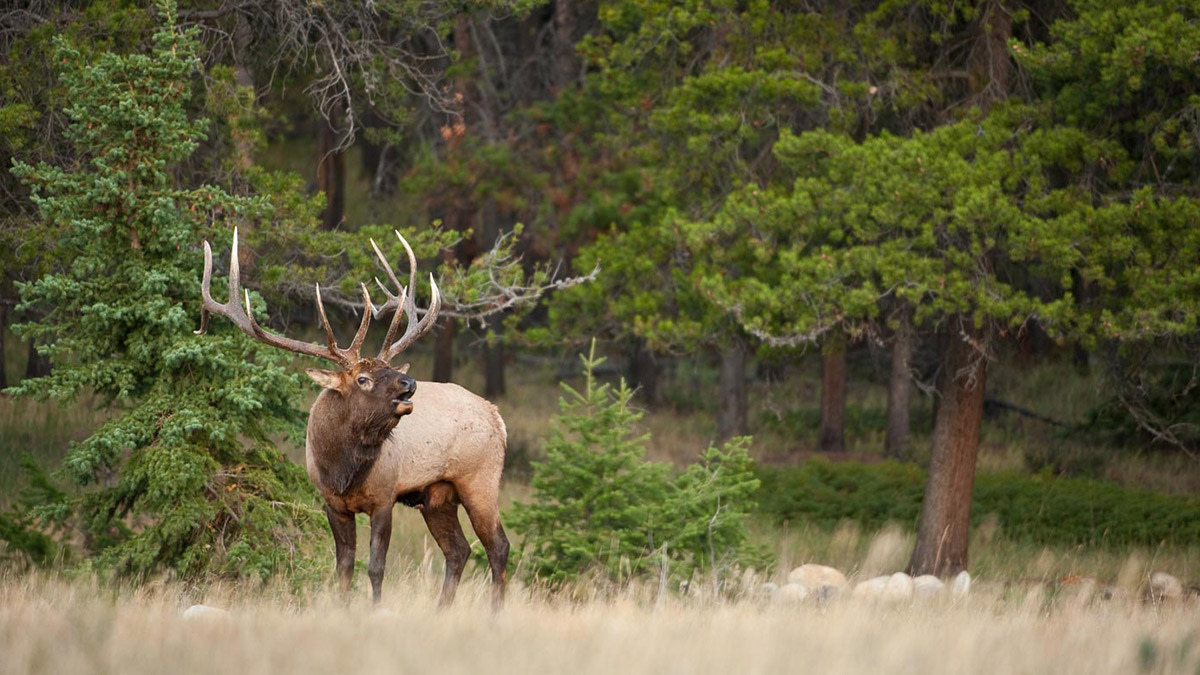
Feature image via Tony Bynum.
Shop
Sign In or Create a Free Account
Related

Scout
How to Improve Your Whitetail E-Scouting

Big Game
E-Scouting Basics: How to Plan Your First Western Hunt