Photos: How to Make a Pheasant Tail Mount
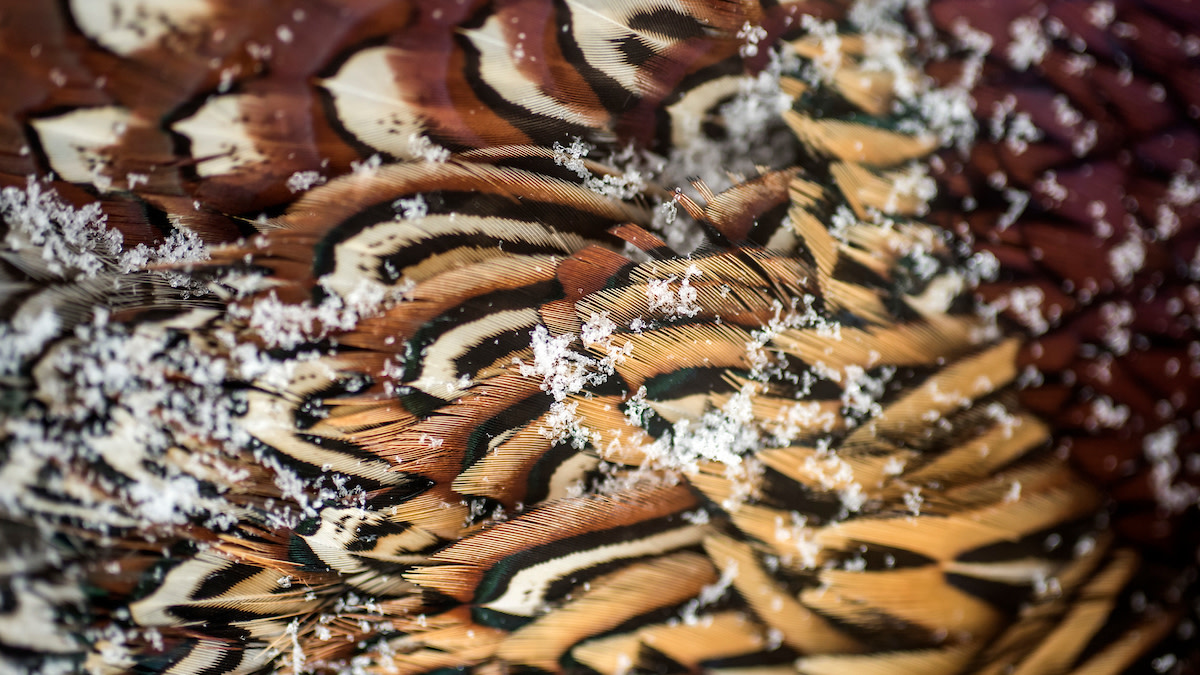

Rooster ring-necked pheasantsare the most beautiful upland game bird. You can’t change my mind.
I’m likely biased because I’m a native South Dakotan who’s been lucky enough to chase these birds for over three decades. But even after all these years, I’m still in awe every time I pick one up. The colors, patterns, and sheer splendor found on a mature rooster make each a trophy in its own right.
That said, when it comes time to clean a bird, I feel guilty each time Isave the meatand discard the rest. That feeling is multiplied when the bird is significant for another reason, like being anew hunter’s first rooster.
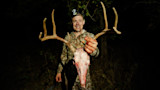
Last January, my daughter Olivia dropped her first bird. When she held it up, I saw the same sense of awe in her 12-year-old eyes as she marveled at the rainbow of colors. To help preserve that memory, we decided to make a tail mount that she now proudly displays on the wall of her bedroom. Here’s how we did it.
First, if you plan topreserve any feathered partsof a bird make it a priority to keep the entire bird in prime condition until you start the cleaning process. Don’t shove it in your game bag or jam it next to the kennel in the back of your truck and expect it to look good when you finally get around to cleaning it. Doing so will mat down the feathers and they’ll set unnaturally as rigor starts to set in. The longer the bird is dead and in an unnatural position, the more deformed the skin and feathers will be when you skin it, making the preservation process all the more difficult.
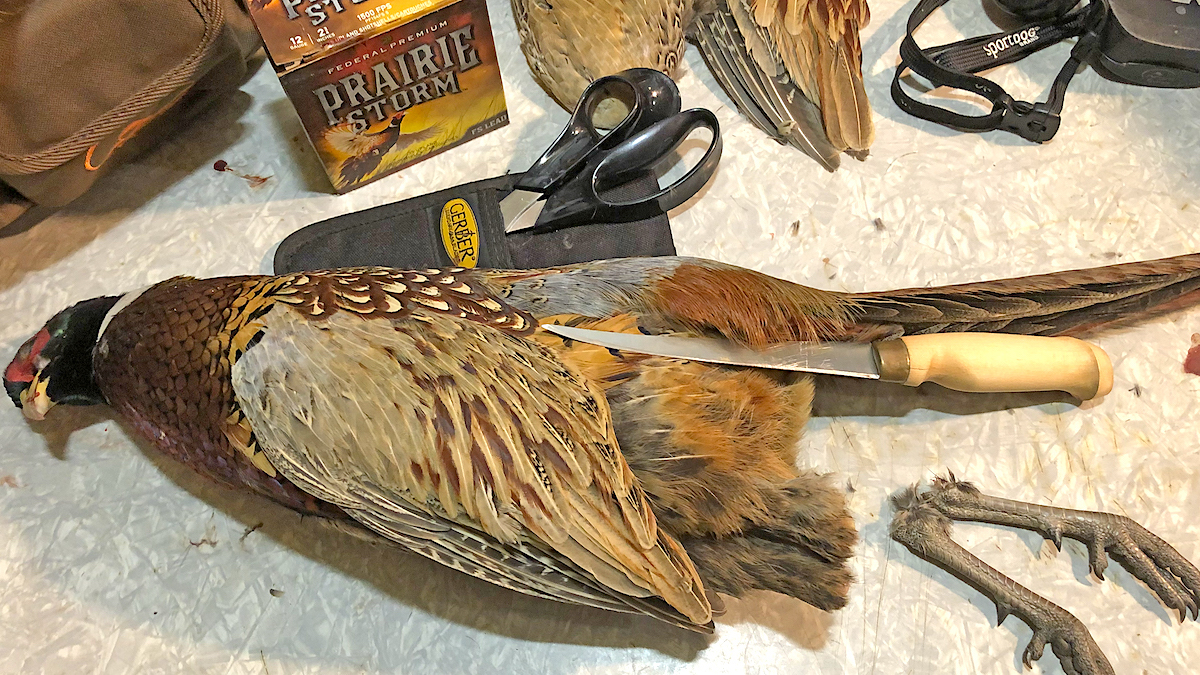
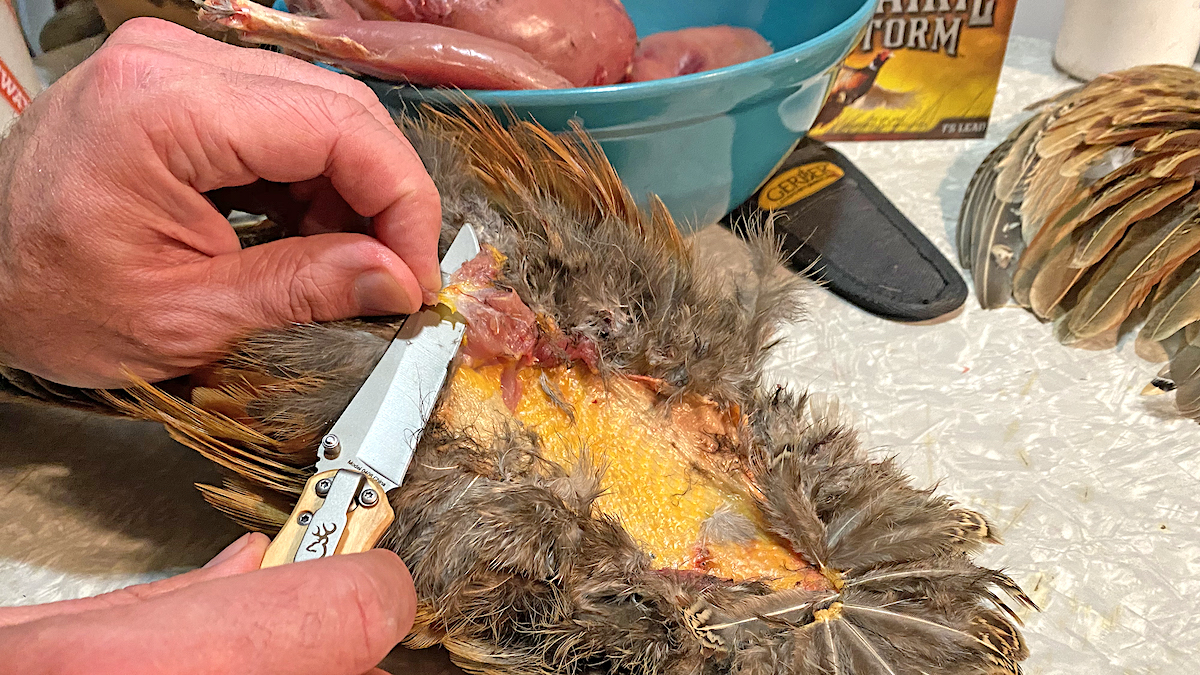
While cleaning the bird, remove each leg below the knee joint. In this photo, the knife blade is placed along a natural seam where the rooster’s long, wispy rump feathers drape over the larger feathers of the thigh. To make a tail mount, you’ll want to preserve the skin and feathers found along the birds’ back above the knife’s spine, so take care not to tear, cut, or otherwise damage the skin and feathers “above” this seam throughout the steps below.

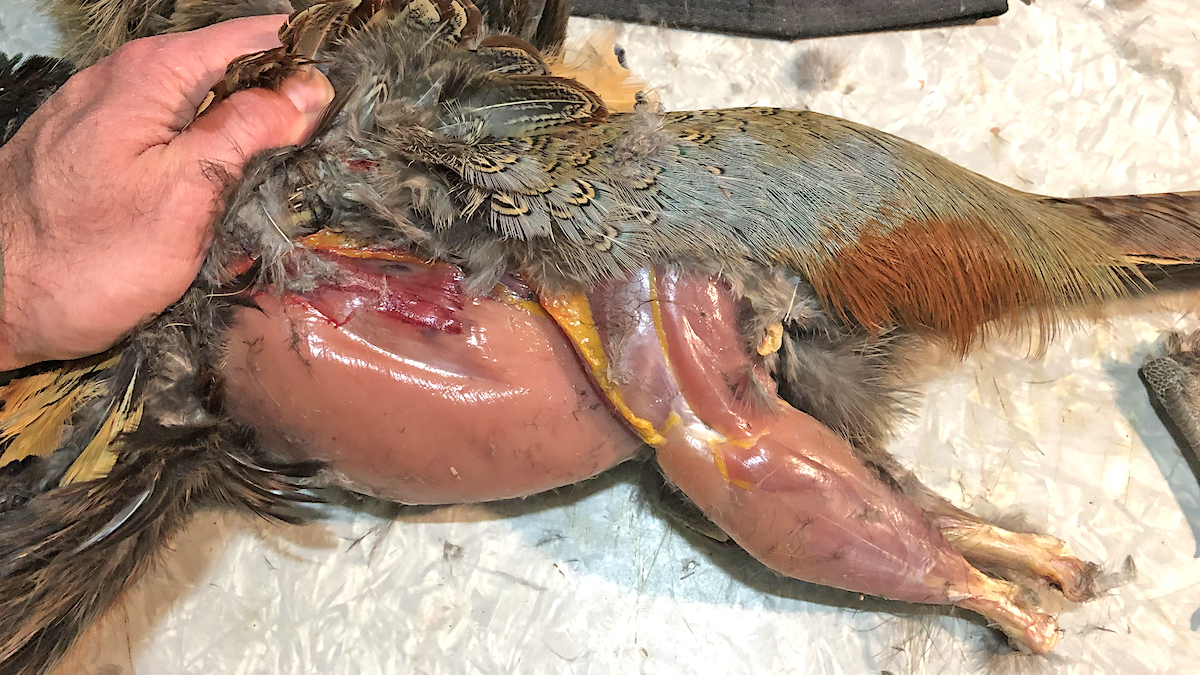
Place the bird on its back. Starting with the breast, carefully peel back the skin and feathers. Stop once you have skinned the breast and legs, leaving the skin and feathers on the back intact.
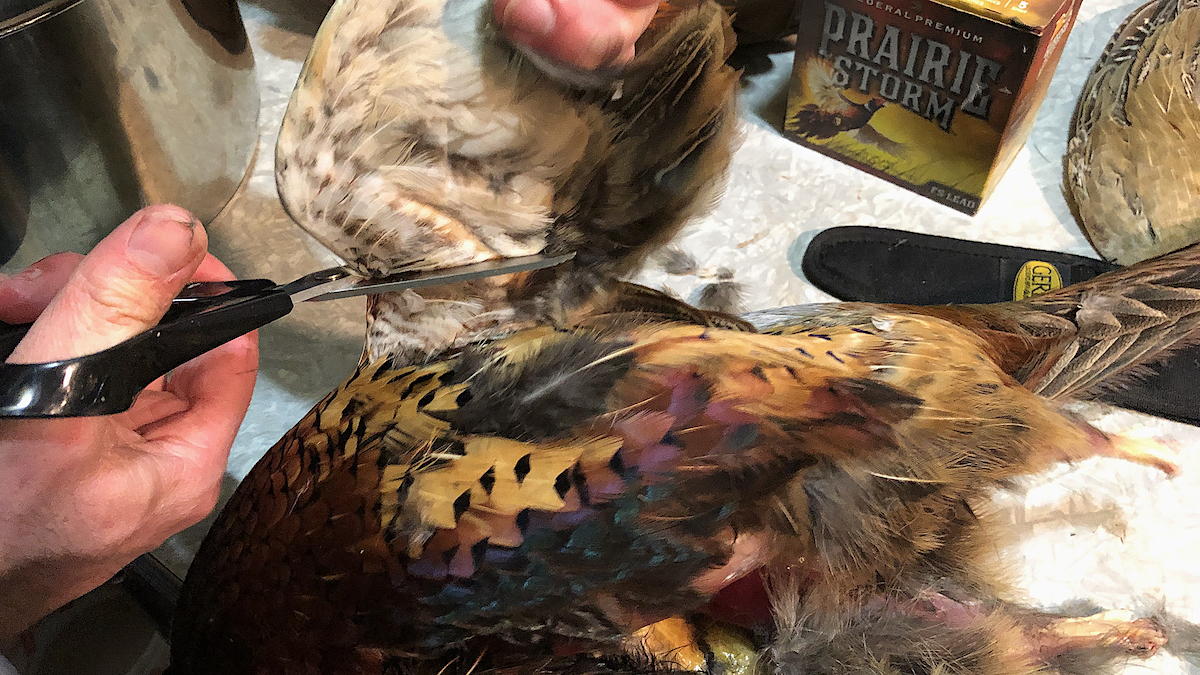
Remove each wing at the first joint extending away from the bird’s body. You can use scissors to cut through the bone above the joint, or a knife to sever the meat and tendons at the joint. Remove the skin from around each wing, as well as the skin found between the bird’s wings. Use caution, however, as you’ll want to leave the tailfeathers and skin/feathers on the lower half of the bird’s back undisturbed and intact.
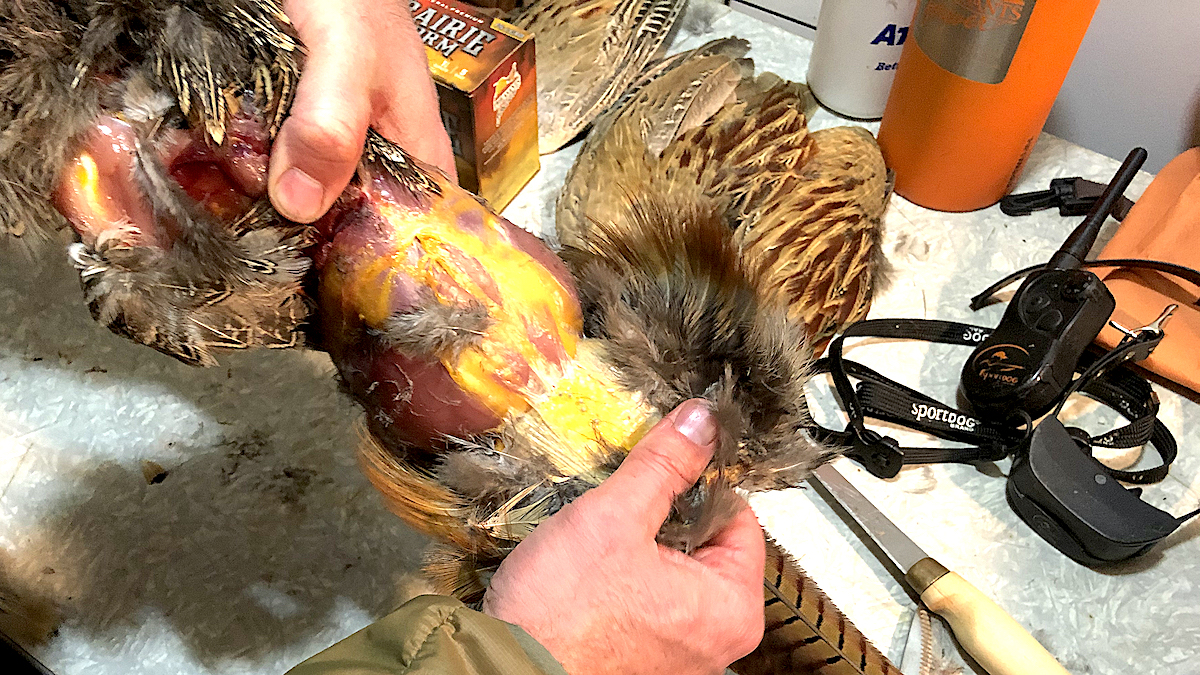
Place the bird on its side and carefully tear the loose skin away from the bird’s body along the previously mentioned seam. Then flip the bird over and repeat the process.
Do not use scissors or a knife to cut the skin along the bird’s back. Use your fingertips to firmly hold the skin and feathers you want to save in place while using the other hand to tear the already-loose skin away from the body. If you use a knife or scissors, you’ll inevitably cut some feathers and create an unnatural look.
After you’ve removed all the loose skin and feathers from the breast, legs and wings, all that should be left on the bird is the lower half of the back feathers and tailfeather assembly. Carefully separate the skin from the bird’s back, and gently pull toward the tail until it separates from the bird’s body. Use a knife to gently cut the tailfeather muscle free from the rump just above the rectum.
Now that the skin and feathers for the mount are free from the bird’s body, trim the excess meat away from the muscle at the base of the tailfeather, along with any excess fat or other residue from the skin.
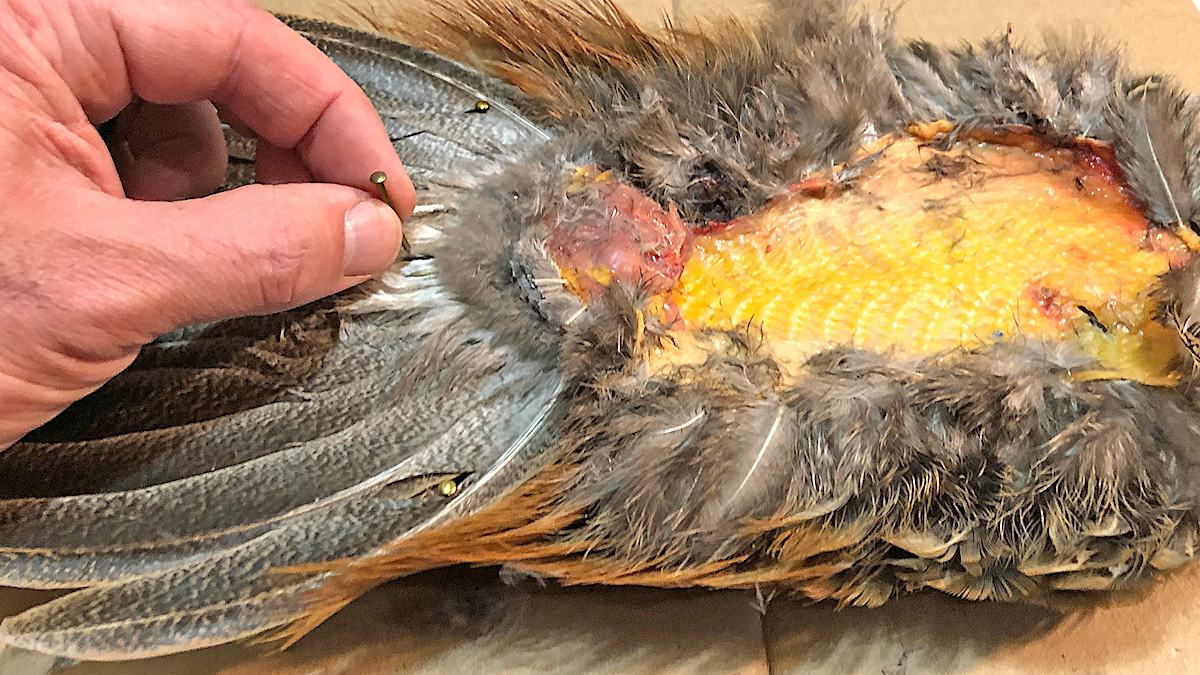
Place the “pelt” feather-side down on a piece of heavy cardboard. Spread the secondary tailfeathers out like a fan or to a spread of your liking and use pins or small nails—I use ¾” 18-gauge brass-plated brads you can find at any local hardware store—to hold the skin and feathers in place. Use a heavy gauge cardboard that will provide rigid support to the pins or nails.
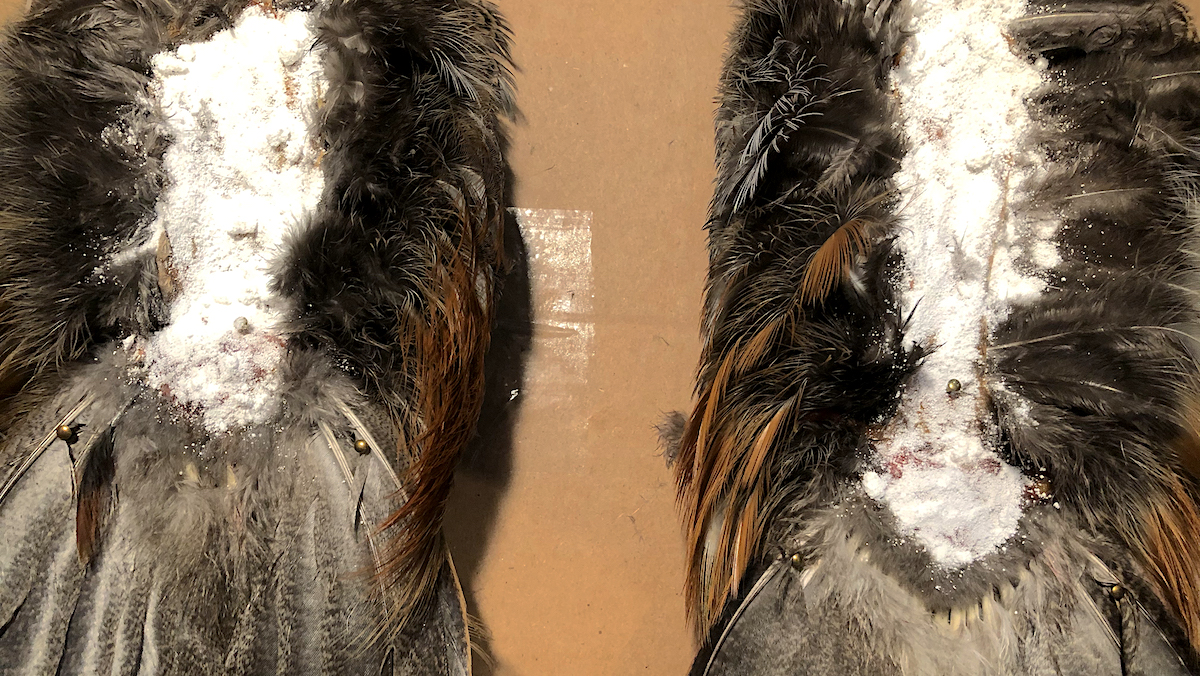
Sprinkle a curing agent—I prefer Borax—on the skin and remaining meat around the base of the tailfeather. Then place the cardboard and pheasant pelt in a well-ventilated area out of reach of kids and pets. While salt also works, cleaning Borax off the skin is much easier when the drying process is complete. Salt has a tendency to get sticky and clump together, making final cleanup more of a chore than necessary. Spend a couple extra bucks and buy some Borax.
Every few days, use an old toothbrush to redistribute the borax, ensuring every piece of skin and remaining meat is covered. Only apply more Borax if necessary. You can use a heat source, such as a hairdryer, to help speed up the drying process, but it only shaves a few days of time off the entire process, which can take up to a month.
Once you’re satisfied with how dry the skin and meat are, remove the pins and gently shake the Borax off the pelt into a garbage can. Use the toothbrush to brush away any remaining Borax. Gently pull and throw away any unwanted or loose feathers that you don’t want displayed.
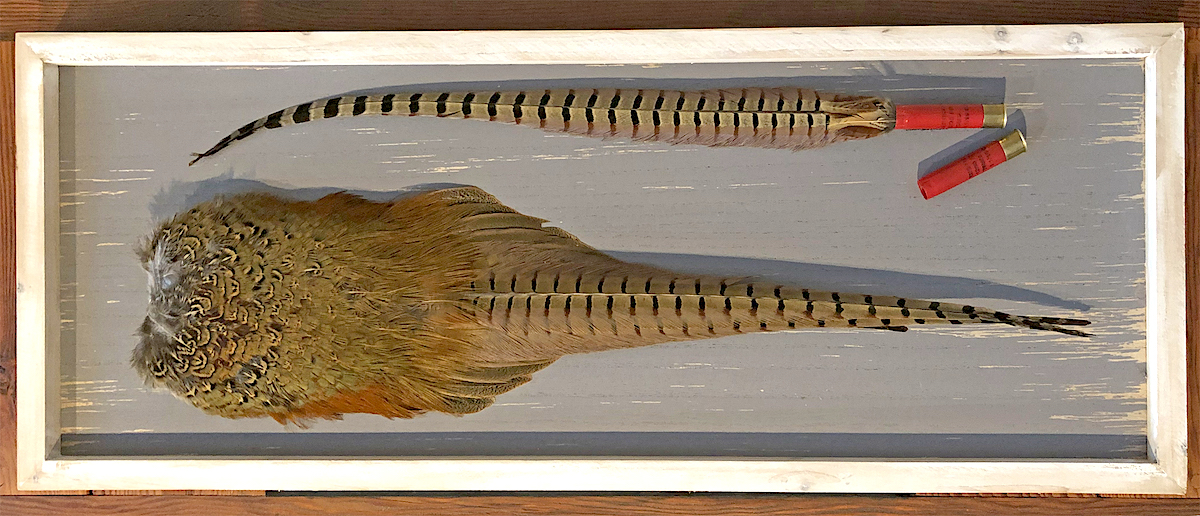
Place the mount in a frame of your choice, or you can even hang it from the wall or use it as an ornamental drape across the top of a coffee table.
Feature image via John Hafner.
Shop
Sign In or Create a Free Account
Related
Turkey
How to Make a Turkey Tail Fan

Hunting
Ask MeatEater: How Do You Make a Skull Mount?