After my first time hunting mallards from an A-frame blind, I knew I wanted one. It was easy to shoot from, there was space for storage, and it was just damn comfortable. And the most important part: The ducks had no idea we were there.
A-frames are the choice for duck hunting parties that don’t want to be cramped in layout blinds. These vertical blinds allow you to take seated or standing shots, better watch for incoming birds, and make better calls from a more natural position. They’re perfect in private land situations where you need to blend in with a fence line, marsh, waterway, or grain field.
This summer, mywantturned into more of aneed. My 9-year-oldwantsto kill his first duck in a few months, and I feel theneedto monitor him a bit closer than would be possible if we were using layout blinds. Plus, the spacious concealment will allow him to move around, eat snacks, and chat with his dad—and the ducks will be none the wiser.
Most A-frames are custom-built units with a price tag to match. Based on my needs and budget, I decided to build my own. What follows are instructions on how to build a simple A-frame blind for about the cost of a dozen decoys.
Materials
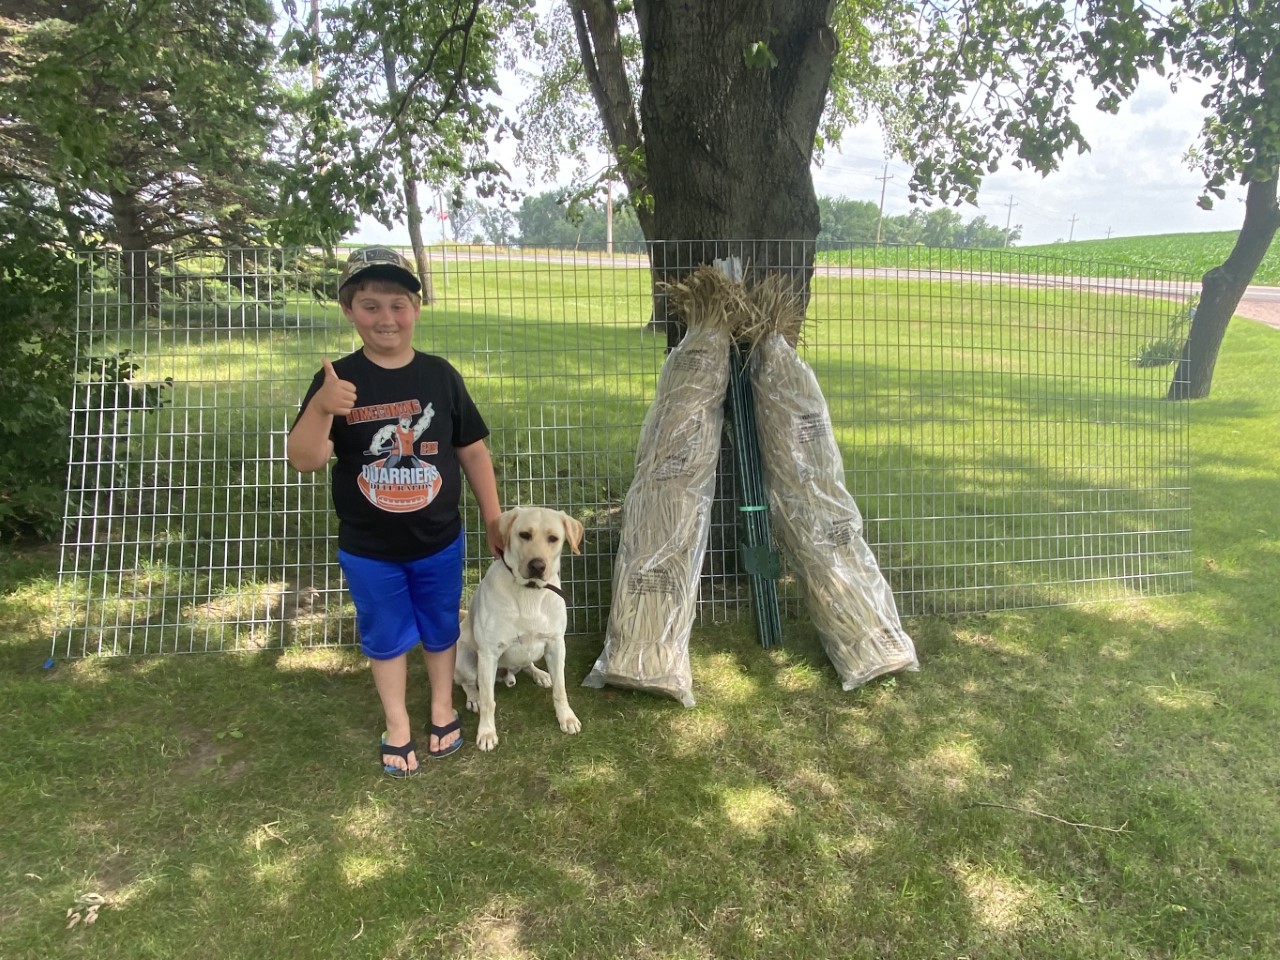
One 50-inch x 16-foot heavy-gauge wire grid cattle panel – $20
EightAvery RealGrass Mats(or similar blind material) – $50/pack
Four 5-foot steel T-posts – $3/each
Zip ties
Bungee cords
Method
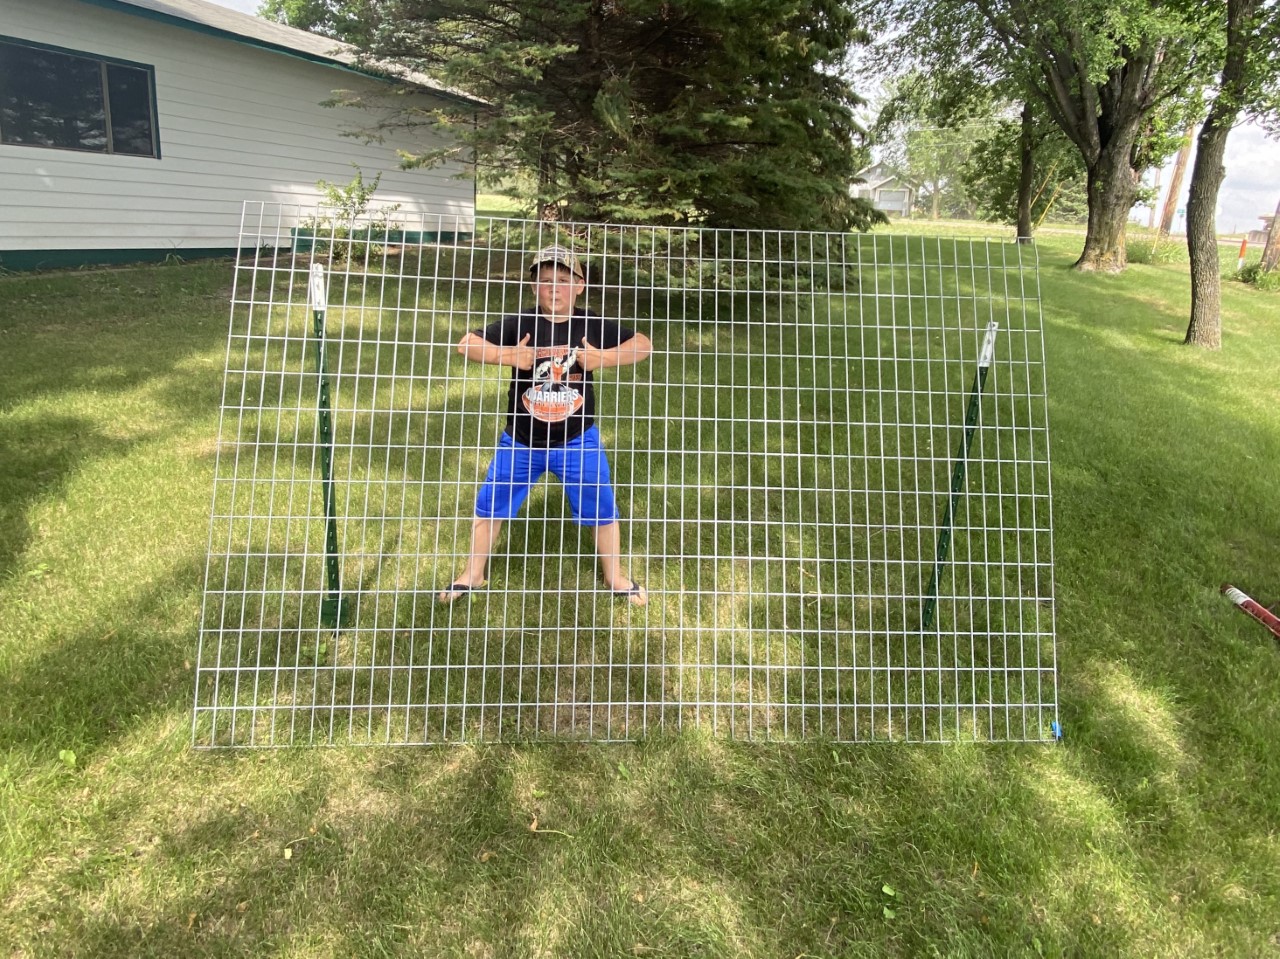
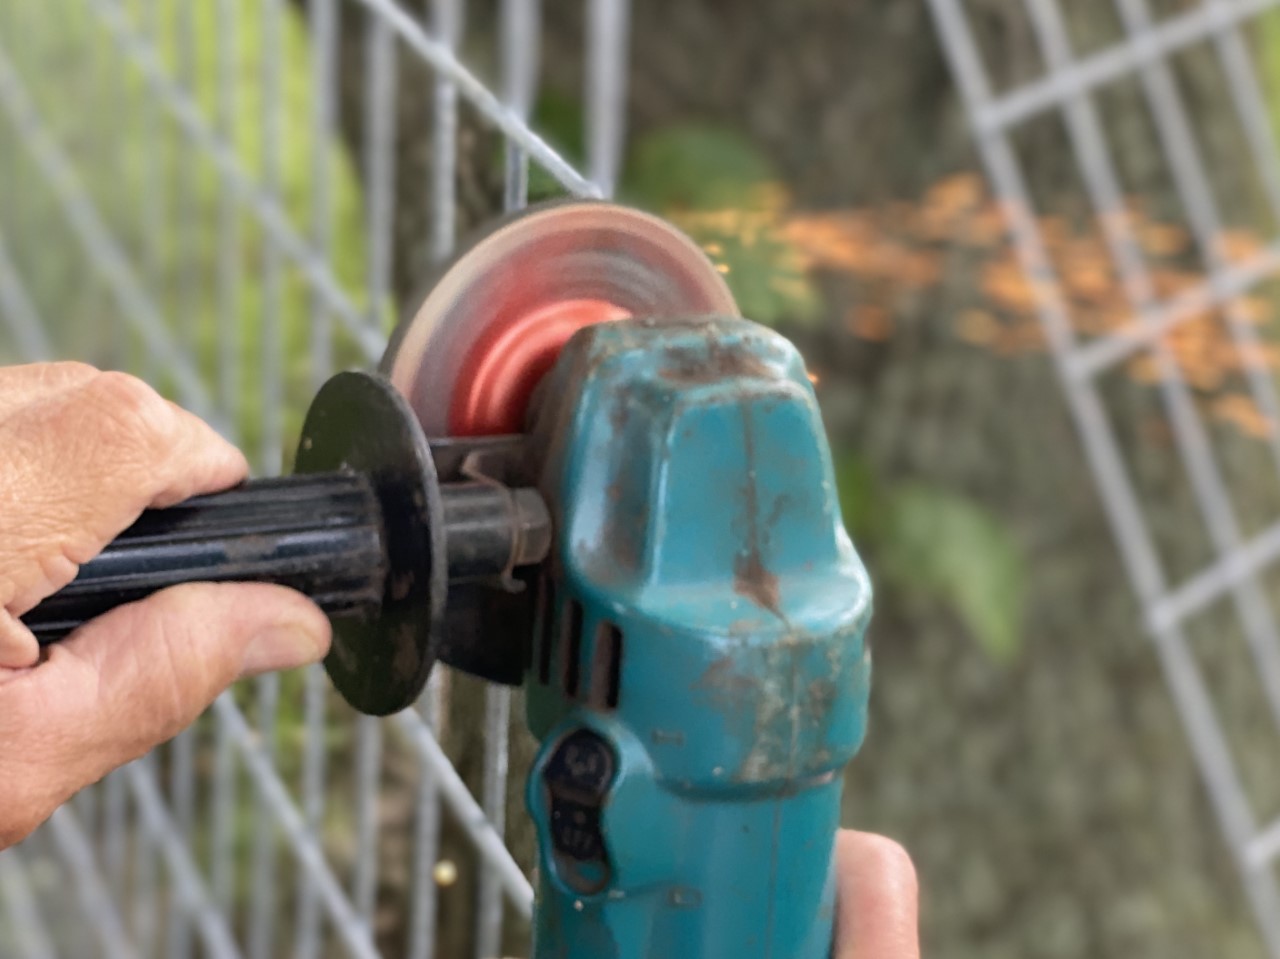
- A single cattle panel from your local farm supply store is big enough to provide concealment for two or three hunters. If you hunt with more than a couple buddies, you’ll want to add another panel to your shopping list. Snip the panel in half with a bolt cutters. Use a small angle grinder with a standard grinding wheel to smooth any sharp edges created where you cut.
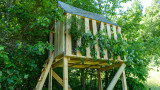
- To make the next steps a little easier, set up the blind panels just like you would in the field. Use a post driver to place two steel t-posts in the ground roughly 6 feet apart. The post driver is a necessity for fall when the ground gets hard. Lean one panel against the posts at a slight angle. Use the bungee cords to secure the panel to the T-posts and create the front wall of the A-frame blind.
- Repeat that step, driving the remaining T-posts into the ground roughly 3 feet behind the front wall. You can adjust this spacing between the two sets of T-posts to create more room or tighten things up. Ideally, you want to be able to sit comfortably on a small chair or 5-gallon bucket and have enough room to easily reach a blind bag or box of shells.
- I added a custom touch to the front blind panel by snipping out a small window in order to make it easier and safer for my son to shoot. The angle grinder was again useful to smooth any sharp edges that could catch a sleeve or cut bare skin.
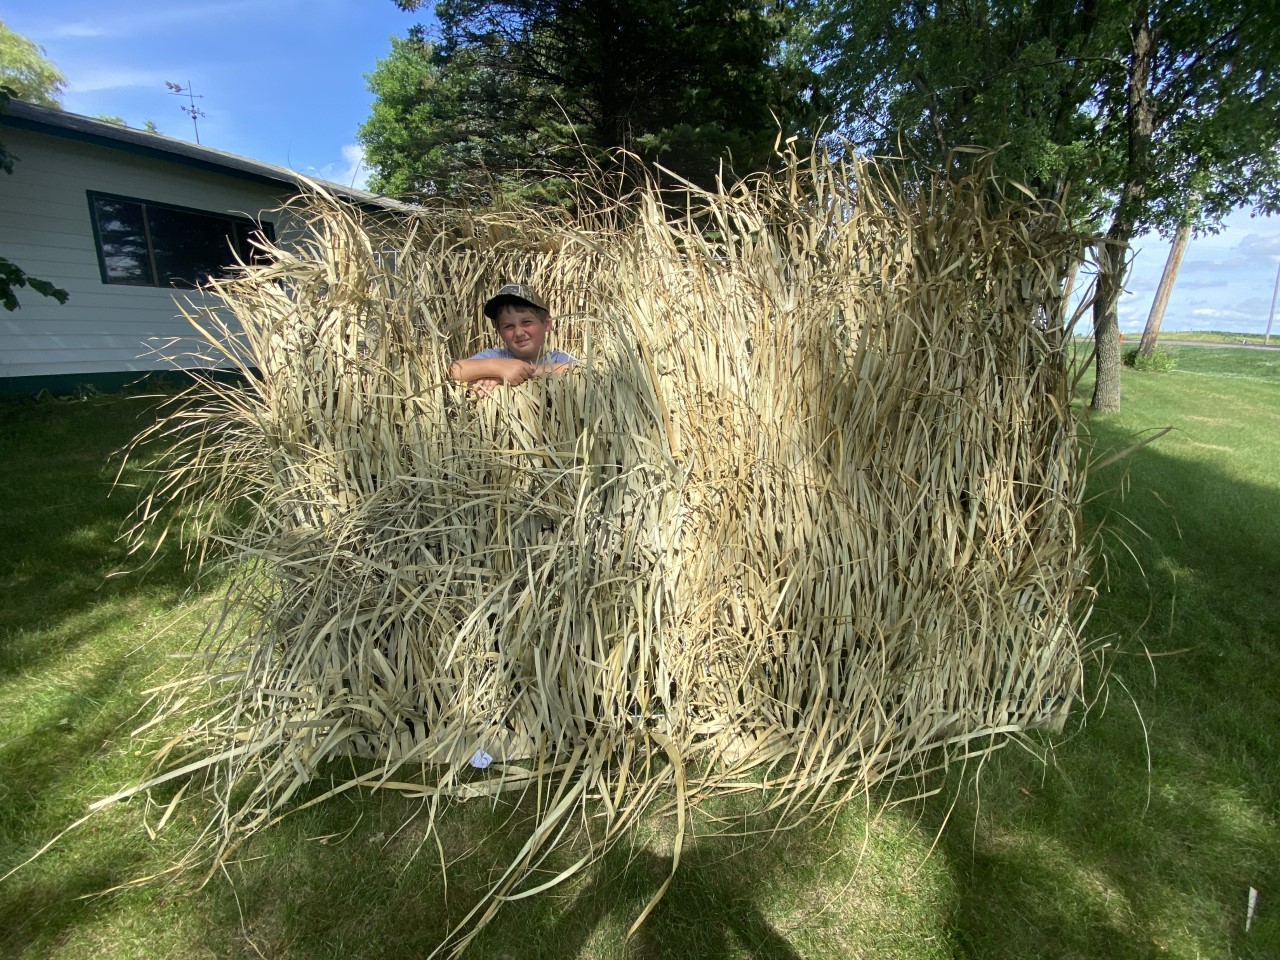
- The most expensive materials are the Avery RealGrass Mats but they are a wise investment that will help you save time in the field. Use zip-ties to attach four grass mats to each panel, which will provide a base layer of cover on the blind. Add natural cover (grass, reeds, branches, weeds, etc.) from the surrounding field to make your blind match the landscape.
- Before the season begins, I fill a plastic garbage can with 4-foot bundles of grass or tumbleweeds zip-tied together. I use these to cover entrances on either end of the blind and on top of the blind opening to eliminate any dreaded “black hole” appearance that ducks hate so much.


All in all, this was a simple project that cost me just over $200. It was a fun way to spend a summer afternoon, but I suspect that we’ll have more fun out of it this fall.
Shop
Sign In or Create a Free Account
Related

Waterfowl
How to Build a Portable Duck Blind

Waterfowl
Video: How To Build an Edge-Hide Blind