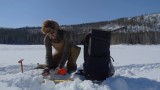
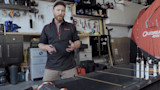
Five Easy DIY Ice Fishing Projects Your Gear Needs


Ice fishing materials and equipment are light years ahead of where they were a decade ago, but that doesn’t mean there’s a commercially available solution for every gear need. Plus, ice fishing enjoys a long tradition of tinkering and build-it-yourself contraptions liketip-upsand shanties. There’s just something about spending long nights in the shop, building tackle in anticipation of the next adventure on ice.
We came up with five helpful modifications you can work on in preparation for the meat of the ice fishing season. Some of these are needed to fill a specific need, while others are just helpful for beefing up existing equipment. These five simple projects can be done in less than an hour, without breaking the bank.
Hole Guard
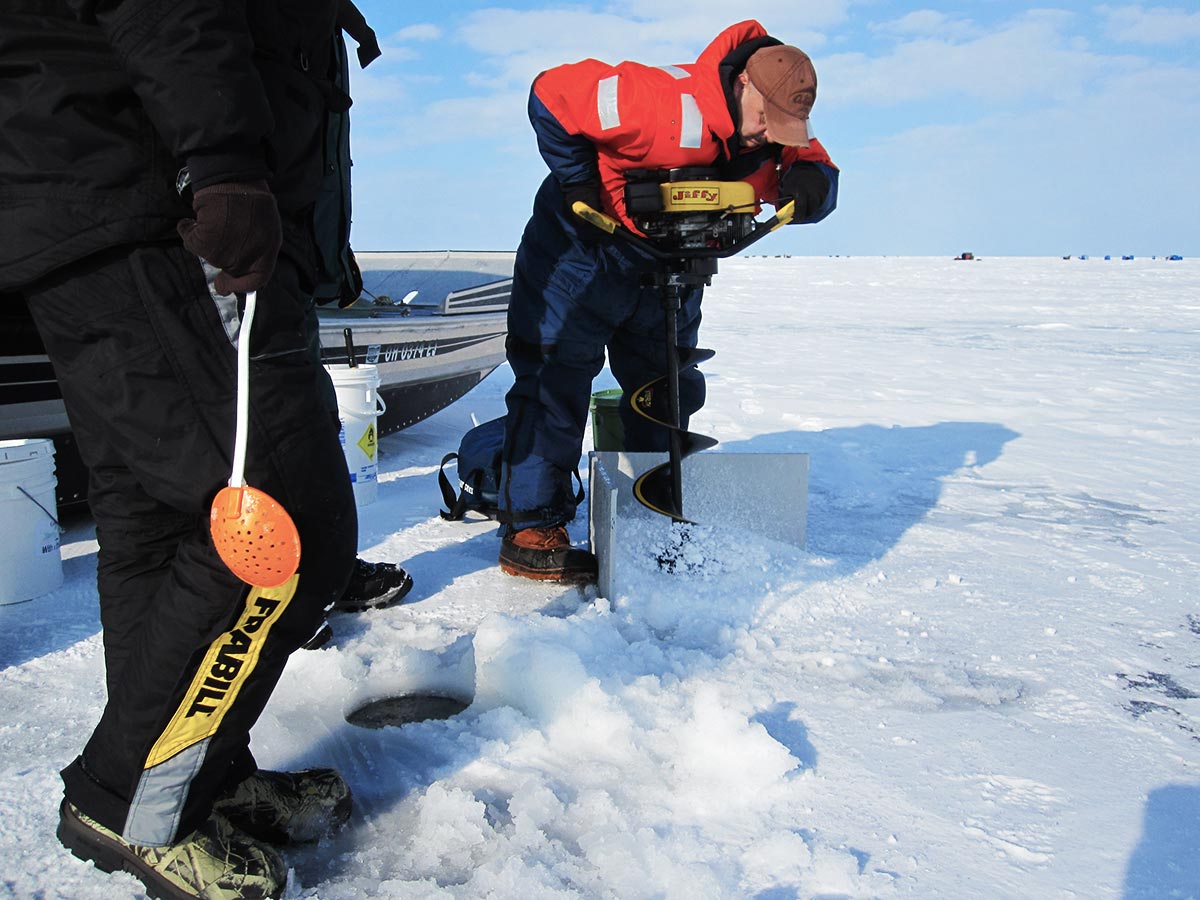
No matter how many holes you’ve drilled in your lifetime, each and every one ends with a little tap-dance to avoid wet feet from the water and slushy ice chips that boil up as your auger breaks through. These shavings also tend to get drifted back into the hole, staging a losing battle to keep the hole and fishing line free of ice. A DIY hole guard can be made in a few minutes for a few bucks, but it’s worth much more.
Take two pieces of scrap plywood, ideally 1/2-inch-thick, and cut to approximately 12 x 18-inch dimensions. Connect these two matching pieces on the narrow sides with one long or two short hinges, creating the appearance of a book cover.
When you go to drill holes in the ice, place the board open in a “V” shape opening away from you, between your feet and the spot you’re going to drill. The board will shield you from water, chips, and slush, and can be used to wipe the excess away from the hole in one swift motion. Use the board in that same position upwind of the hole to keep snow from blowing in and refreezing your hole.
Rod Holders
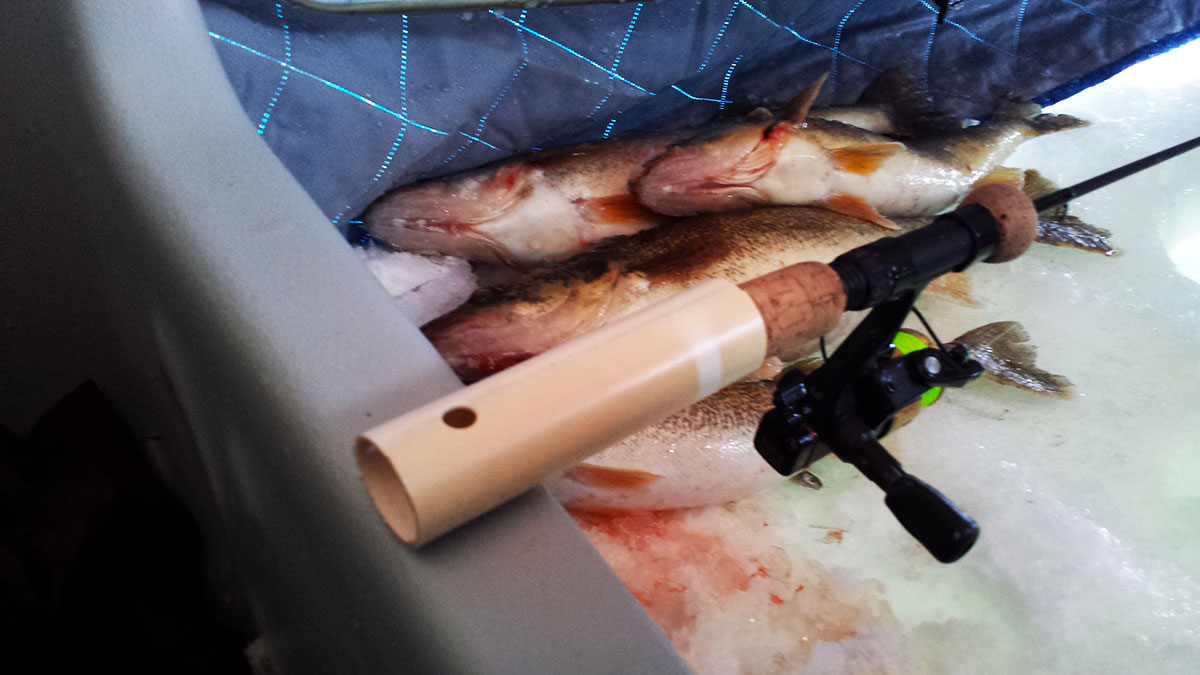
Through the years I’ve bought countless aftermarket rod holders for hauling rods or dead sticking them on the ice, but they have all come up short for one reason or another. These rod holders can be expensive, and they don’t seem to mount easily and always break or end up misplaced.
This can be remedied in clam or fold-over styleice sheltersby mounting short lengths of PVC pipe to the integrated tub or sled. Start by collecting short pieces of scrap PVC pipe that have a larger inside diameter than the outside of your ice rods handles. In most cases, rod handles are not more than 1 inch wide.
Before cutting, take your ice rods and measure how far you want them to extend past the tub itself. In most cases, this will be less than 6 inches. With this measurement, add the width of the tub’s lip to that number and cut the PVC to size. Now, drill a 1/4-inch hole through both sides of the pipe so that it is centered on the lip of the shack’s tub. Next, drill a hole of approximately 3/8-inch through the hole you just drilled, but only through one side of the pipe to allow access for mounting tools. Now feed a 1/4-inch stainless steel bolt that is long enough to reach through one side of the PVC and through the bottom of the shanty tub with enough room to add a washer on both ends. Placing a washer on any point of contact will help act as a bushing and make rotating the holders easier. Once mocked up, secure with a stainless ny-loc nut. This setup will allow you to rotate the holder and easily fold in for traveling.
Sled-Hauling Chains and Bolts
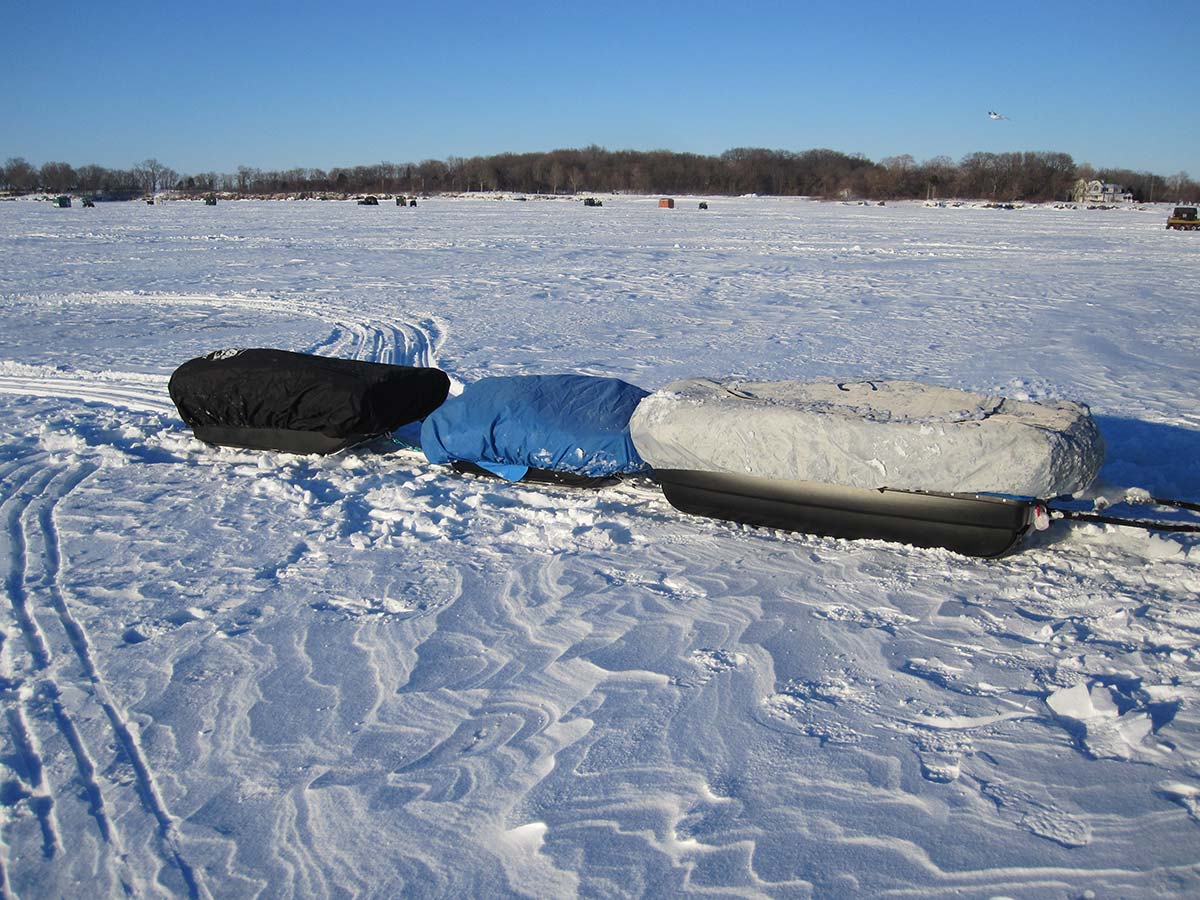
Purchase stainless steel eye bolts a minimum of 5/16-inch for small- to medium-sized shacks, but if at all possible, use 3/8-inch stainless eyebolts. Take the included nut and screw it up toward the eye as far as it will go and then add two large stainless-steel washers approximately 1 1/2-inch in diameter. Next, look for the midpoint of the back of the shack and below the folded-over shack. Drill two holes the same diameter as the eye bolts. These holes should be approximately 18 inches apart on the rear of your shack. Then push the eye bolts in towards the inside of the shack.
Before securing the bolts with a stainless steel ny-loc nut, I also like to add a stainless steel backing plate to further beef up the connection. You can use a piece of aluminum bar stock or, at the bare minimum, several large, stainless-steel fender washers for support. The larger the backing plate you can get, the better off you will be.
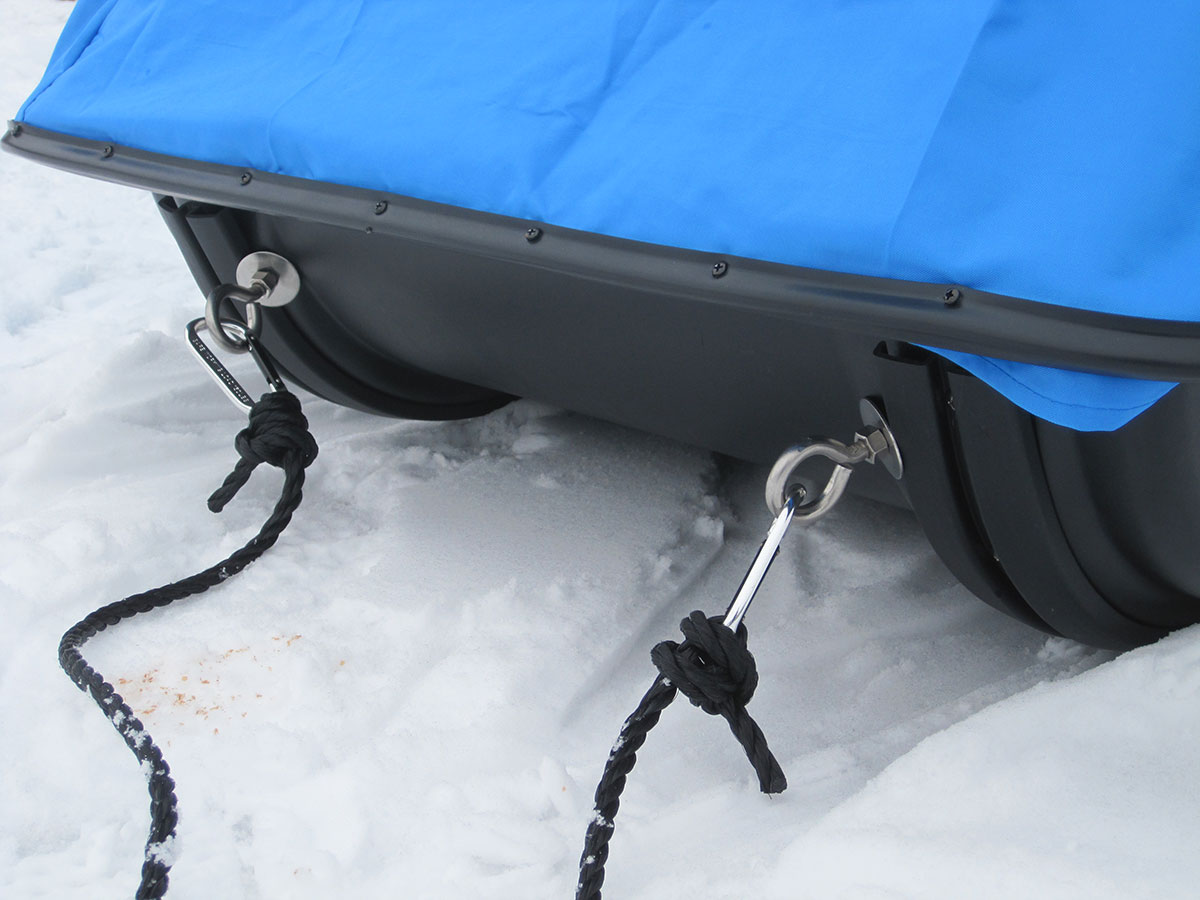
Now that you have a universal place to connect two shacks together, you need a way to hook them up. Hardware stores sell chain by the foot that is designed for playground equipment. The plastic coating makes it less likely to get tangled up, and the load rating is sufficient for all but the heaviest shacks you could encounter. Two sections of chain cut to 18 inches is just right; anything longer and it promotes sway between the two sleds, while anything shorter makes it difficult to connect. Finish it off with either a stainless-steel snap link or carabiner with a load rating of several hundred pounds to make the actual connection. This allows you to hook up to another shack or a traditional sled mounting bracket in a pinch.
Bucket Board
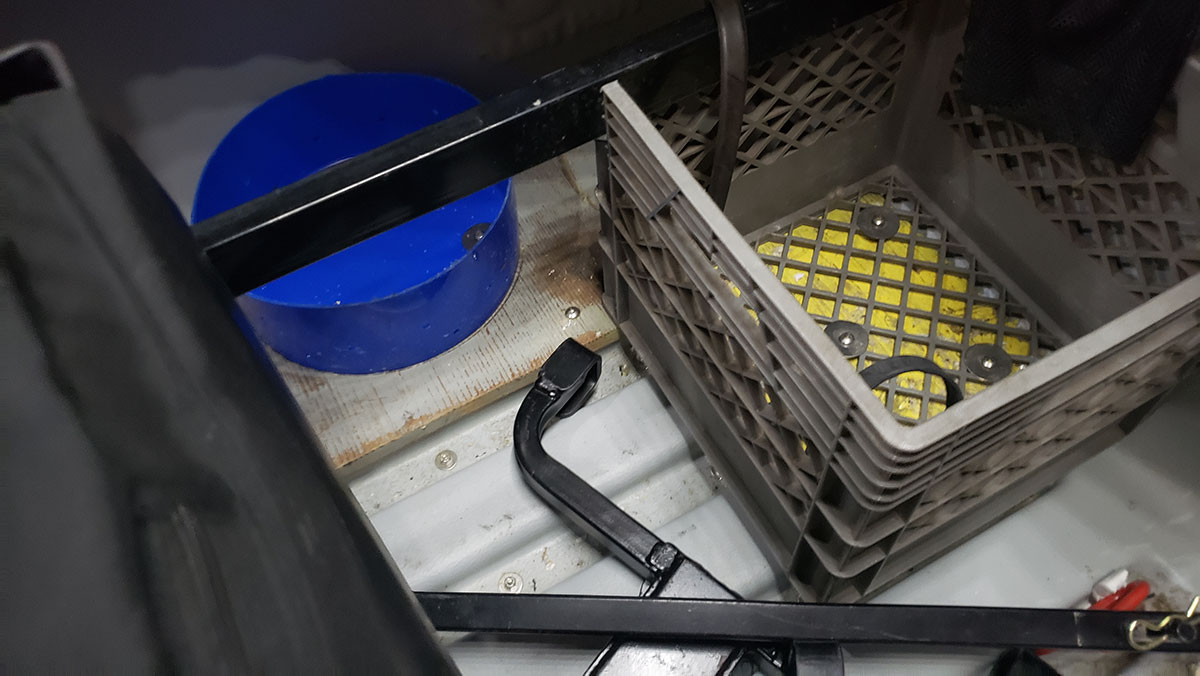
First, lay out the items where you want them to ride in your sled and make a template out of cardboard. Then lay your template over a piece of plywood and cut out the desired shapes. The plywood should be at least 1/2-inch thick, but preferably 3/4-inch if heavy items are being stored. Assuming you aren’t using pressure-treated wood, take the time to seal the wood, even if it’s just cheap spray paint to help slow water absorption and, eventually, rotting.
Secure the board to the bottom of the sled near the corners by through-bolting with stainless hardware. Only drill holes in the recessed areas that are not actually making contact with the ice itself. Most shacks have at least four or five runners that will extend closer to the ice, so drill your holes in between the runners.
Secure milk crates with fender washers and screws just long enough to not penetrate past the wood. Small screw eyes can also be added as places to hook bungee cords up to secure odd-shaped gear. The possibilities are really endless.
Modified Hitch Hauler
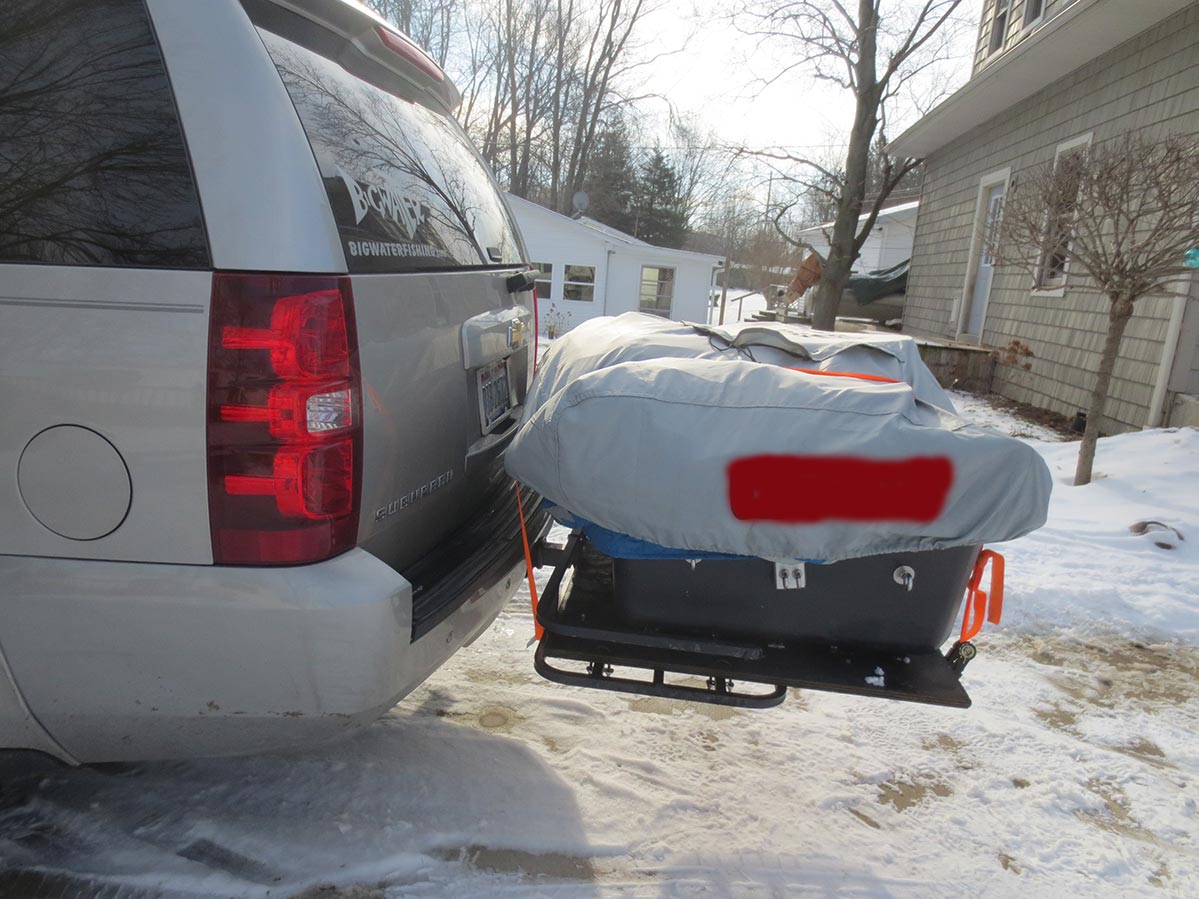
Anyone who’s done much hunting or fishing knows that a truck bed or the back of an SUV starts to feel very small before half of the “needed” gear is loaded. Even if you do have enough room, you might be in for a talking to from your significant other for loading wet or smelly gear into their vehicle. For others, it may be that your ice shanty simply won’t fit into your car. For all of these reasons, I found it necessary to use a hitch hauler to gain extra space and keep my wet ice shack outside of my vehicle.
Most commercially available hitch haulers have a lip all the way around the outside to keep coolers or totes from sliding out. Problem is, the enclosed area is usually a lot smaller than an ice shanty sled. Simply use a hacksaw or Sawzall to remove the lip from all sides except for the one that parallels the car bumper. Next, cut a piece of 3/4-inch plywood the size of the largest item or items you plan on carrying. You can make your platform wider than the hauler, but make sure not to go so wide that you block your brake lights.
Use at least six U-bolts to secure the plywood to the bottom of the hitch hauler’s frame. Next, drill holes in each corner of your plywood platform and insert eye-bolts pointing up. These make great attachment points for bungees or ratchet straps.
Shop
Shop AllSign In or Create a Free Account
Related
Ice Fishing
Five Easy DIY Ice Fishing Projects Your Gear Needs
Ice Fishing
Video: How to Trick Out Your Ice Fishing Sled