How to Tan a Deer Hide


One of the first steps after a successful deer hunt is skinning your deer, after which the skin itself often becomes an afterthought as you attend to the important process of filling up the freezer with meat.
Sure, there are services you can send your deer hide to and pay for it to be taxidermied or turned into a wall hanging, which make nice mementos of your hunt. But if you’re anything like me, one of the joys of hunting is getting to really be a part of the process of making something and providing for yourself with your own two hands. So why give up an opportunity to learn a new and useful skill?
Learning how to tan your own deer hides is a rewarding way to use every part of the animal and results in a beautiful, high-quality material that can be used for all kinds of exciting projects. I’m not going to pretend it’s quick or easy—it takes time and a fair amount of labor—but turning a raw deerskin into strong and supple leather is extremely satisfying.
Tools and Materials
In this article, I am going over the steps for tanning using a tanning solution, which is easy to buy online or at hunting gear stores. You may have heard of brain tanning or vegetable tanning, which are different processes. And though they are incredibly cool, they require a lot more specialized knowledge, time, and material gathering, which is why I consider tanning with a store-bought tanning solution the perfect “gateway” tanning process.
In addition to your tanning oil (we use NuTan), you will need a few different substances to alter the pH of your hide throughout the tanning process. Luckily, most of these are common household items easy to find online or at hardware stores: white vinegar, salt, baking soda, hydrated lime or lye, and a large (5 gallons or more) plastic tub or bucket.
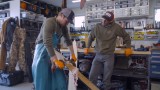
If you get into tanning and plan to do it a lot, there are some specialized tools that will make your life easier. A fleshing beam is a piece of thick wood put into the ground at an angle so that the rounded end is about waist height. This provides a good work surface for processing your hide by giving you the leverage to exert a lot of force, but a sawhorse will work in a pinch.
A fleshing knife is a wide, dull knife with handles on either side so you can use both hands to scrape it down the length of your deer skin easily. We don’t have one of these, so we use a hatchet with a very dull blade instead, which works just fine. A tarp is also useful to keep your hide clean, and any drips contained.
Skinning
Of course, the first step is getting your hide off your deer, ideally in one piece. Byhanging your deerand using gravity to pull the hide off of the body once you’ve cut down the center of the animal, you’ll be able to avoid cutting into the hide.
If you need to cut at certain points to get the hide free, hold your knife as close to parallel to the flesh as possible so you don’t accidentally puncture through the skin. Once you have your hide free, it’s a good idea to trim off any dangling or uneven edges as well as the particularly tough neck portion of the hide so it’s all of similar thickness and tans evenly.
If you are planning on tanning your hide right away, just proceed to the fleshing step. But if you have other things to deal with, likebutchering the rest of your deeror harvesting the tallow fordeer tallow soap, you can save your hide for later in a couple different ways.
The easiest way to do this is simply to roll it up in a plastic bag and put it in the freezer (be sure to label it to avoid any unpleasant surprises down the line!). If you are short on freezer space, you can salt the hide to keep it from rotting before you get to tanning it. Cover the flesh side of your hide with a thick layer of non-iodized salt and roll tightly with the fur side on the outside. Store in an airtight container and rinse thoroughly before proceeding to the next step in tanning.
Fleshing
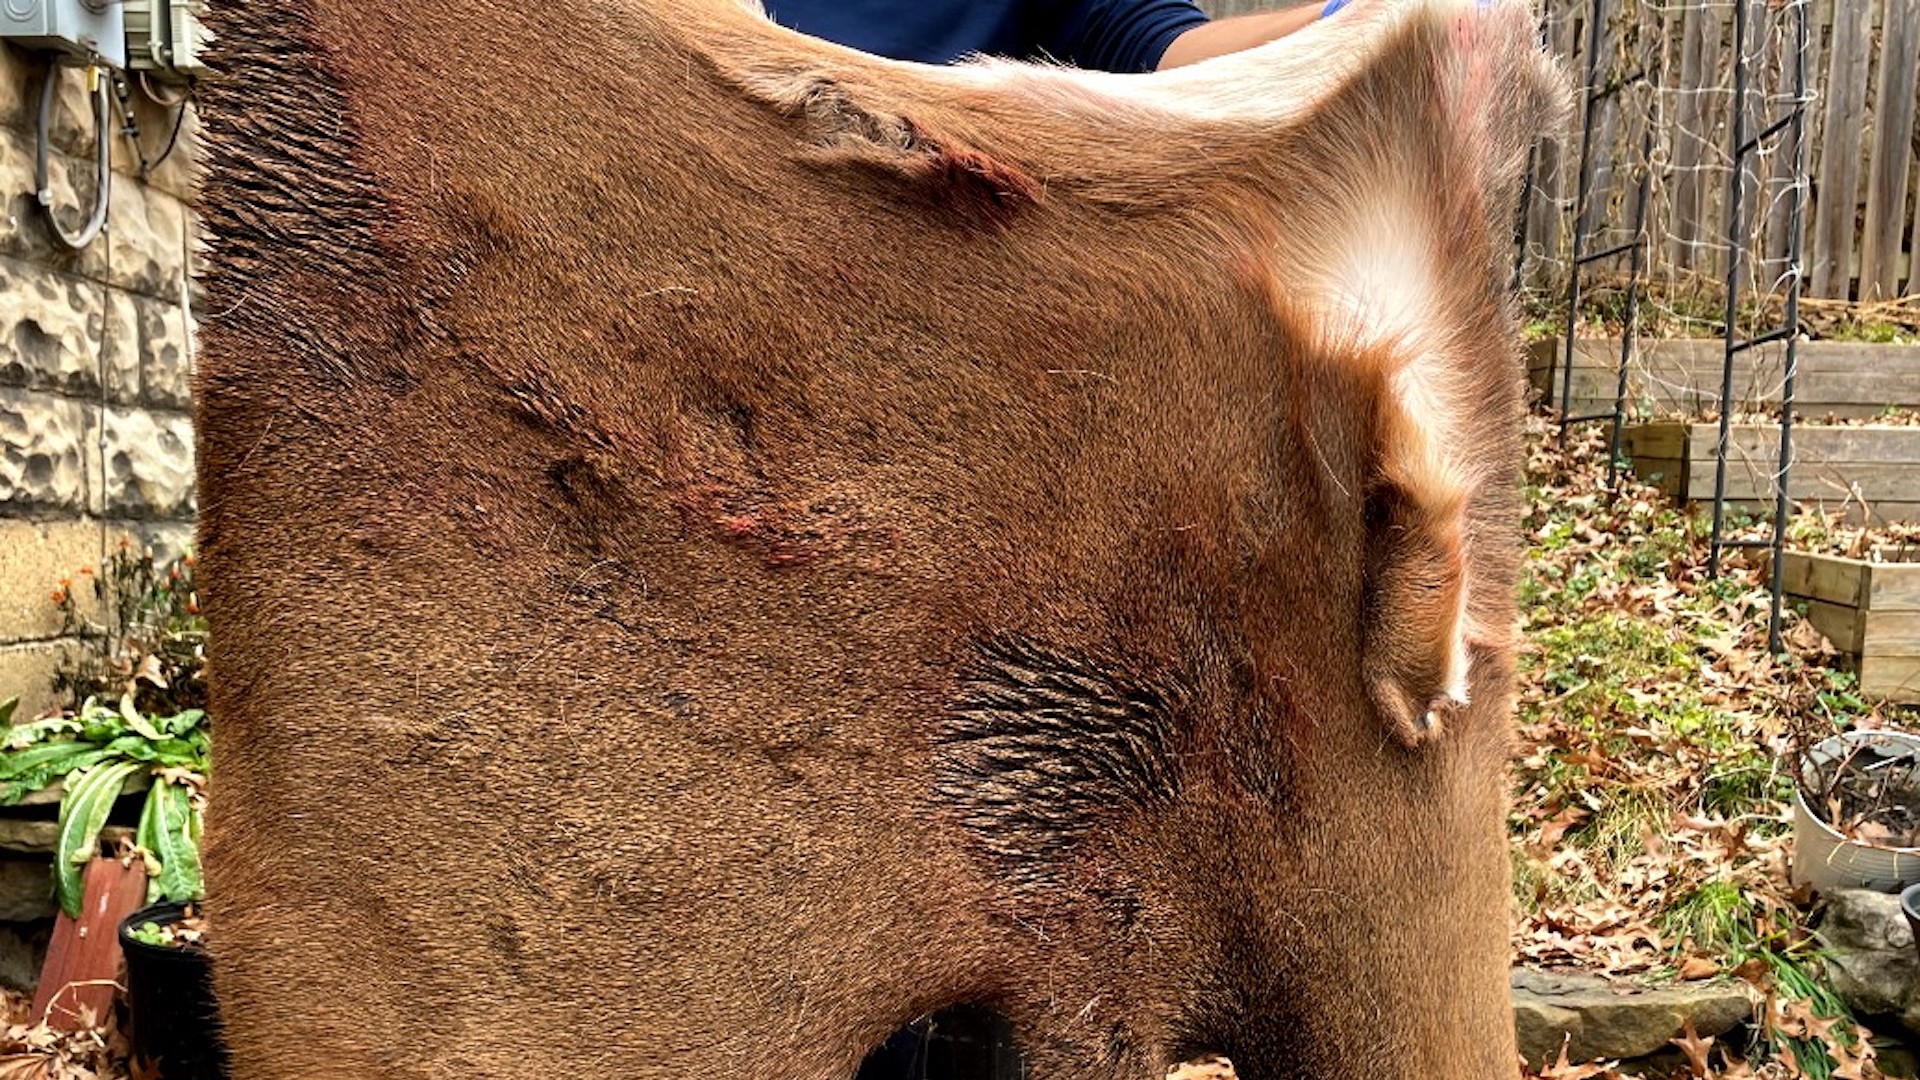
Once you’re ready to really get into the meat of tanning, the first step is fleshing your hide. This just means scraping all the bits of flesh and gristle off of your hide to get a nice clean surface. I’ll be honest, this can be a fairly messy and smelly task, so I recommend wearing appropriate protective clothing.
If you don’t have a tool specifically for fleshing, any very dull blade will work. Some people even use the shoulder blade from a deer as their fleshing tool, which is a nice way to use even more parts of the animal. The most important thing is that you are able to exert a decent amount of downward pressure on your hide with your tool without accidentally cutting or puncturing it.
Bucking
After you’ve gotten all of the flesh off of your hide, it’s time to get the hair off. The easiest way to do this is to put your hide in a “bucking” solution. This is just an alkaline solution that causes the hide to swell and the hair fibers to slide out of the skin easily. You can use hydrated lime or lye to make your solution alkaline. We usually use lye because we have it on hand already for soap-making, but I’ve heard from others that lime is a little easier to work with because it makes the hide less rubbery.
Either way, these are caustic substances so be sure to wear gloves and safety glasses/goggles when adding them to your water, and do it outside. For a single deer hide, a 5-gallon plastic bucket works well with a ratio of 0.4 ounces of lye or 1 oz of hydrated lime per gallon of water.
Make sure your hide is fully submerged in the solution and weigh it down with a stone if needed. Agitate the solution at least twice a day, moving the hide around (wear gloves or use a stirring stick) to make sure the solution is getting into all the nooks and crannies. After a couple days, start testing your hide by pulling on a small section of hair. If it comes out easily, you are ready to move on to the next step.
Graining and Membraning
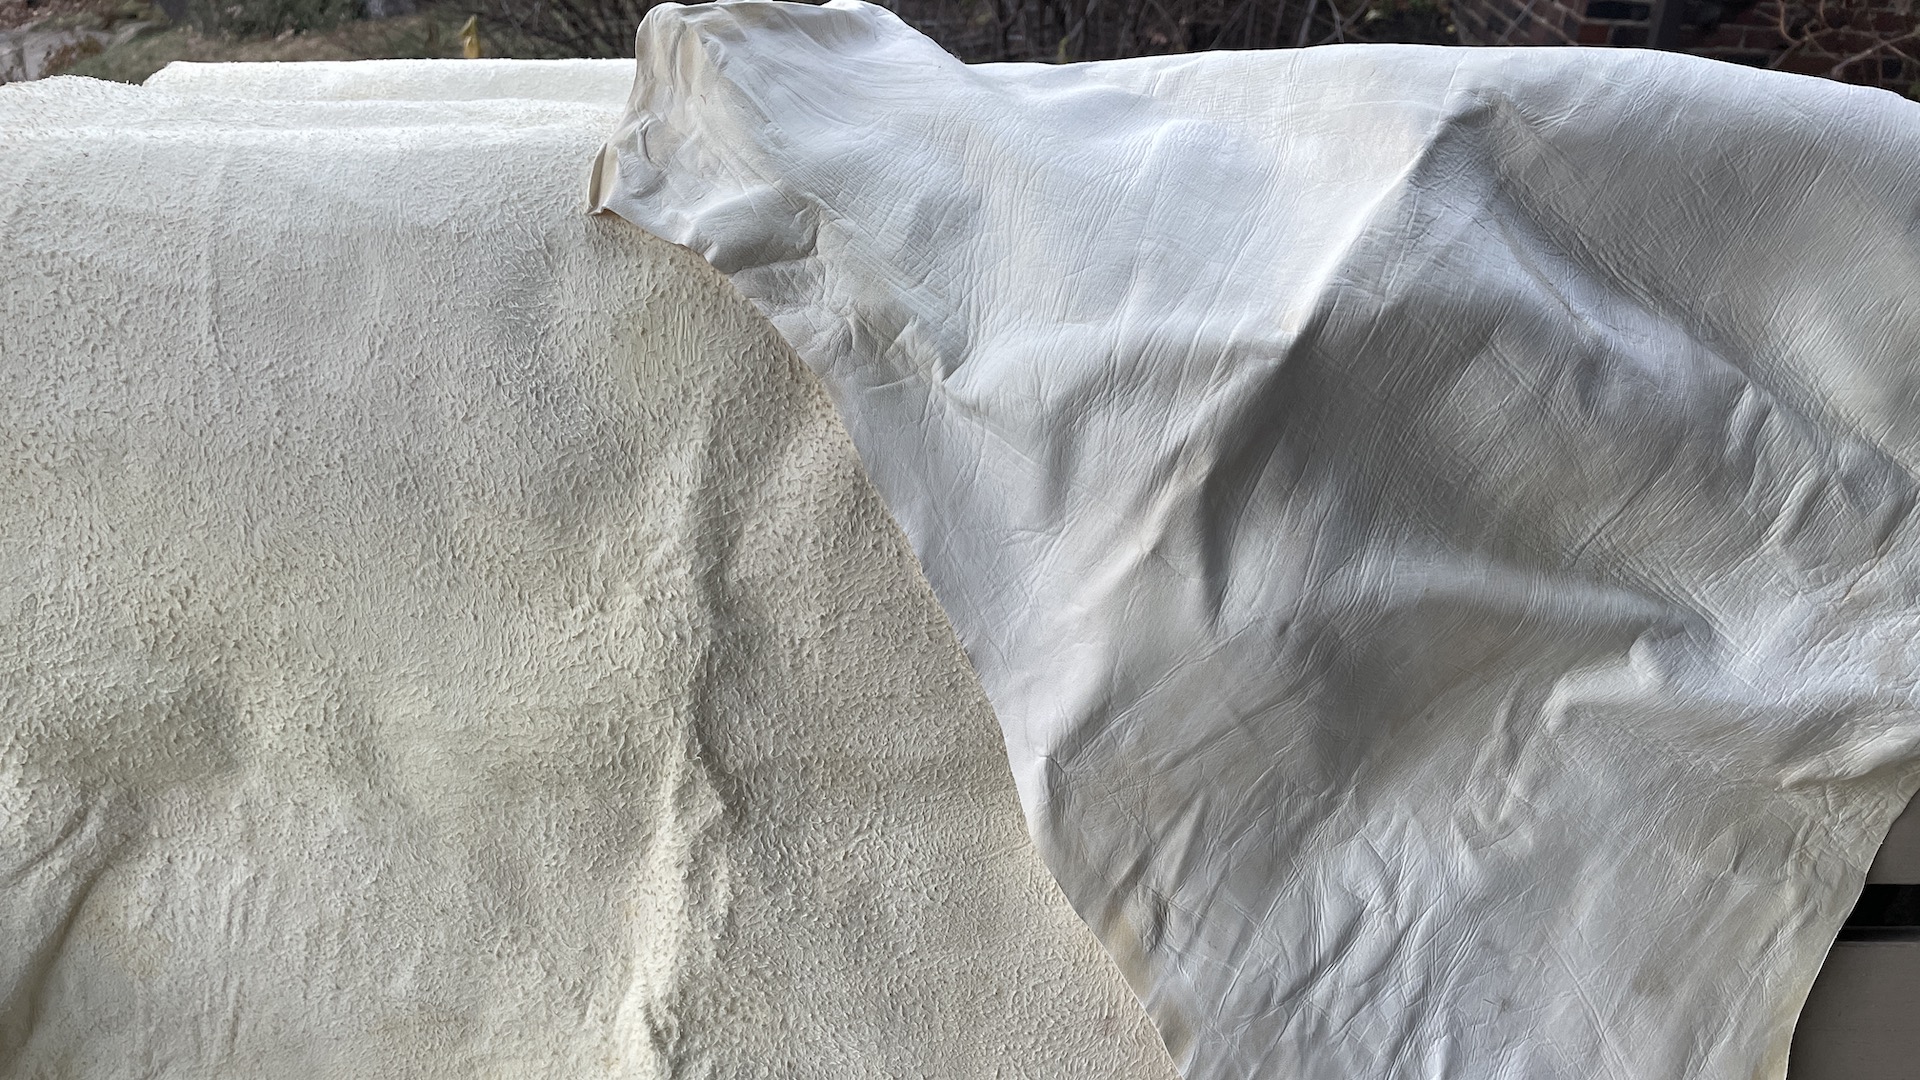
Put your hide back on the scraping beam, hair side up, and use your fleshing knife to scrape all the hair off of the hide. Now work over the same side again with firm pressure to get off the grain underneath the hair. The grain is a thin, grayish translucent layer that sits just beneath the hair. It can be hard at first to get under this layer, but try different areas of your hide and angles with your fleshing tool until it starts to pull away from the hide, after which it should come off pretty easily in thin sheets. The area where the grain has been properly removed will be paler and brighter than the parts of the hide with the grain still on. Now flip your hide over to the flesh side and work it over with the fleshing tool again, getting off any remaining bits of flesh or membrane you may have missed in the fleshing step.
You will notice the hide is very swollen at this step from the alkaline solution, so you want to get it back to a more neutral state before moving on to the next step. Dunk your hide in a bucket of fresh water and stir it around a couple times a day. Change out the water once a day until it returns to a soft and flexible state. If you want to speed this process along, you can add 3 ounces of ammonium sulfate to your water as a deliming agent, which should return the hide to its original state in about 5 hours.
Pickling, Neutralizing, and Rinsing
Now that you have a clean, scraped hide, it’s time to preserve it so it will last for years. Any hide-tanning oil you buy will likely have its own instructions on this process, but the basic premise is that you submerge your hide in a “pickling” solution of an acid and salt.
We use white distilled vinegar in a 1:1 ratio with water (usually about 4 gallons total is enough to cover a single deer hide). We also add 2 pounds of salt per gallon of solution. The solution should have a pH between 1 and 2, though to be honest we have never actually tested ours and it has always worked out fine. Leave the hide submerged in the pickling solution for 2 to 3 days, or until a mark remains after you press into the hide with your fingernail.
Now we want to once more get our hide back into a more neutral state after all that acidity. Remove your hide from the pickle bath and put it into a solution of 4 gallons of water and 2 cups of baking soda. Leave for about 30 minutes, stirring every 10 minutes, then remove and rinse thoroughly in fresh water. Wring as much water as possible out of the hide, then leave it hanging over your fleshing beam or a sawhorse to dry until it is still moist but no longer dripping water.
Oiling
It’s finally time to apply your tanning oil. Lay your hide out on a tarp so it’s flat and smooth and pour a generous amount of the tanning oil into the center. With gloved hands or a brush, spread the oil evenly over the surface.
Let it sit for thirty minutes and then flip over and apply oil to the other side. Wait another thirty minutes for the oil to soak in, then fold your hide into a small square with the flesh side on the inside. Wrap in the tarp and leave overnight. The next day, unfold your tarp and use a clean rag to wipe off any excess pools of oil.
Drying and Softening
You’re not quite done working yet! If you apply your tanning oil and let your hide dry on its own, it will end up very stiff and hard to work with, especially if you want to use it for any kind of clothing. Instead, you need to move the hide around to open up the fibers and keep your hide soft and flexible as it dries.
We like to hang ours up in the basement by cutting small holes around the outer edges of the hide and tying strings through them which we attach to the ceiling and walls. You can also nail your hide to a big sheet of plywood or just use your fleshing beam. Every 5 to 10 minutes, stretch and work your hide in a number of different ways. Pull in both directions, rub it over the corner of something, or push on it with a rounded piece of wood (this is easiest to do if it’s hanging or with the help of a partner to hold the hide up). The goal is just to keep those fibers flexible. As the hide dries, you will be able to easily see which parts still need to be worked over as they will be darker and stiffer than the parts that have been properly loosened.
Eventually, it will be completely dry, and you will have a soft but incredibly strong piece of deer leather. Congratulations! Now the fun part begins as you devise ways to use your deerskin. Because of its toughness and flexibility, tanned deerskin can be used to make all kinds of things, from bags and gloves to tool straps, knife sheaths, and ax strops. So have fun experimenting, knowing that each year you can add to your collection and feel the satisfaction of using even more of the deer you harvest.
Shop
Sign In or Create a Free Account
Related


Books & Literature
Listen to a Free Chapter from MeatEater’s American History: The Hide Hunters (1865-1883)