Field Butchering Tips Part 2: Quartering vs Deboning

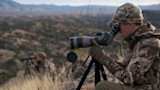
Backcountry hunters often say that the real work begins after you’ve killed an animal.That’s certainly true. In places where you can’t get a vehicle near your kill, and you don’t have access to pack animals, it’s necessary to break down the animal and move it on your back.
Before you even beginfield butcheringyour kill, be aware that every state has some version of wanton waste laws regarding what parts of an animal must be removed from the woods. No matter how you choose to break down an animal for packing purposes, always adhere to these wanton waste laws. They may affect how you proceed with your field butchering.
There are two different methods for butchering an animal in the field.
Quartering
You can quarter the animal and transport the meat on the bone or you can bone out the carcass and pack only boneless meat. In theory, the boneless method might seem preferable because there’s less poundage that needs to be hauled. However, there’s a lot more to consider than just the weight of your backpack.
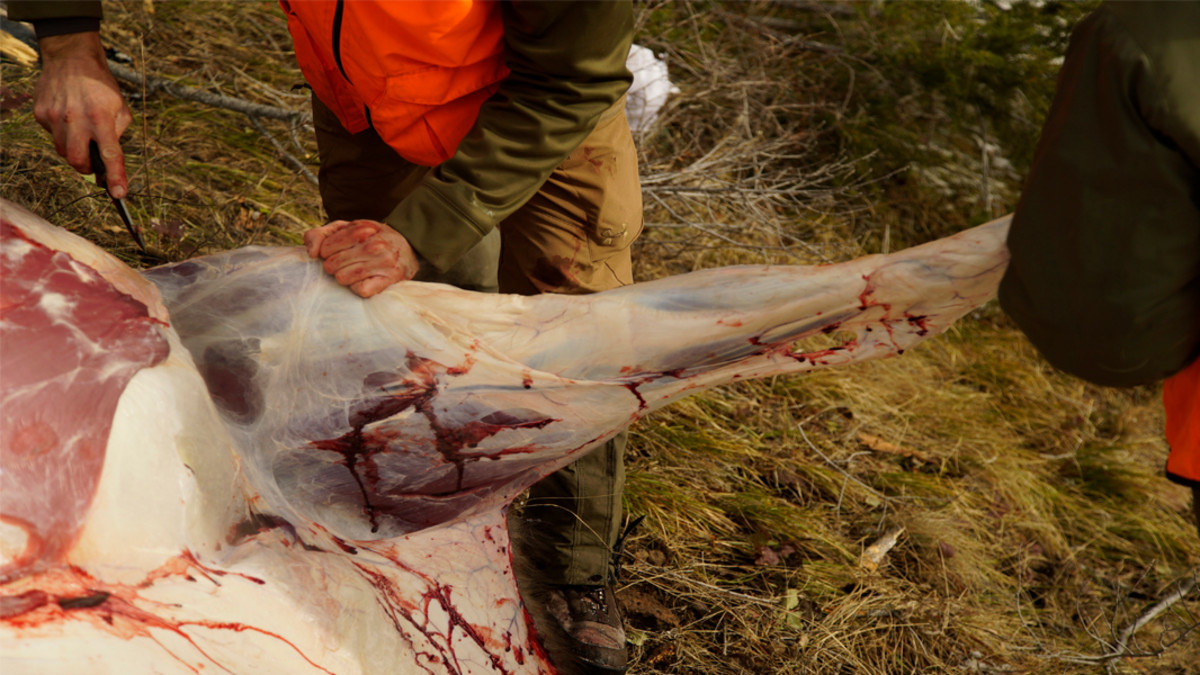
Inpart 1 of our field butchering tips, we discussed two different quartering methods for backpack hunters. But to review, do-it-yourself hunters either start by using a gutless quartering technique or else they gut, skin and quarter the animal by removing the four legs, or “quarters”, and all the other edible portions like the tongue, neck, backstraps, tenderloins, ribs, heart and liver from the carcass.
This makes packing out even large animals like elk possible for a single hunter who’s killed an animal a couple miles from the trailhead.
Deboning
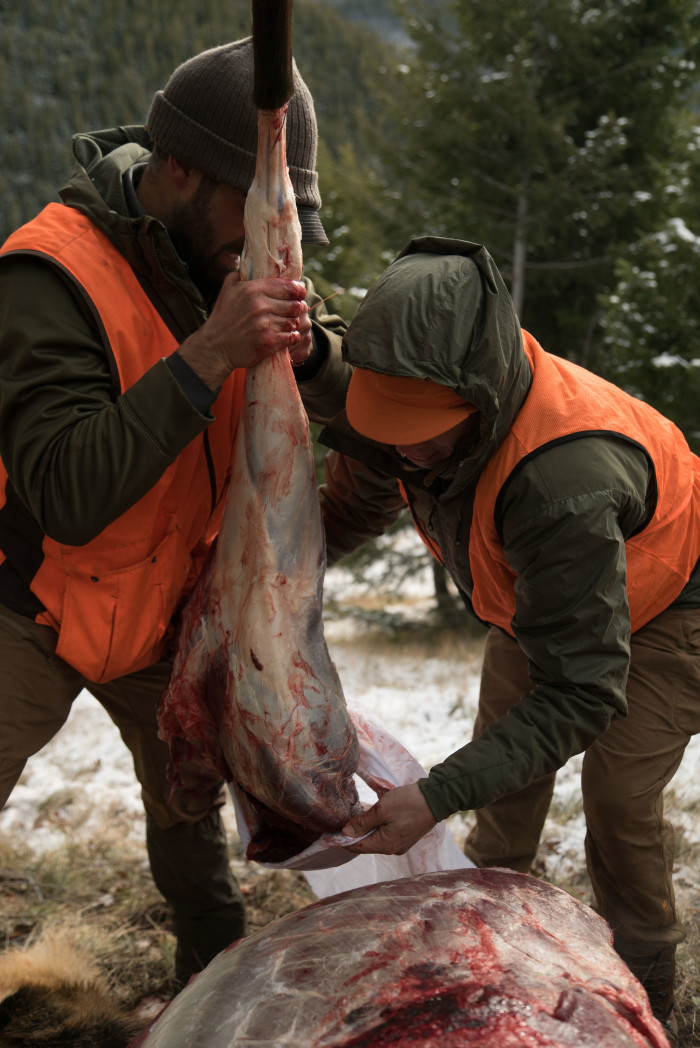
Deboning takes breaking down an animal for packing purposes a step further than quartering. Deboning an animal advances the butchering process by cutting large muscle groups away from the leg bones and smaller cuts from the ribs, neck and spine. This way, you’re leaving all the bones in the field and carrying out only pure meat.
There are some reasonable arguments in favor of deboning. This method is popular with some backpack hunters who are trying to reduce the overall weight of each load they’ll need to haul out of the woods.
An elk’s hindquarter might weigh ten pounds less once the femur and lower leg bones are removed. What’s more, deboned meat can be easier to fit into a backpack full of gear because a game bag of boneless meat is far more malleable than a bag containing a femur and shin bone. If you are on a solo wilderness hunt, these are important considerations.
But, there are some major drawbacks to the boneless method of field butchering. First, it adds a lot of time to the field butchering process. This is time that you could have spent packing meat out of the woods. The second reason has to do with keeping things clean. Deboned meat has a lot more surface area than bone-in quarters.
So, there’s much more surface area to catch dirt, hair and other potential contaminants. Boneless portions require a lot of trimming to remove not only dirt and hair, but also the outer layer of discolored, dried out meat. Smaller pieces of deboned meat can dry out fast due to evaporation. This is why tenderloins and backstraps need to be trimmed, packaged and frozen as soon as possible.
Because of the increased surface area of deboned meat, you’ll eventually end up tossing a lot of meat during the cleaning and trimming process. A friend of mine processes big game for a living and he butchers and packages dozens of deer and elk every year.
Many hunters might assume they’re doing him a favor by deboning meat and getting a head start on the butchering process. But for him, it’s much easier to produce high quality, custom steaks and roasts by starting out with an entire quarter.
Also, consider what you’re leaving behind when you pack out only deboned meat. Two of my favorite wild game meals are braised and grilled racks of ribs and slow-cookedosso bucco.Without the rib and shank bones, those meals simply aren’t possible. A bone-in shoulder roast, another favorite, is not an option if you’ve turned that front quarter into a pile of deboned grind meat. Neither ismaking a big batch of bone stock. I go through dozens of quarts of this stuff a year but I’d have to buy stock from the store if I didn’t pack out those bones. And, there’s that tasty bone marrow I’d be missing.
But, just as the boneless method has its failings, there are certainly a couple of arguments to be made against quartering. Those bones are heavy and if you’ve killed an animal a few miles from your vehicle, you’ll feel every ounce of extra weight on the hike out. And, unless you’re hunting with a few willing friends, you may need to make several trips back and forth to pack out an entire animal.
Despite these relatively minor negatives, quartering is still a vastly better field butchering system than deboning. Even a bone-in moose hindquarter weighing in excess of 110 pounds becomes a manageable load if it’s cut in half. Quartering is also much faster than deboning.
This is important if you’ve killed an animal at last light, if the weather is extremely warm, or if you need to quickly stash the meat out of reach of predators. Bone-in quarters have convenient handles and internal frames that allow the meat to be lifted, carried or hung as one sturdy package.
Entire rib racks can easily be lashed to your pack. Sometimes, I’ll even leave the spine inside my neck roasts on smaller animals like whitetails. Also, a quarter that has been hung in a tree or laid on a log to air dry before packing quickly develops an almost impenetrable outer rind.
This dry crust protects all the interior meat from contamination which means you’ll end up with more clean meat when it’s time to debone, process and package your kill at home.By packing out entire quarters, it’s possible to use more of the animal and make some great meals you’d miss out on otherwise.
For more quartering, deboning and butchering tips check out Steve’sComplete Guide to Hunting, Butchering and Cooking Wild Game Volume 1and watch the MeatEater butchering special episode.
InPart 3 of our field butchering tipswe’ll talk about handling meat damage.
Shop
Sign In or Create a Free Account
Related
Butchering & Processing
Small Game Field Care Tips

Butchering & Processing
Field Butchering Tips Part 2: Quartering vs Deboning