
Prep time
10 minutes
Cook time
20 minutes
Course
Dessert
Skill level
Intermediate
Season
All Seasons
Serves
2 pie crusts
Mention deer tallow or deer fat, and some of the first words you’ll hear are “waxy,” “chalky,” “rancid,” or “bitter.” While the first two are accurate textural descriptors, the latter are inaccurate taste descriptors. I’ve spent a career in restaurants, essentially watching people eat, and if I were to name the two most glaring observations about people’s reactions to food, they would be: people have a hard time separating taste from texture, and people have an extremely difficult time separating emotion and bias from their eating experience.
This is whydeer fat is so interestingto me. It’s almost always talked about in a negative light, the armchair experts are always quick to comment, and I’d be willing to bet that most of the loudest opinions come second hand, and lack any real-world experience. On top of that, you tell someone that something is going to taste bad, or if they think it’s going to taste bad, odds are decent that they’ll say it tastes bad. It’s a normal human reaction—we want to trust others, and our emotions and bias will influence our senses.
Deer fat is high in saturated fat, much like beef tallow. It’s got a coat-your-mouth, waxy texture when cooled. It’s understandable that this texture is not desirable in some foods, but expensive dark chocolates have the same texture and are highly sought after. As far as taste goes, deer tallow is nearly identical to beef tallow—mild. It doesn’t have a “gamey” or bitter flavor if rendered properly. (Check outthis articleto learn more about rendering.)
What it does have, in addition to a neutral flavor, is a high melting point. You can use this to your advantage in any recipe where you want a flaky crust. The tallow will take longer to melt than the traditional butter or shortening used in many pie crust recipes, leaving you with a crispy, flaky crust that doesn’t burn in the oven.
This pie crust recipe emphasizes those characteristics of deer tallow and uses them to your advantage. Usingboth butter and tallowin this pie crust allows you to keep the buttery flavor that everyone loves, with additional flakiness. Also, because the tallow is mixed into flour, the undesirable waxy characteristic is hidden.
I’ve experimented with deer fat in dozens of cooking applications, and baking with it always yields good results.Click herefor more animal fat baking tips.
A couple of notes on this recipe: you want the butter and tallow cold, almost frozen. This makes it easier to handle and also prevents it from melting when working into the flour. I freeze the deer tallow, then grate it while frozen. I keep the grated fat in the freezer while I measure everything else out. The same goes for the butter—cut it up into small cubes, then throw it in the fridge or freezer; you want to create pockets of fat within the dough, not melt the fat into the flour while you’re working it in.
When in doubt, it could always be colder. Make pie dough ahead of time, wrap it up, and keep it in the fridge until you are ready to roll it out. The colder it is, the easier it is to work with, and the flakier the crust will be.
This recipe makes enough dough for two pie crusts—enough for a double-crust pie or two topless pies. You can wrap the extra dough tight and store in the fridge or freezer.
As for the filling, this pie crust works with both sweet and savory fillings. From strawberry-rhubarb to turkey pot pie, this dough will provide a flaky and crispy foil to the filling.
Ingredients
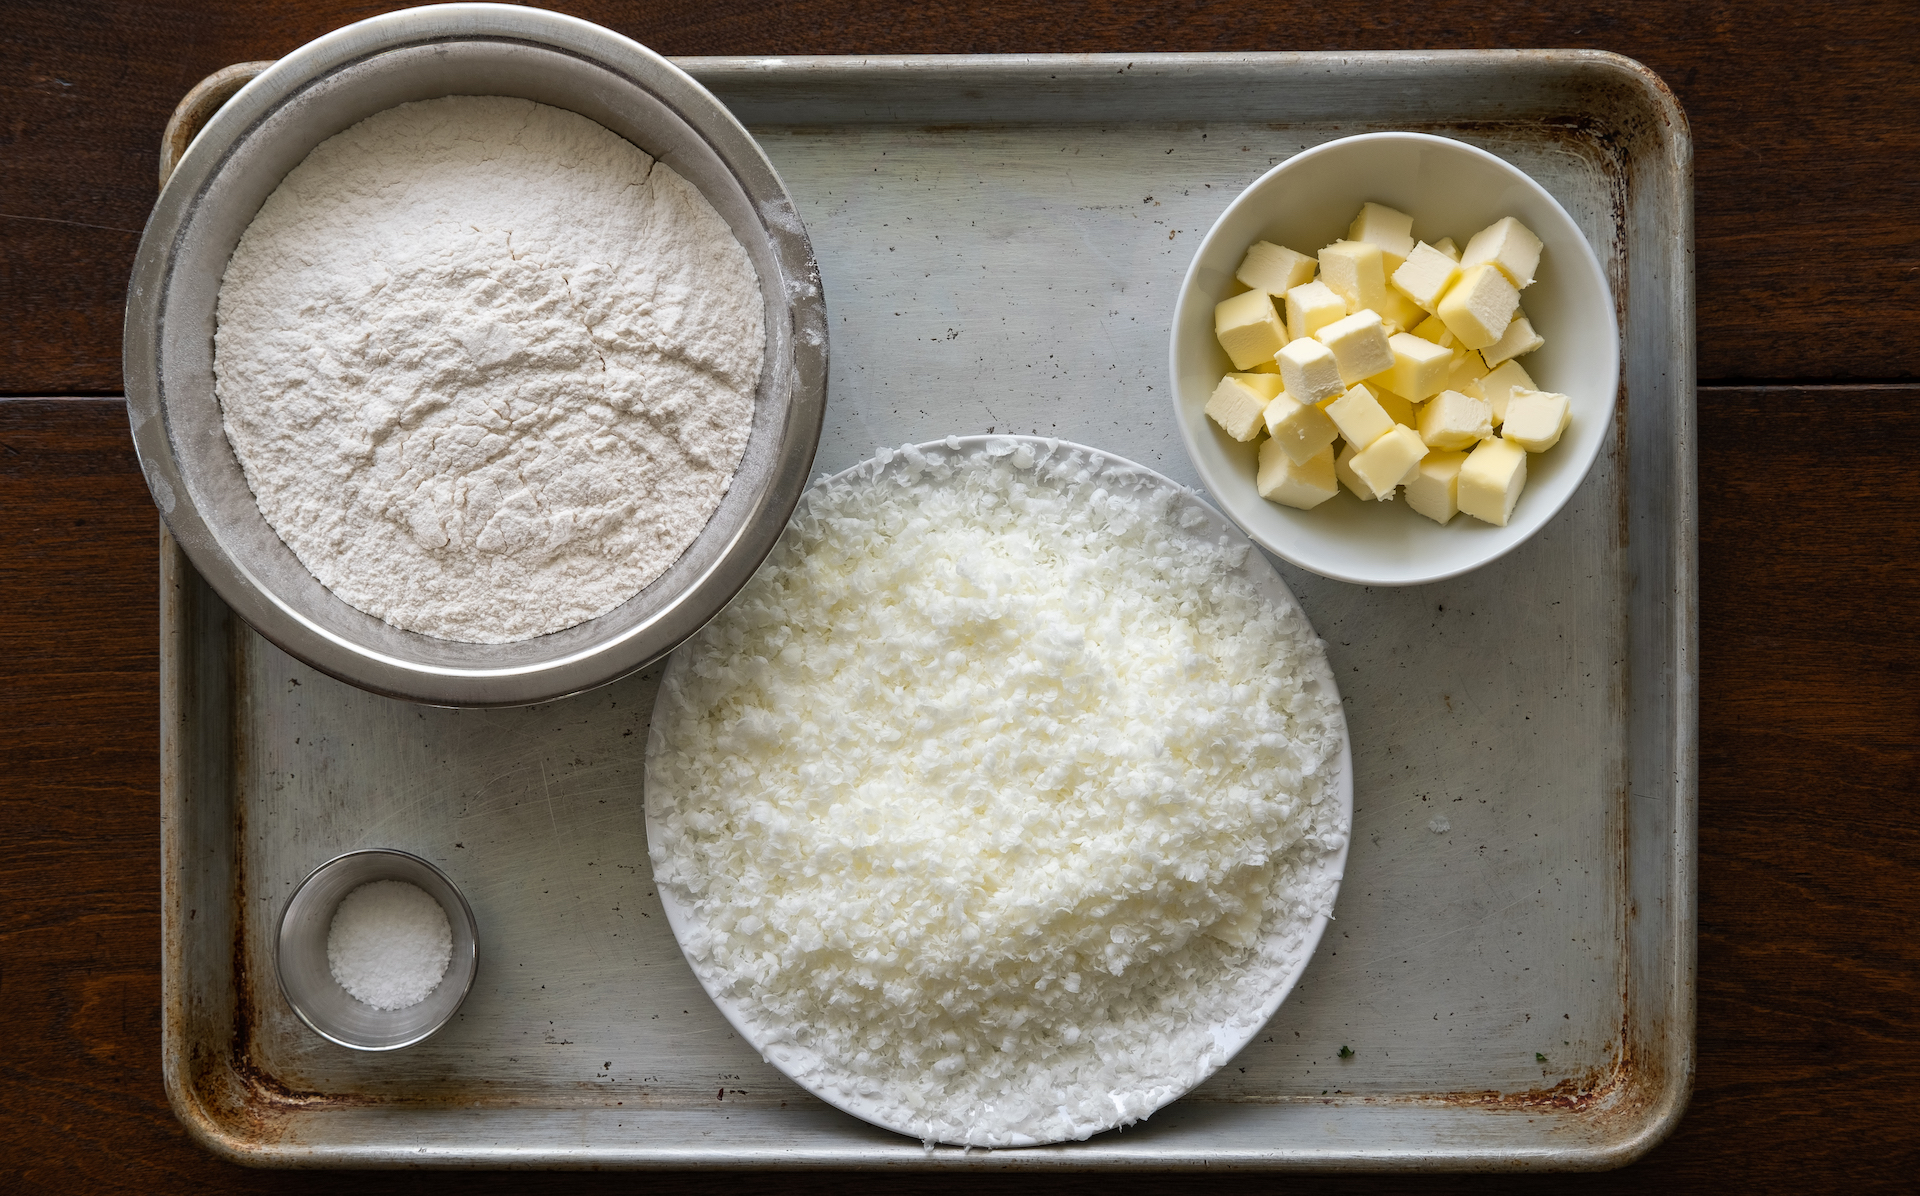
- 2½ cups all-purpose flour
- 1 tsp. salt
- ½ cup unsalted butter, chilled and cubed
- ½ cup + 2 tbsp. rendered deer tallow, frozen and grated
- Ice water
Preparation
- In a large mixing bowl, combine flour and salt, stir to mix. Add in cubed butter and grated deer tallow. Cut into the flour with a large fork of pastry blender (aka pastry cutter). You are looking for a pebbly texture that varies in size. Work fast, and if you feel that the fats are melting, throw the entire bowl in the fridge to cool down before continuing.
- Once mixed, add in ice water a few tablespoons at a time. Start off with 2 to 3 tablespoons, mix by hand, then add 1 tablespoon at a time until you can form a ball with the dough.
- Roll the dough into a ball and split in half. Wrap each half individually with plastic wrap, and refrigerate for an hour at least before rolling out.
- At this point, you can wrap the dough tight and refrigerate or freeze for later use or, preheat the oven to 350°F and prepare a filling.
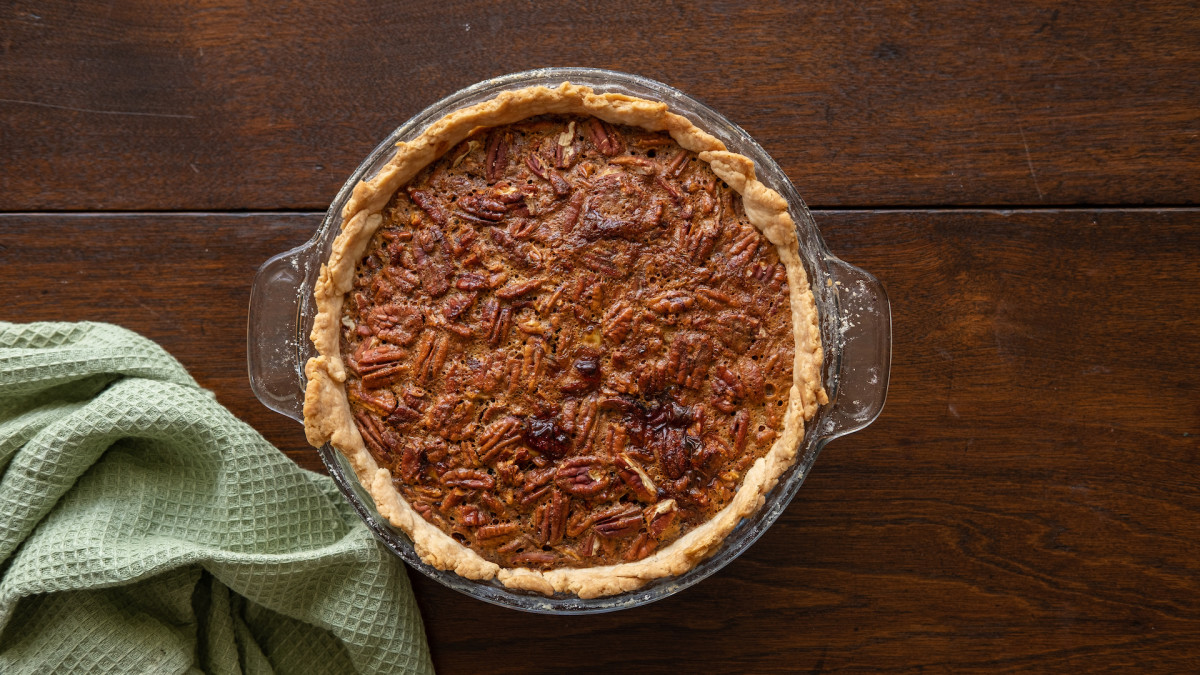
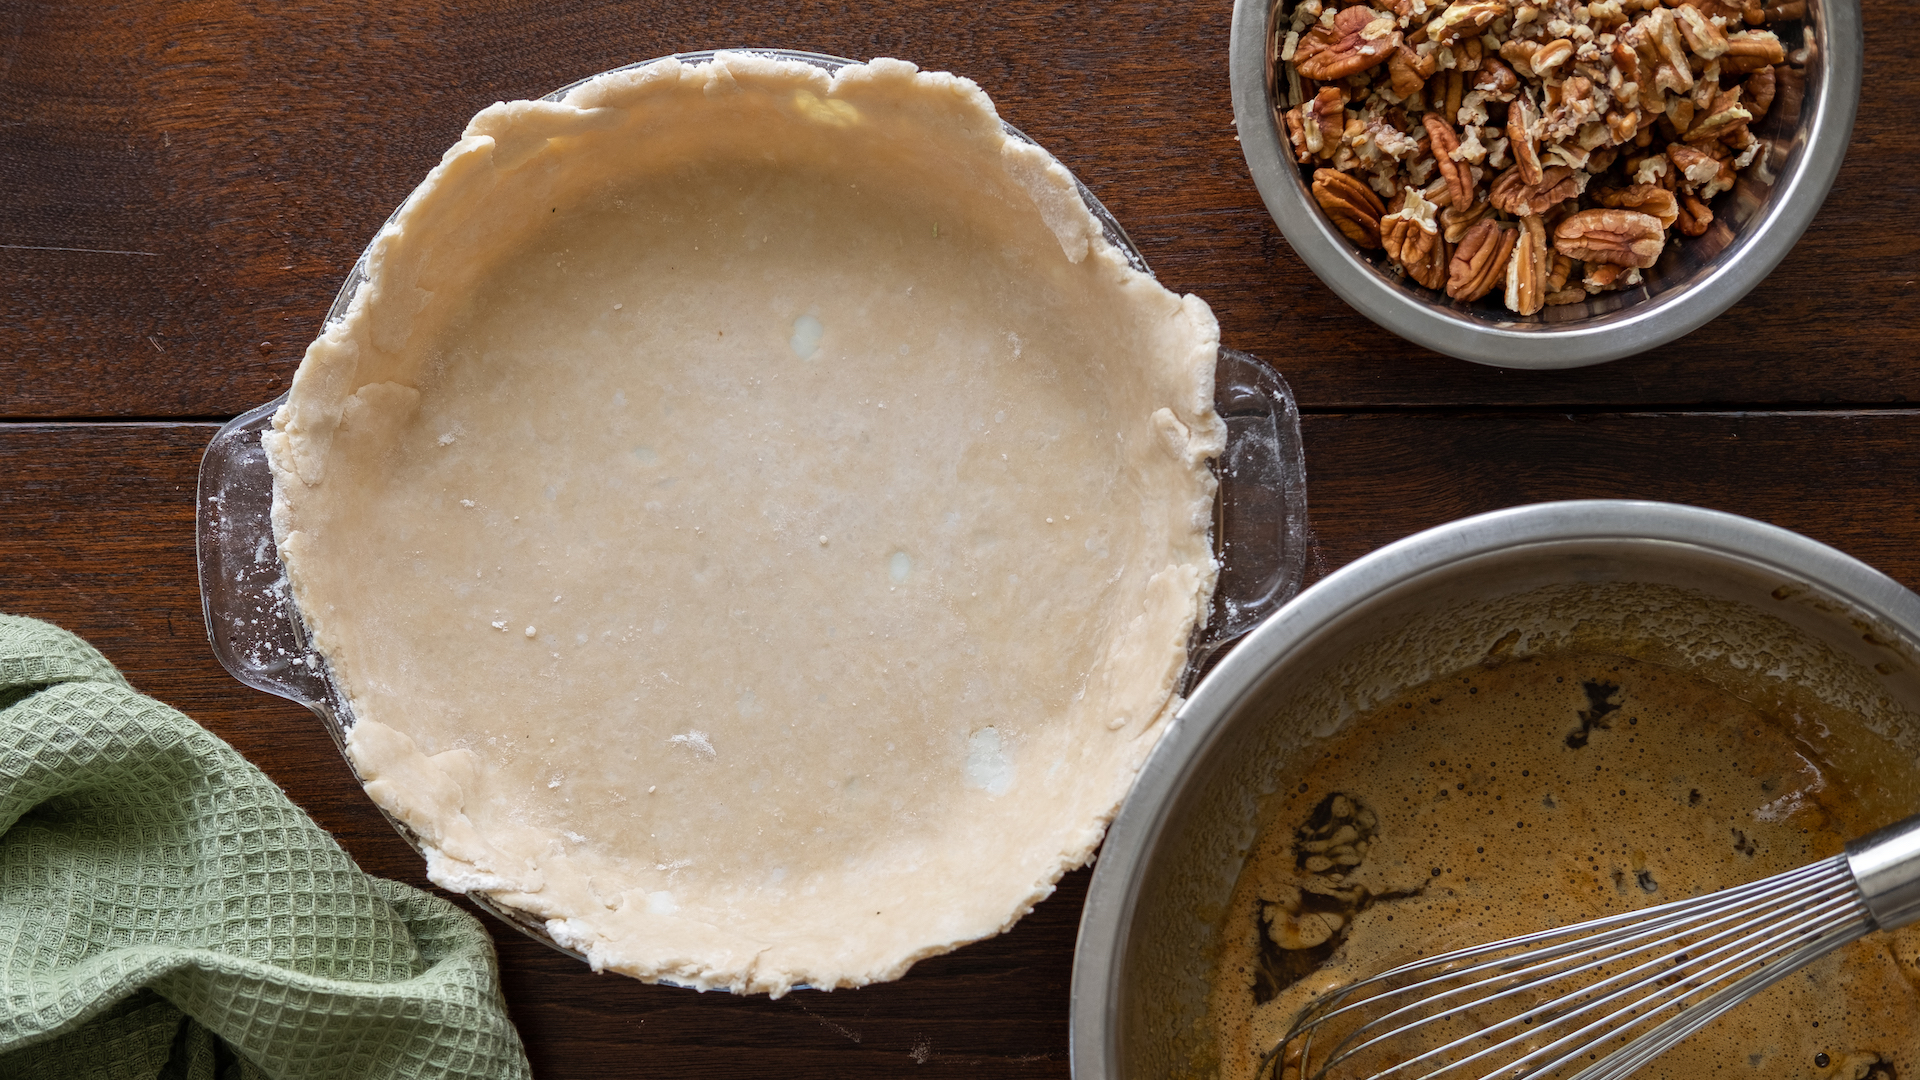
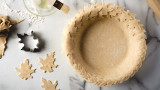
- Lightly flour your work surface and roll out one of the pie dough balls to a roughly 12-inch circle. Grease a 9-inch pie pan, and place the pie dough in the pan. From here, if you're feeling fancy, you can make the edges of the pie crust pretty with ridges and folds, or if you're like me, just leave it rustic. Fill and bake until set, about 50 minutes.
Shop
Sign In or Create a Free Account
Related

Recipes
Pecan Pie with Deer Tallow Crust
(0)
Recipes
Danielle’s Favorite Pie Crust
(1)
Recipes
Tallow Pie Crust
(3)Reviews
Tallow Pie Crust
Prep time
10 minutes
Cook time
20 minutes
Course
Dessert
Skill level
Intermediate
Season
All Seasons
Serves
2 pie crusts
Mention deer tallow or deer fat, and some of the first words you’ll hear are “waxy,” “chalky,” “rancid,” or “bitter.” While the first two are accurate textural descriptors, the latter are inaccurate taste descriptors. I’ve spent a career in restaurants, essentially watching people eat, and if I were to name the two most glaring observations about people’s reactions to food, they would be: people have a hard time separating taste from texture, and people have an extremely difficult time separating emotion and bias from their eating experience.
This is whydeer fat is so interestingto me. It’s almost always talked about in a negative light, the armchair experts are always quick to comment, and I’d be willing to bet that most of the loudest opinions come second hand, and lack any real-world experience. On top of that, you tell someone that something is going to taste bad, or if they think it’s going to taste bad, odds are decent that they’ll say it tastes bad. It’s a normal human reaction—we want to trust others, and our emotions and bias will influence our senses.
Deer fat is high in saturated fat, much like beef tallow. It’s got a coat-your-mouth, waxy texture when cooled. It’s understandable that this texture is not desirable in some foods, but expensive dark chocolates have the same texture and are highly sought after. As far as taste goes, deer tallow is nearly identical to beef tallow—mild. It doesn’t have a “gamey” or bitter flavor if rendered properly. (Check outthis articleto learn more about rendering.)
What it does have, in addition to a neutral flavor, is a high melting point. You can use this to your advantage in any recipe where you want a flaky crust. The tallow will take longer to melt than the traditional butter or shortening used in many pie crust recipes, leaving you with a crispy, flaky crust that doesn’t burn in the oven.
This pie crust recipe emphasizes those characteristics of deer tallow and uses them to your advantage. Usingboth butter and tallowin this pie crust allows you to keep the buttery flavor that everyone loves, with additional flakiness. Also, because the tallow is mixed into flour, the undesirable waxy characteristic is hidden.
I’ve experimented with deer fat in dozens of cooking applications, and baking with it always yields good results.Click herefor more animal fat baking tips.
A couple of notes on this recipe: you want the butter and tallow cold, almost frozen. This makes it easier to handle and also prevents it from melting when working into the flour. I freeze the deer tallow, then grate it while frozen. I keep the grated fat in the freezer while I measure everything else out. The same goes for the butter—cut it up into small cubes, then throw it in the fridge or freezer; you want to create pockets of fat within the dough, not melt the fat into the flour while you’re working it in.
When in doubt, it could always be colder. Make pie dough ahead of time, wrap it up, and keep it in the fridge until you are ready to roll it out. The colder it is, the easier it is to work with, and the flakier the crust will be.
This recipe makes enough dough for two pie crusts—enough for a double-crust pie or two topless pies. You can wrap the extra dough tight and store in the fridge or freezer.
As for the filling, this pie crust works with both sweet and savory fillings. From strawberry-rhubarb to turkey pot pie, this dough will provide a flaky and crispy foil to the filling.
Ingredients
- 2½ cups all-purpose flour
- 1 tsp. salt
- ½ cup unsalted butter, chilled and cubed
- ½ cup + 2 tbsp. rendered deer tallow, frozen and grated
- Ice water
Preparation
- In a large mixing bowl, combine flour and salt, stir to mix. Add in cubed butter and grated deer tallow. Cut into the flour with a large fork of pastry blender (aka pastry cutter). You are looking for a pebbly texture that varies in size. Work fast, and if you feel that the fats are melting, throw the entire bowl in the fridge to cool down before continuing.
- Once mixed, add in ice water a few tablespoons at a time. Start off with 2 to 3 tablespoons, mix by hand, then add 1 tablespoon at a time until you can form a ball with the dough.
- Roll the dough into a ball and split in half. Wrap each half individually with plastic wrap, and refrigerate for an hour at least before rolling out.
- At this point, you can wrap the dough tight and refrigerate or freeze for later use or, preheat the oven to 350°F and prepare a filling.
- Lightly flour your work surface and roll out one of the pie dough balls to a roughly 12-inch circle. Grease a 9-inch pie pan, and place the pie dough in the pan. From here, if you're feeling fancy, you can make the edges of the pie crust pretty with ridges and folds, or if you're like me, just leave it rustic. Fill and bake until set, about 50 minutes.