Photos: How to Build an Archery Target Stand

It’s that time of year again—dust off your bow and get some reps in before hunting season. While the sun is still burning with the heat of summer, it can get difficult to pull yourself outdoors and put in the practice required.
One way I stay motivated to continually practice is to change my targets around to different locations. This coupled with having a variety of types of targets can do wonders for keeping your interest locked in. As hunting seasons are quickly approaching, I wanted to take the opportunity to share how easy (and cheap) it is to mix up your target practice with a mobile target stand perfect for getting your bag out of the dirt.
It is important to note that the forces exerted on the target will be most intense during arrow pull. Feel free to diverge from the materials list provided should you find yourself with different materials of similar strength value. Use what you have. All of the materials used in this project were sourced from my shed or various other piles around the farm.
Tools and Materials
- Tape measure
- Drill
- Sawzall
- Skill saw
- ⅛” drill bit
- Speed square
- Level
- 2 4x6' pallets
- 1 lb. 3” exterior-grade screws
- 1 lb. ⅝” exterior-grade screws
- 3 2x4x8’ or similar
- 1 sheet corrugated plastic roofing
- 4 ¼”x2” “eye” lags
- Bag target
- 8’ paracord
- Wood blocks for leveling pallet (should it be required)
1. Cut the Base PalletThis piece will be the floor or base for the target stand. I cut the pallet length down to 5’ just to shave weight for mobility, but retain enough length to be stable. At this point, place any blocking you may need under the pallet to level its surface.
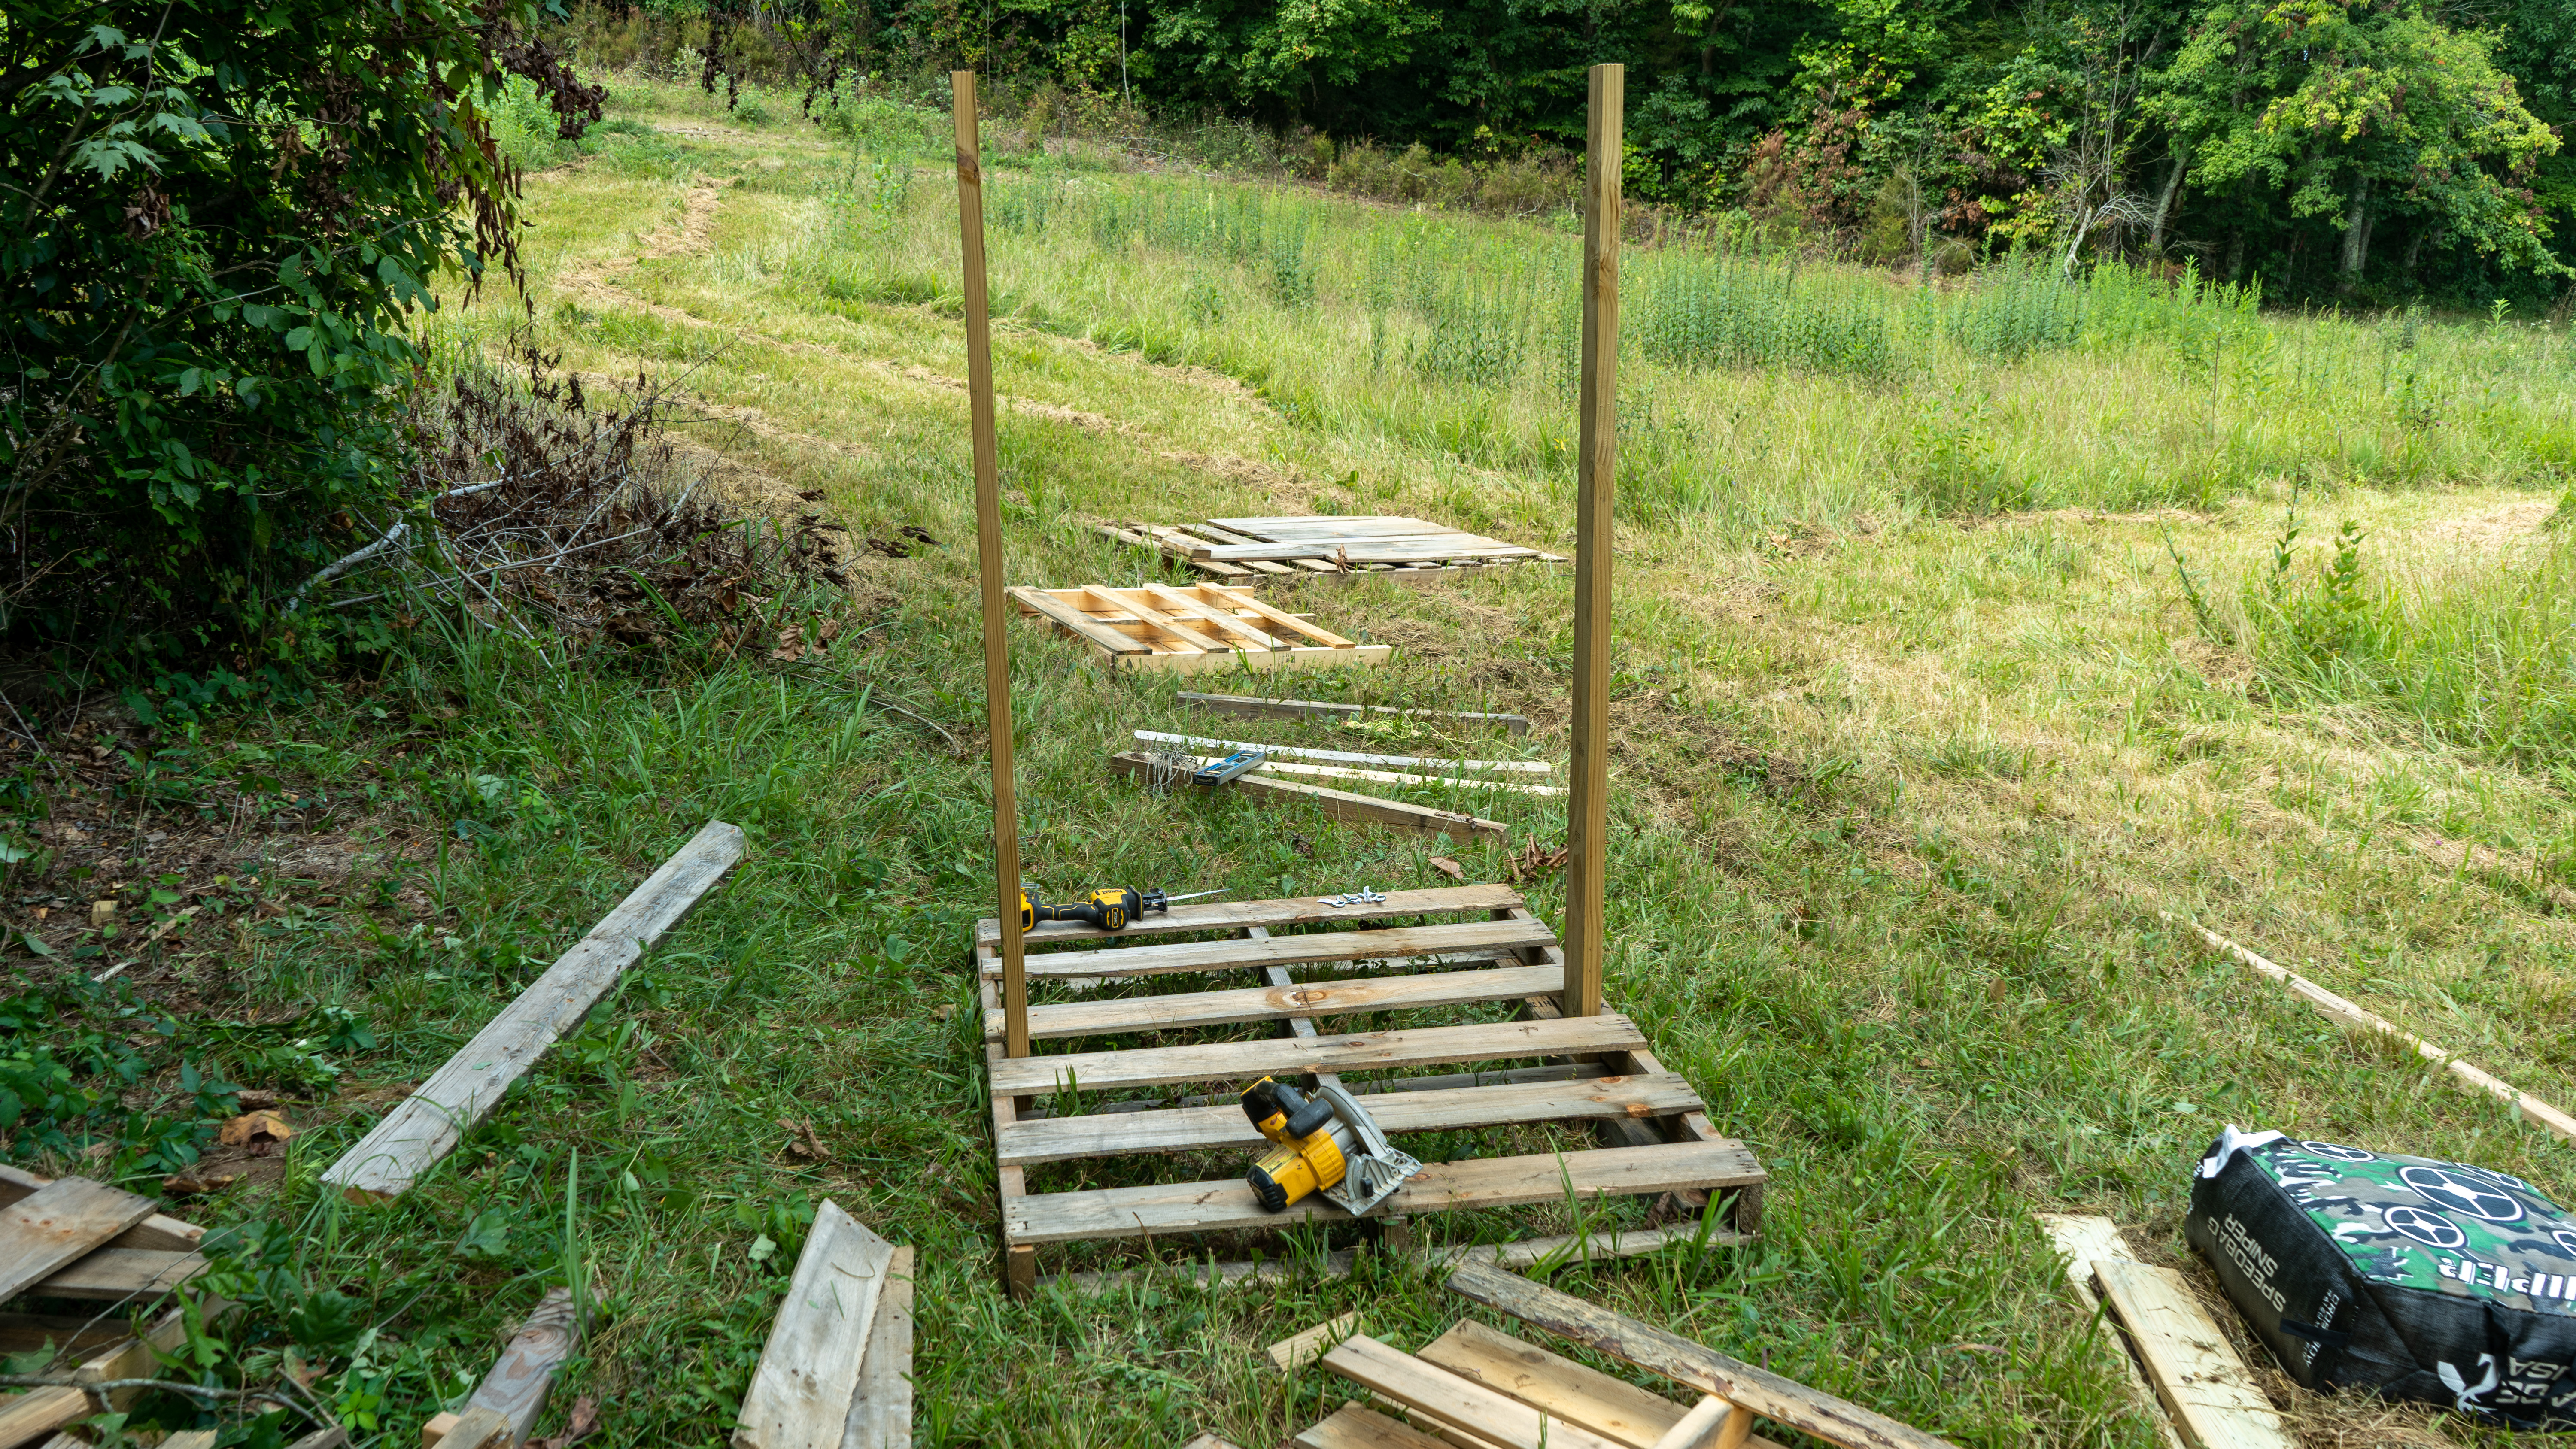
2. Install UprightsMark the center of the base pallet to identify the location for the upright supports, and install. I cut these uprights at 74” and found the total height for the target to be perfect in the end. Once cut to length, slide them in between the pallet slats and tight against the pallet’s 2x4 runner. Fasten with two 3” screws at the base of both uprights.
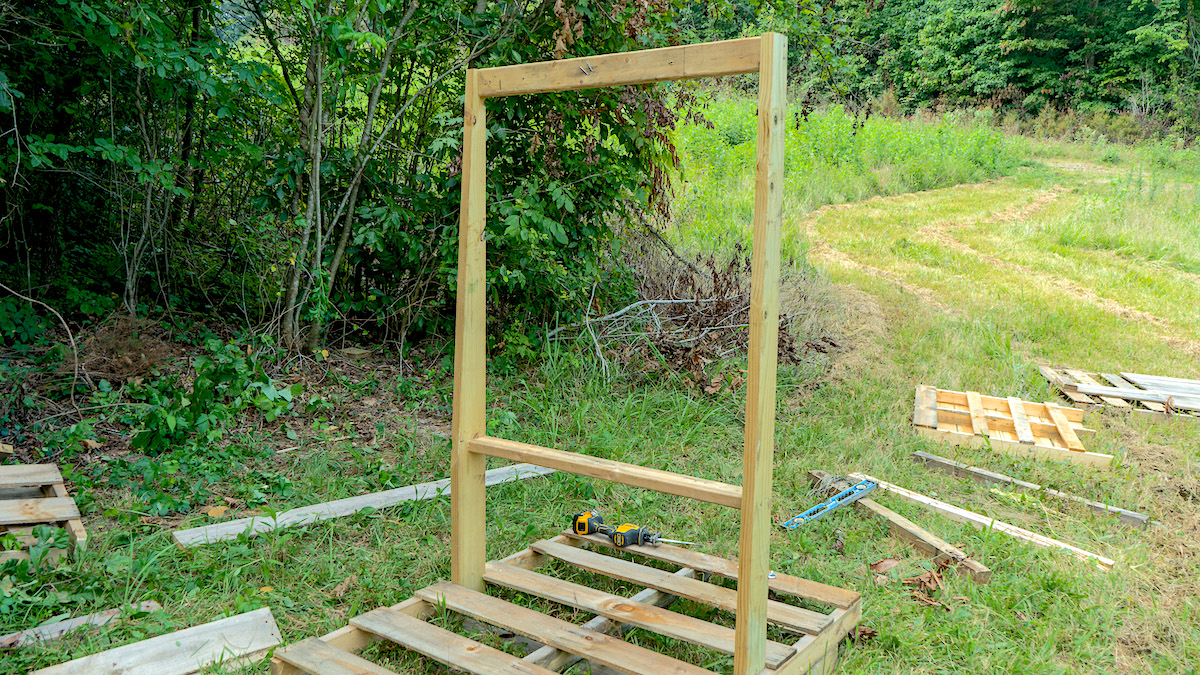
3. Install Horizontal SupportsThese should be built in a ladder fashion to the uprights. Use the inside measurement of the uprights, cut two 2x4 and fasten with two 3” screws per end. For the lower support, measure 22” up from the base pallet and install. The upper support can be attached flush at the top of the uprights.
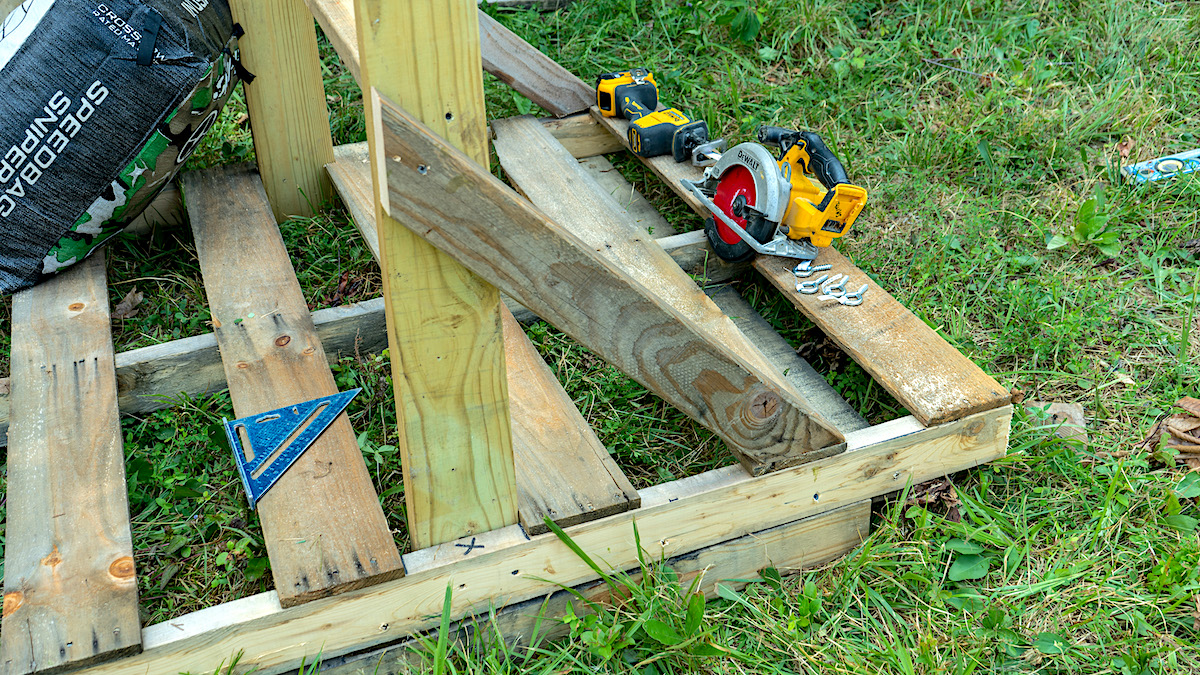
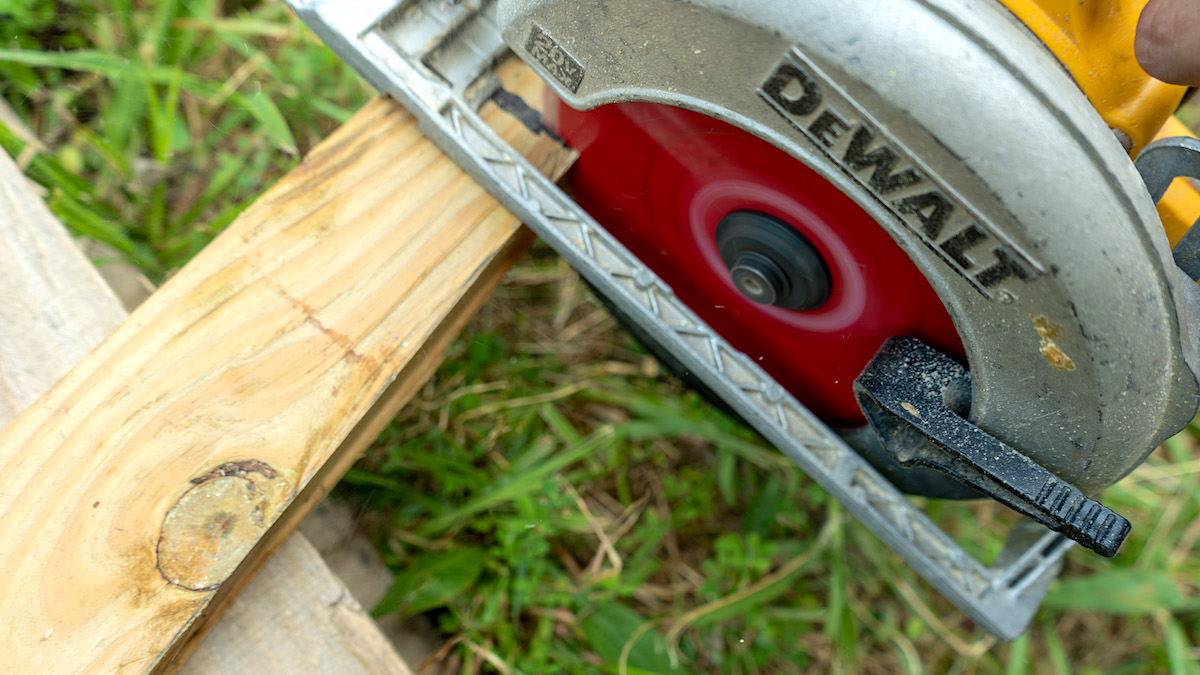
4. Install Diagonal SupportsThese should extend from the base pallet to the upright supports. Begin by making sure the uprights are square to the base pallet. Once this is confirmed, press a 2x4 up against the side of the entire frame at a diagonal. Mark the locations for cutting the diagonal braces. Cut one out, transfer marks, and cut another for the other side.
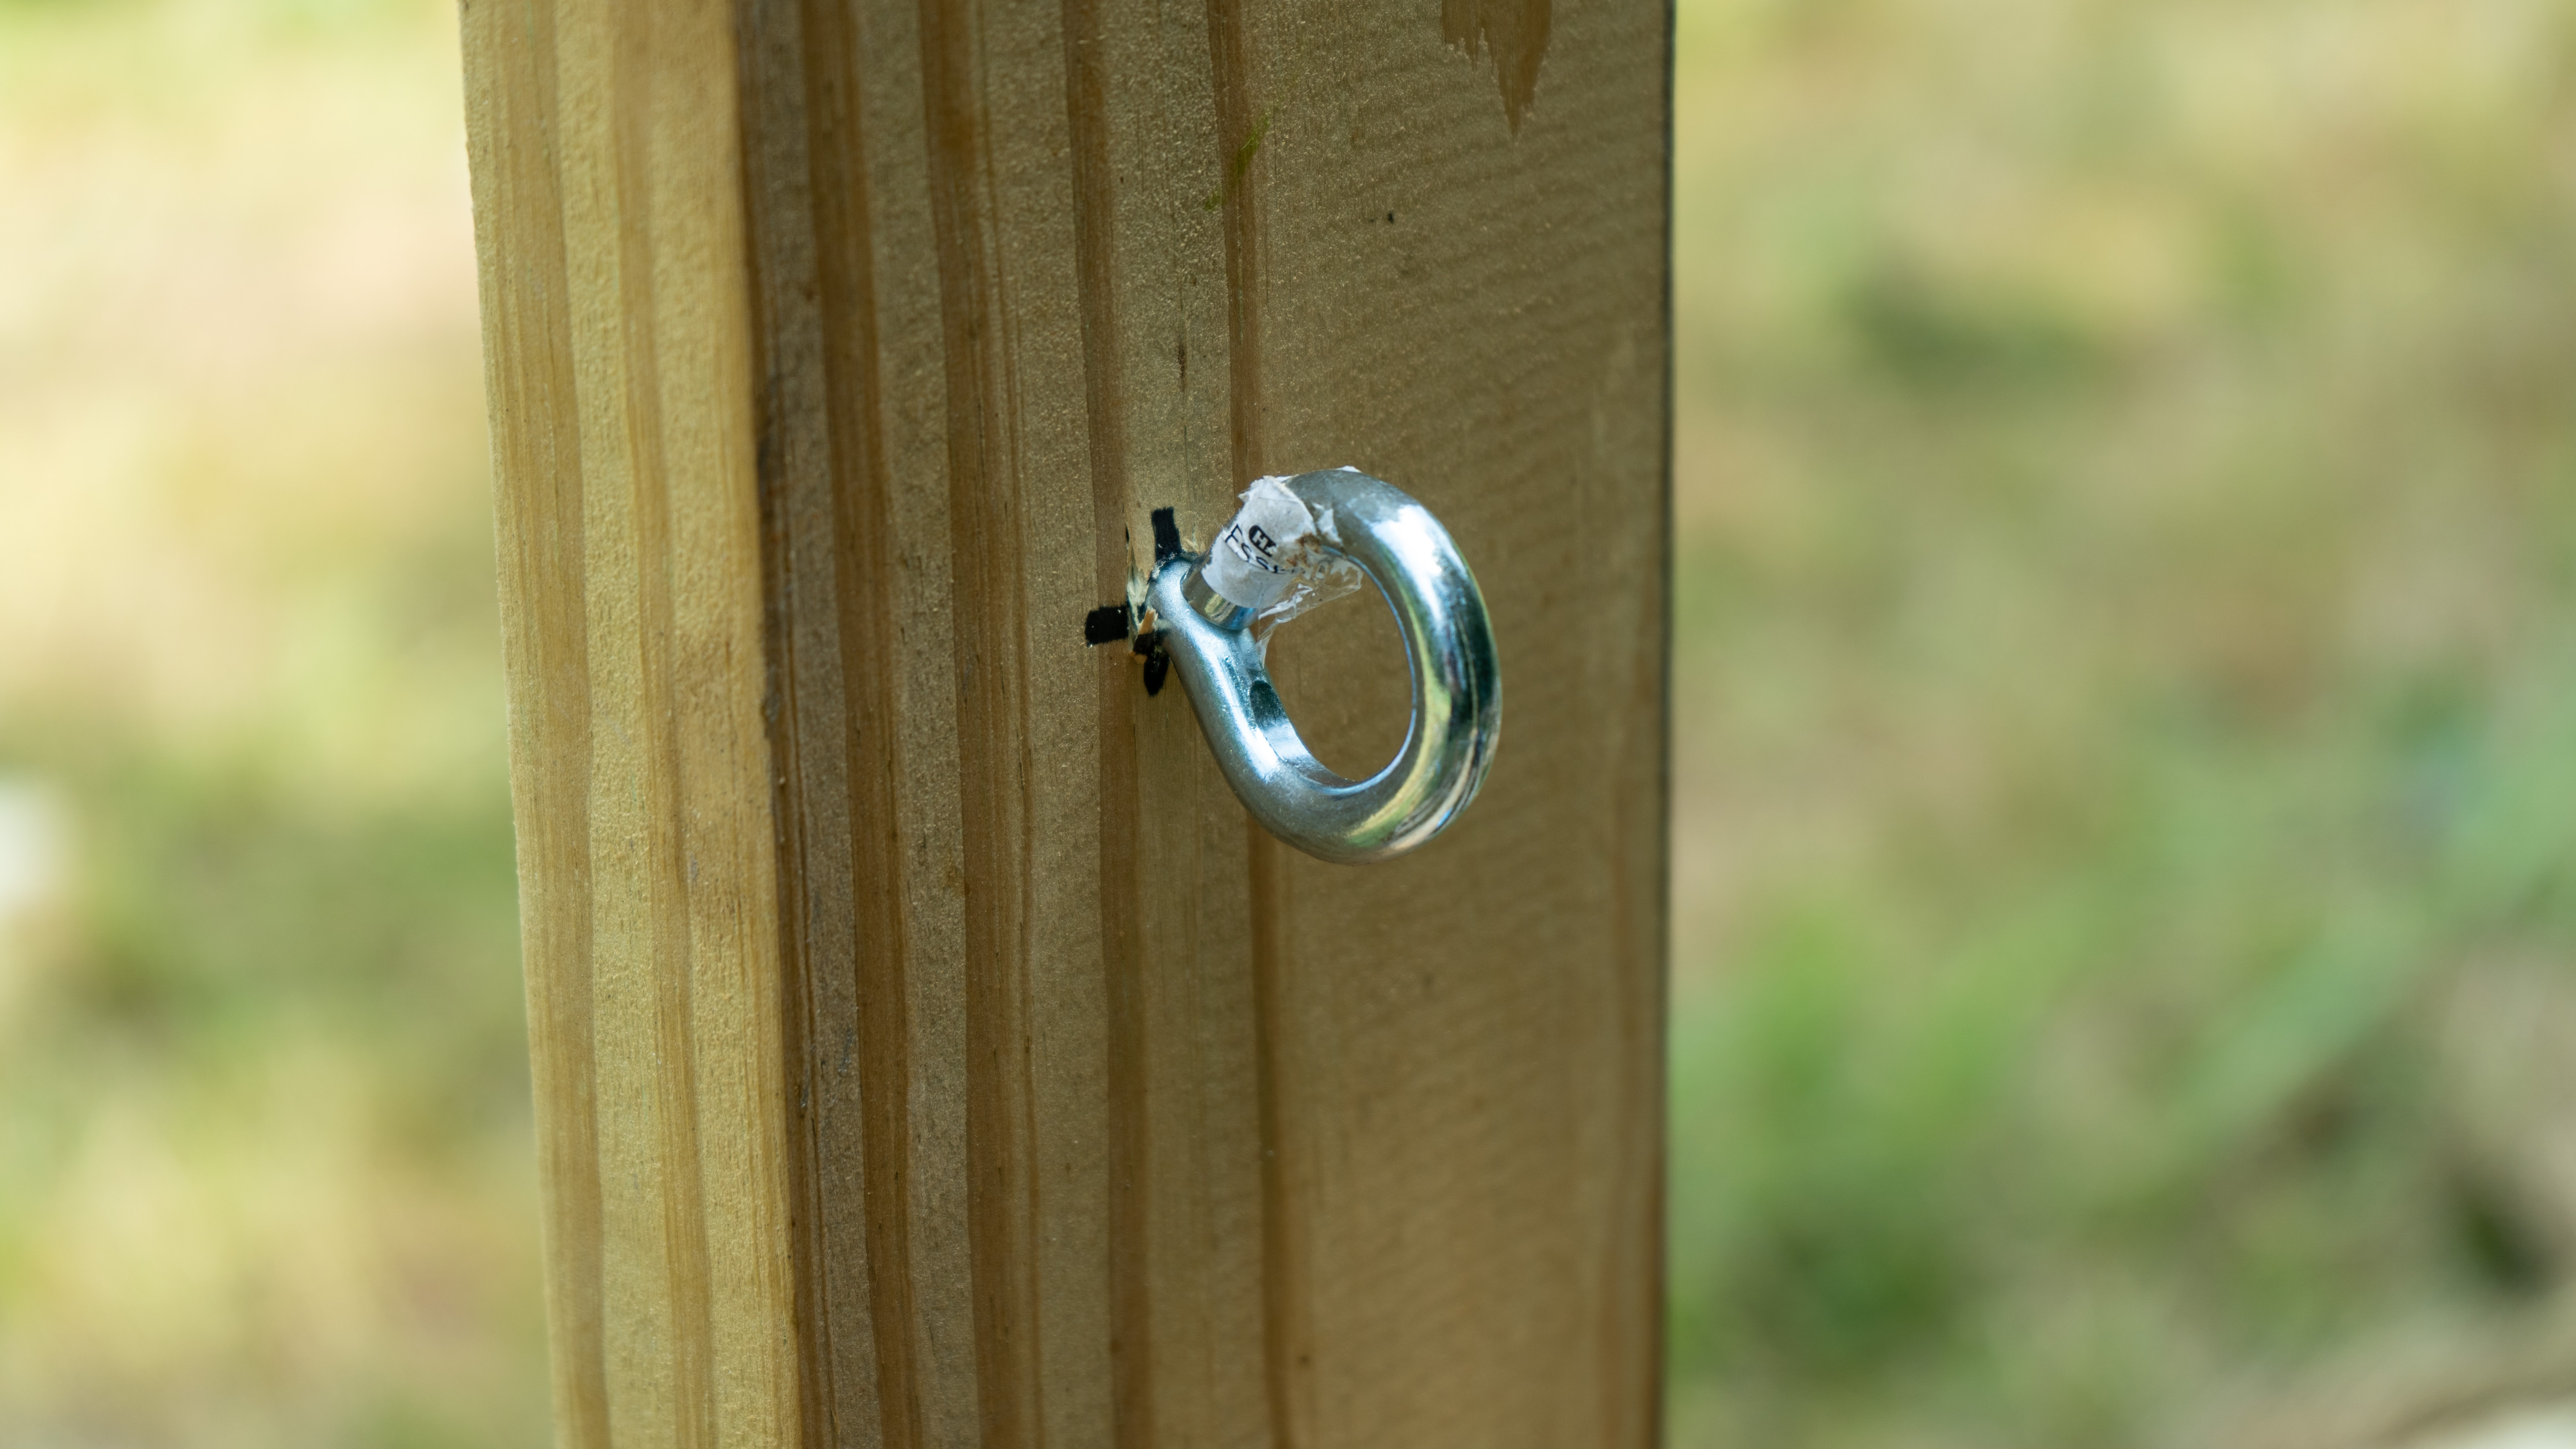
5. Install Eye LagsPull a measurement 6" down from the top, inside of the now-assembled frame and mark. Continue pulling the tape downward and mark 40”. Using the ⅛” drill bit, predrill holes at all 4 locations inside the frame. With the pilot holes drilled, install the eye lags with a tight fit because these will need to hold the weight of the target.
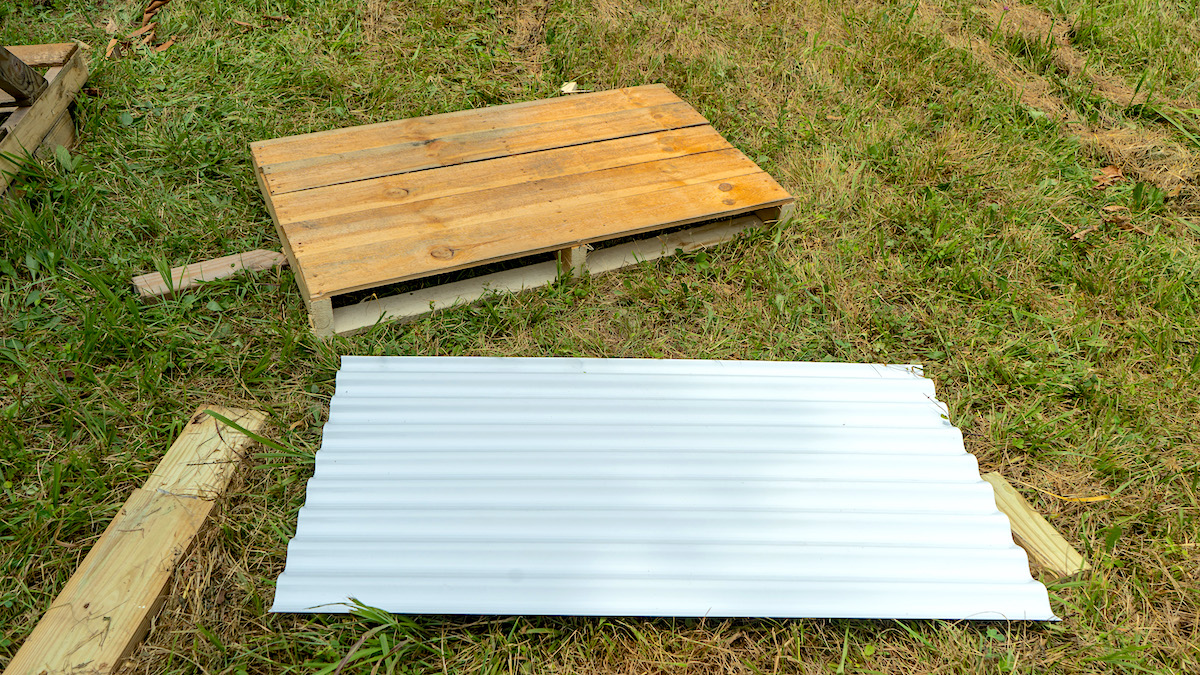
6. Construct the Roof PanelUsing the sawzall, cut a section of the second pallet to 2’x4’. Using a metal blade on the sawzall, cut the corrugated plastic roofing to 2’x4’ as well, and fasten it to the top of the matching pallet section using ⅝” screws. Set the smaller pallet section on top of the upright supports and fasten at a slight angle using 3” screws.
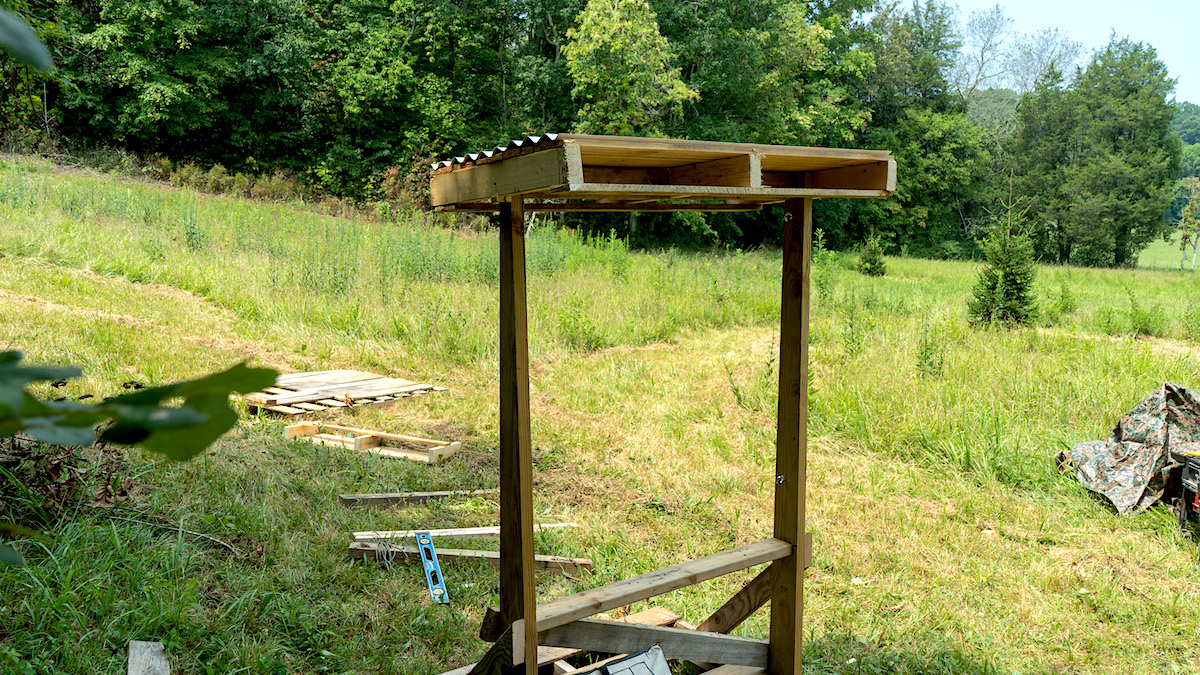
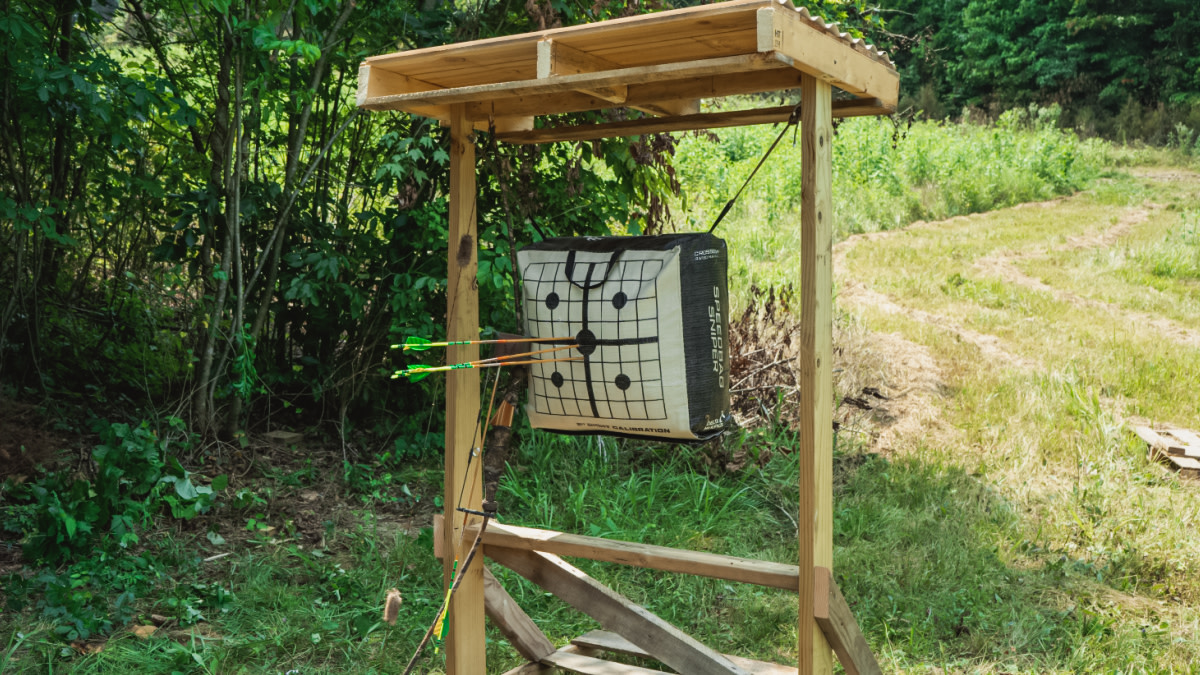
7. Attach Your BagUsing doubled-up paracord, attach upper loops or eyelets of target to the upper eye lags on the target frame. Tie cord off at even lengths to get a level suspension of the bag. Some targets have loops or eyes on the bottom and some do not. If yours does, tie off the lower loops to the lower eyes on the target frame as well. I also added an additional diagonal bracing here, spanning from one vertical entry upright to the other, and from the horizontal cross brace down to the base pallet. I wanted the extra strength as I will be dragging it around the farm a bit.
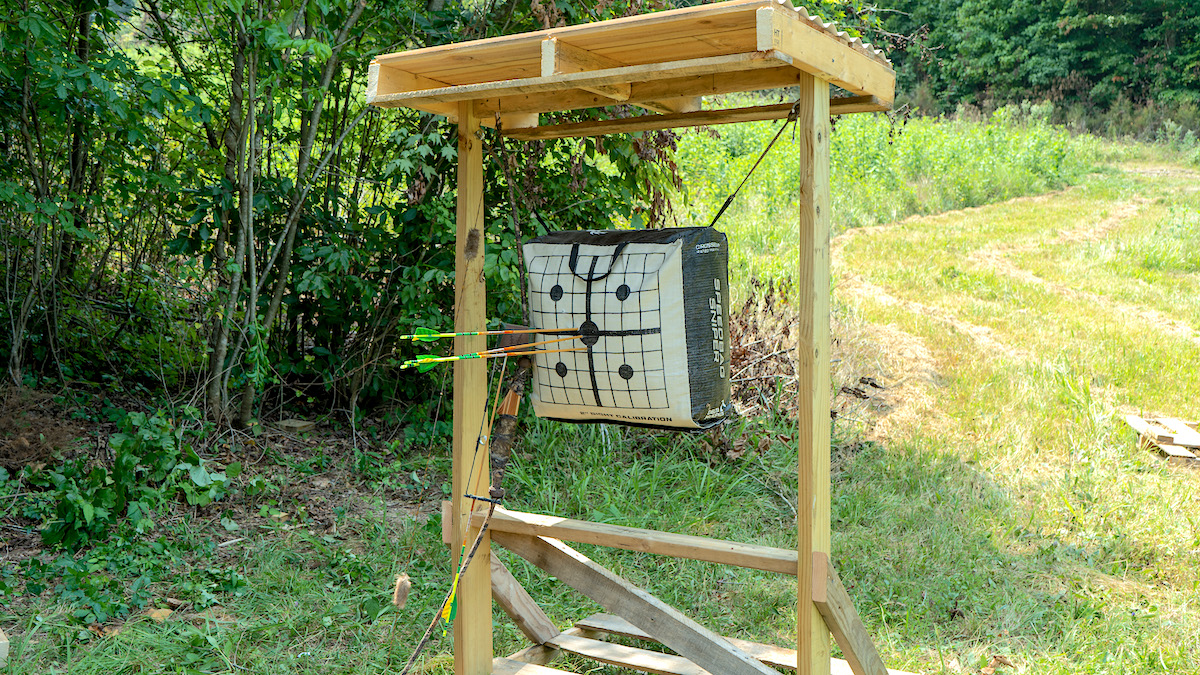
8. Break It In!Get your bow and get to work.
I’ve found that while bag targets do have some minor drawbacks, they are fun to shoot, cheap to buy, and help to mix up target shooting when used in conjunction with other types. Keeping a fresh perspective and practicing on a variety of targets can only help when it comes time to hit the woods.
Shop
Shop AllSign In or Create a Free Account
Related
Hunting Gear
How to Fix Target Panic in 3 Steps

Hunting Gear
Photos: How to Build an Archery Target Stand