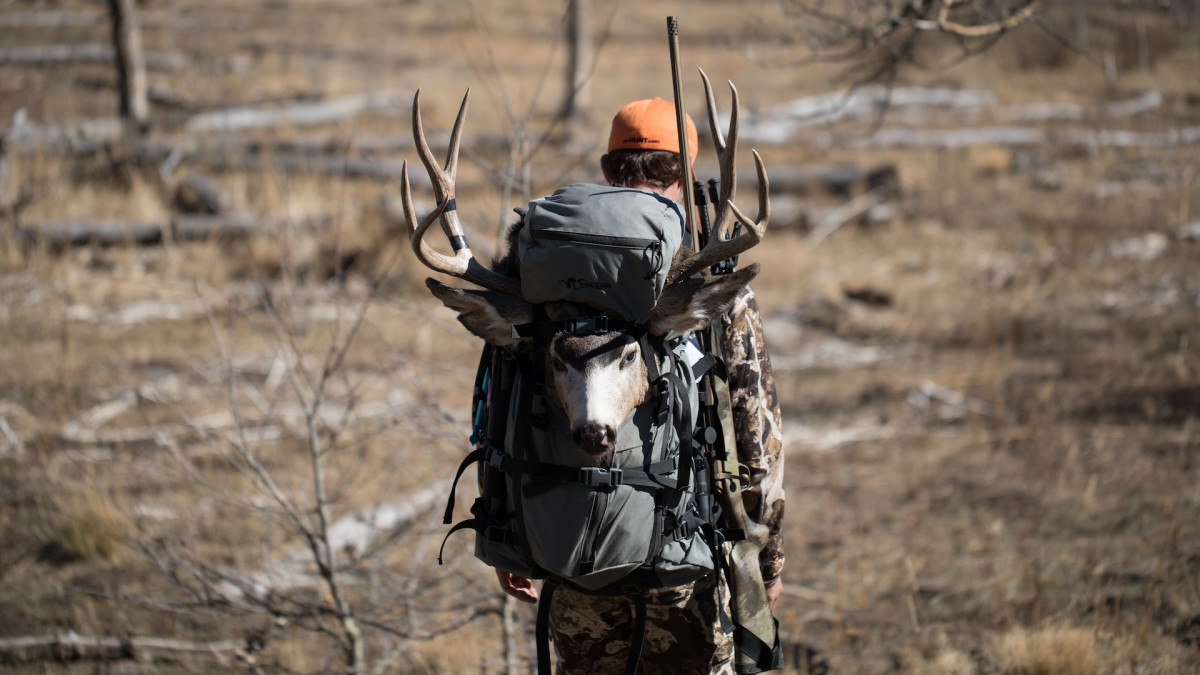
Having a poorly-fitted pack is probably the most miserable thing to endure in the backcountry next to boots that don’t fit right. A well-fitted backpack not only distributes weight evenly but also reduces strain on your body, alleviating pinch points, hot spots, slop, sway, and noise. It allows you to focus on what matters: your hunt.
Fit is so important that I’d take a lower-quality pack that’s adjusted properly over a high-end one that isn’t all day long. In this guide, we'll explore step-by-step instructions to help you achieve the perfect fit.
Size Matters
To make sure your backpack is the right size, to begin with, use a flexible measuring tape to determine the length of your torso from the base of your neck to the top of your hips. This torso measurement will help you choose the correct frame size. Most manufacturers offer different frame sizes based on this length, and it’s critical your measurements land in the acceptable range (check their sizing charts online or call them). Some manufacturers pack bags are modular and work interchangeably with their frames. So, you may be able to simply swap out frames and retain your current bag if you need a different size.
Before you start making fitment adjustments, be sure to add a moderate amount of weight to the pack. Somewhere around 25 to 30 pounds is generally good. Unweighted packs ride differently than weighted ones, so make your adjustments under realistic conditions. Perform these steps in the order presented below for best results.
Adjust the Hip Belt
Align the middle of the belt padding so it’s centered over the pointiest protrusion of your hip bones. The hip belt should sit on your hips, not on your waist. Make sure it’s level and wraps around evenly. About 75 to 80% of the weight of the pack should be riding on your hips, reducing the burden on your shoulders.
How do you accurately measure that? You don’t. Go by feel and do your best. You can lift your shoulders in a shrugging movement while you’re tightening the hip belt to better assign the weight to your hips. When you let down the shrug, you should feel most of the weight settle from your shoulders to your hips.
Adjust the Shoulder Straps
Start by loosening the shoulder straps completely. Put the pack on and tighten the straps so they sit comfortably on your shoulders. The straps should be snug but not overly tight. Ensure the padding on the shoulder yoke is centered on your shoulders and rests comfortably on your traps without digging in.
Adjust the Sternum Strap
The sternum strap connects the shoulder straps across your chest. Adjust it to a mid-chest height— imagine a line connecting the tops of your armpits below the sternum. Tighten it enough to stabilize the shoulder straps without restricting your breathing.
If you gently waggle your upper body from side to side, the pack bag may shift around a little bit, but the frame system should stay put. This will prevent chafing and improve arm mobility.
Adjust the Load-Lifter Straps
This one can be a game-changer. The load-lifter straps are located near the top of the shoulder strap padding/yoke and attach to the very tops of the vertical frame stays. Loosen these straps to get started. The “LL” attachment point on the shoulder yoke should be set so it’s directly above your shoulder’s AC joint, which is the pointiest bone you can feel if you run your fingers down the top of your traps toward the delts.
With the pack on and the hip belt and sternum straps secured, start tightening the load lifters. As they get harder to tighten, you’ll feel the pack sucking in closer to your body. Go slowly, as these straps should be taught but not overly tightened. Loosen and tighten them a few times to ensure you’re hitting the sweet spot in terms of feel.
Bringing the pack closer to your body prevents it from pulling backward and helps to increase your balance, mobility, pack-on stamina, and overall comfort. While in the field, you’ll want to loosen the load-lifters with lighter weight and cinch them down more with a heavier pack.
Fine Tuning
Before committing to a long adventure, take a short test hike to confirm that your backpack fits properly and rides comfortably. Pay attention to any areas of discomfort, pressure points, or imbalance. Make small adjustments as needed. It’s not uncommon to play with the configuration a little bit, especially under varying loads.
Also, if your pack allows for custom torso length adjustments beyond the basic fixed size you ordered it in, and you want to tinker with the length, be sure to start over by making strap adjustments from the beginning and in the order listed above. Happy hiking!
Want to learn more about how to load a pack? Check out this article: How to Fit and Load a Hunting Pack Not sure what you need to pack for a backcountry hunt? Read Jani’s article: What’s on Your Backcountry Pack List? And for a bit more info, here are 3 Western Hunting Gear Mistakes you Don’t Want to Make.


Conversation