
What's the only thing worse than spending too much money on ammunition? Spending too much money on ammunition and then wasting it trying to sight in your rifle.
At $60 or $80 per box, premium hunting cartridges cost as much as a cup of coffee. If you’d rather not send more than a few lattes downrange just to sight in your hunting rifle, you should master the art of the two-shot zero. Here’s how.
Step 1: Tighten Your Screws (All of Them)
Many hunters visit the range to confirm their zero from last year without checking to make sure the scope is still tight. Don’t make this mistake. All the ammo in the world won’t be enough to zero a loose scope. And if the gun is new, don’t assume that the kid at the big box store did a good job mounting the optic.Mount your scope yourself, and make sure all the ring screws are tight.
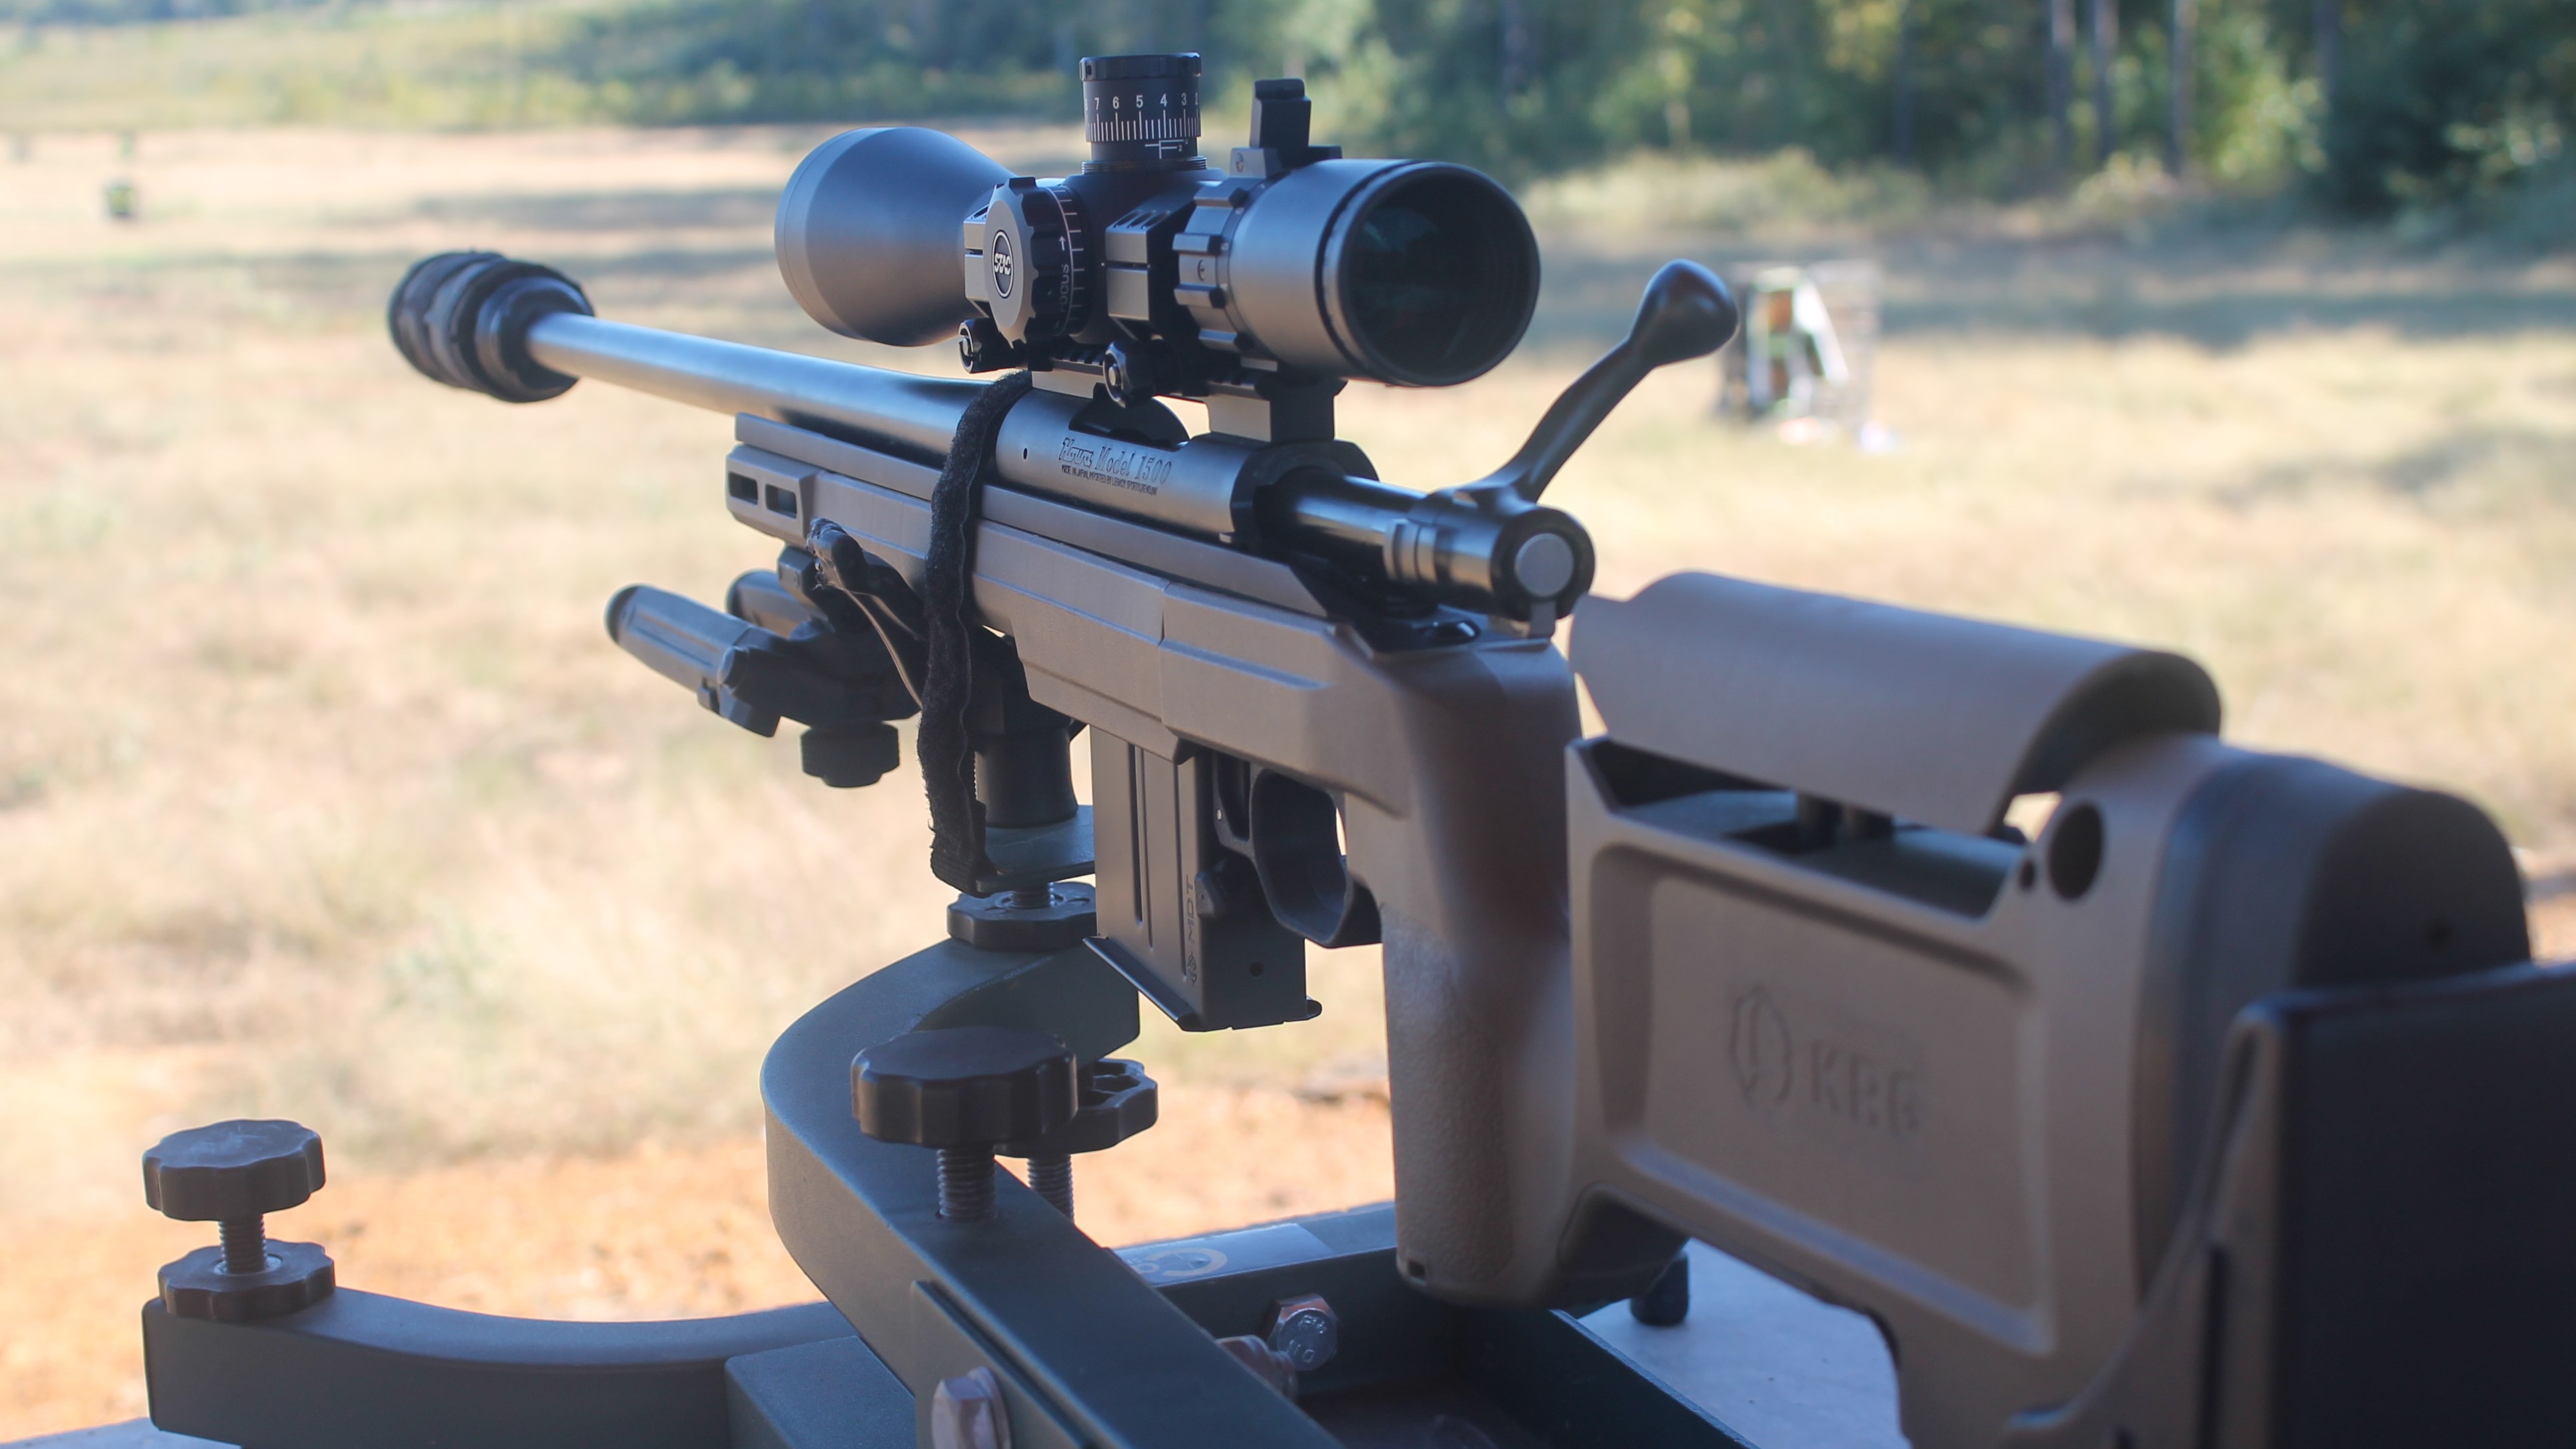
While you’re at it, confirm that your rifle’s action screws are tight, too. Any wiggle or wobble in the scope or the action can throw off a shot. The worst case scenario is that youthinkyour rifle is zeroed only to whiff or wound your target animal.
Step 2: Bore Sight
You can think of a “bore sight” as an imprecise zero. It should be enough to land a bullet somewhere on your target, but it isn’t precise enough to go hunting.
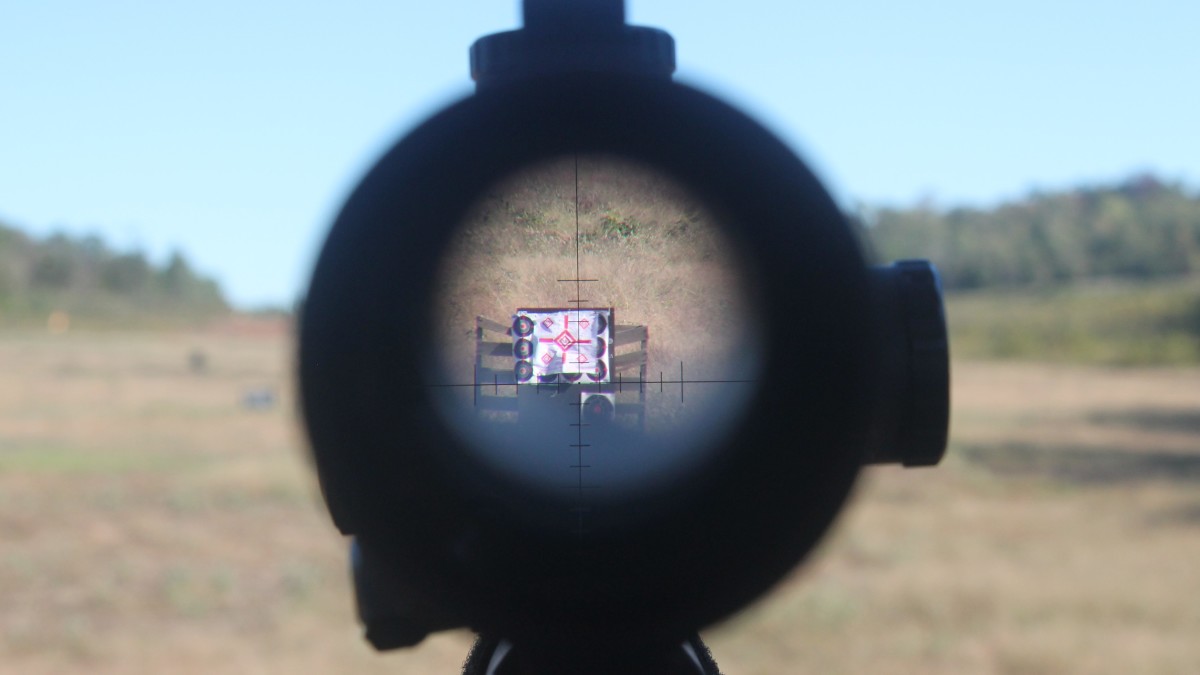
This is the most important step in a two-shot zero. Once you see your hits on paper, it’s easy to adjust your scope to hit the bullseye. The hard part is getting shots on paper in the first place.
There are a few ways to bore sight a rifle for a 100-yard zero. One is to use alaser bore sighter. These are fitted into the muzzle of a gun and project a red dot down range where the muzzle is pointed. Users move the scope’s reticle to align with the red dot and call it a day.
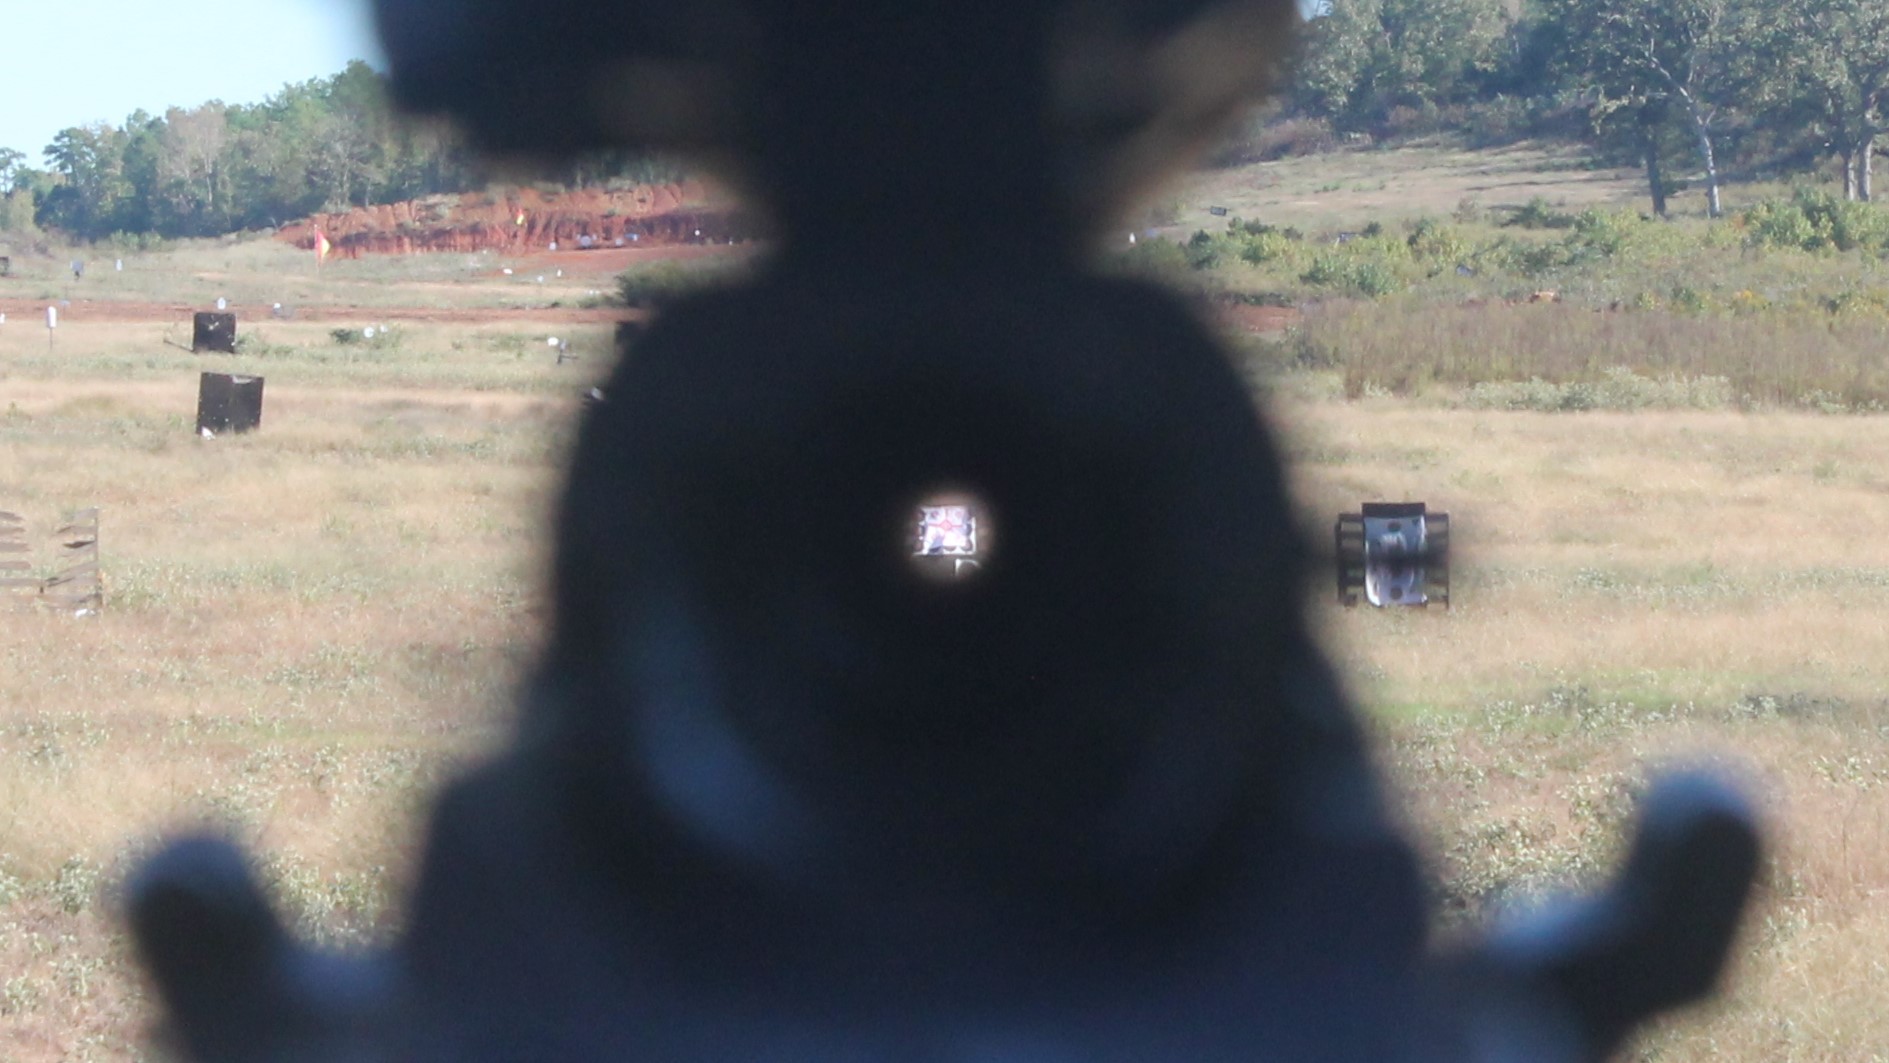
The other, less precise method is to actually peer down the bore of the gun (hence, “bore sight”). This is the method I use on bolt-action rifles since I don’t actually own a laser bore sight.
- Strap the gun into a vise or steady it on a front and rear bag
- Remove the bolt
- Look down the barrel of the gun and adjust until the target isdirectly in the center of the bore. This is important. You might be able to see the target through the bore without it being perfectly aligned
- Without moving the gun, look through the scope and adjust the reticle to the middle of the target
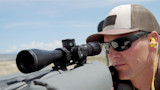
Once the gun is bore sighted, take your first shot. As MeatEater’s Janis Putelis advises in hisgreat instructional on sighting in a rifle, be sure the gun is sitting in a solid rest before taking any shots.
Step 2 ½: "Well, That Didn’t Work"
Other gun writers will pretend that Step 2 works every time. I’m not one of them. Sometimes, you’ll take that first shot, and it won’t hit paper. If that happens, you’ll have to throw your hopes for a two-shot zero out the window. But not to worry–you can still salvage the situation without throwing too many more bullets downrange.
First, you can try shooting at the four corners of your target (assuming you’re using some kind of paper target). If you’re only a little bit off, one of those shots will hit paper and you can adjust from there.
Second, you can move the target closer. Once you land on paper at 25 or 50 yards, you can adjust your scope, move the target back to 100, and proceed to Step 3.

Step 3: Measure the Distance to Bullseye
Assuming your first shot landed somewhere on paper, your next step is to measure the vertical and horizontal distance from your shot to the bullseye.
You can do this using a ruler, calipers, or by using a gridded paper target.
Step 4: Adjust Your Scope
Your scope’s adjustments will either be in minutes of angle (MOA) or milliradians (mils) (for more on the difference,check out this article).
The scope’s turrets will tell you how far each click moves the reticle. These days, most turrets move 0.25 MOA or 0.1 mils per click. At 100 yards, this equals about 0.25 inches for an MOA scope or 0.36 inches for a milliradian scope.
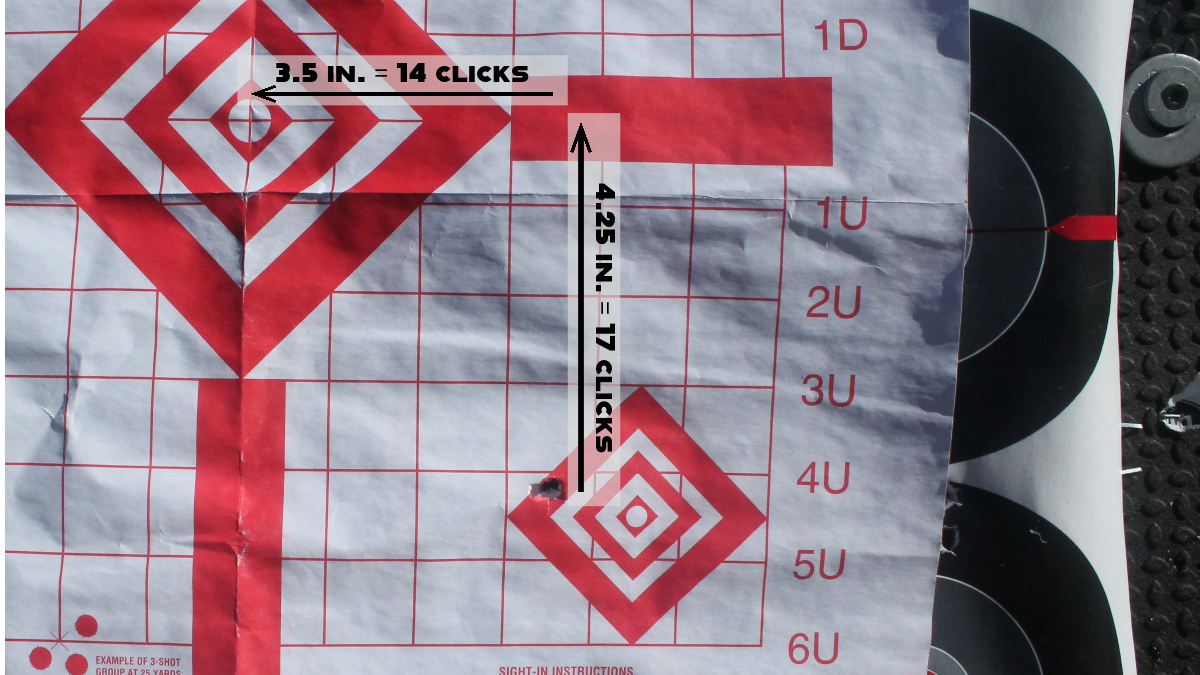
When I sighted in the rifle and scope I used for this how-to, my first shot landed 4.25 inches low and 3.5 inches to the right. Since my scope adjusts in 0.25 MOA increments, I turned the vertical (top) turret 17 clicks and the horizontal (side) turret 14 clicks.
Step 5: Confirm Your Zero
To confirm that your scope tracked correctly, take another shot. It should land in the bullseye.
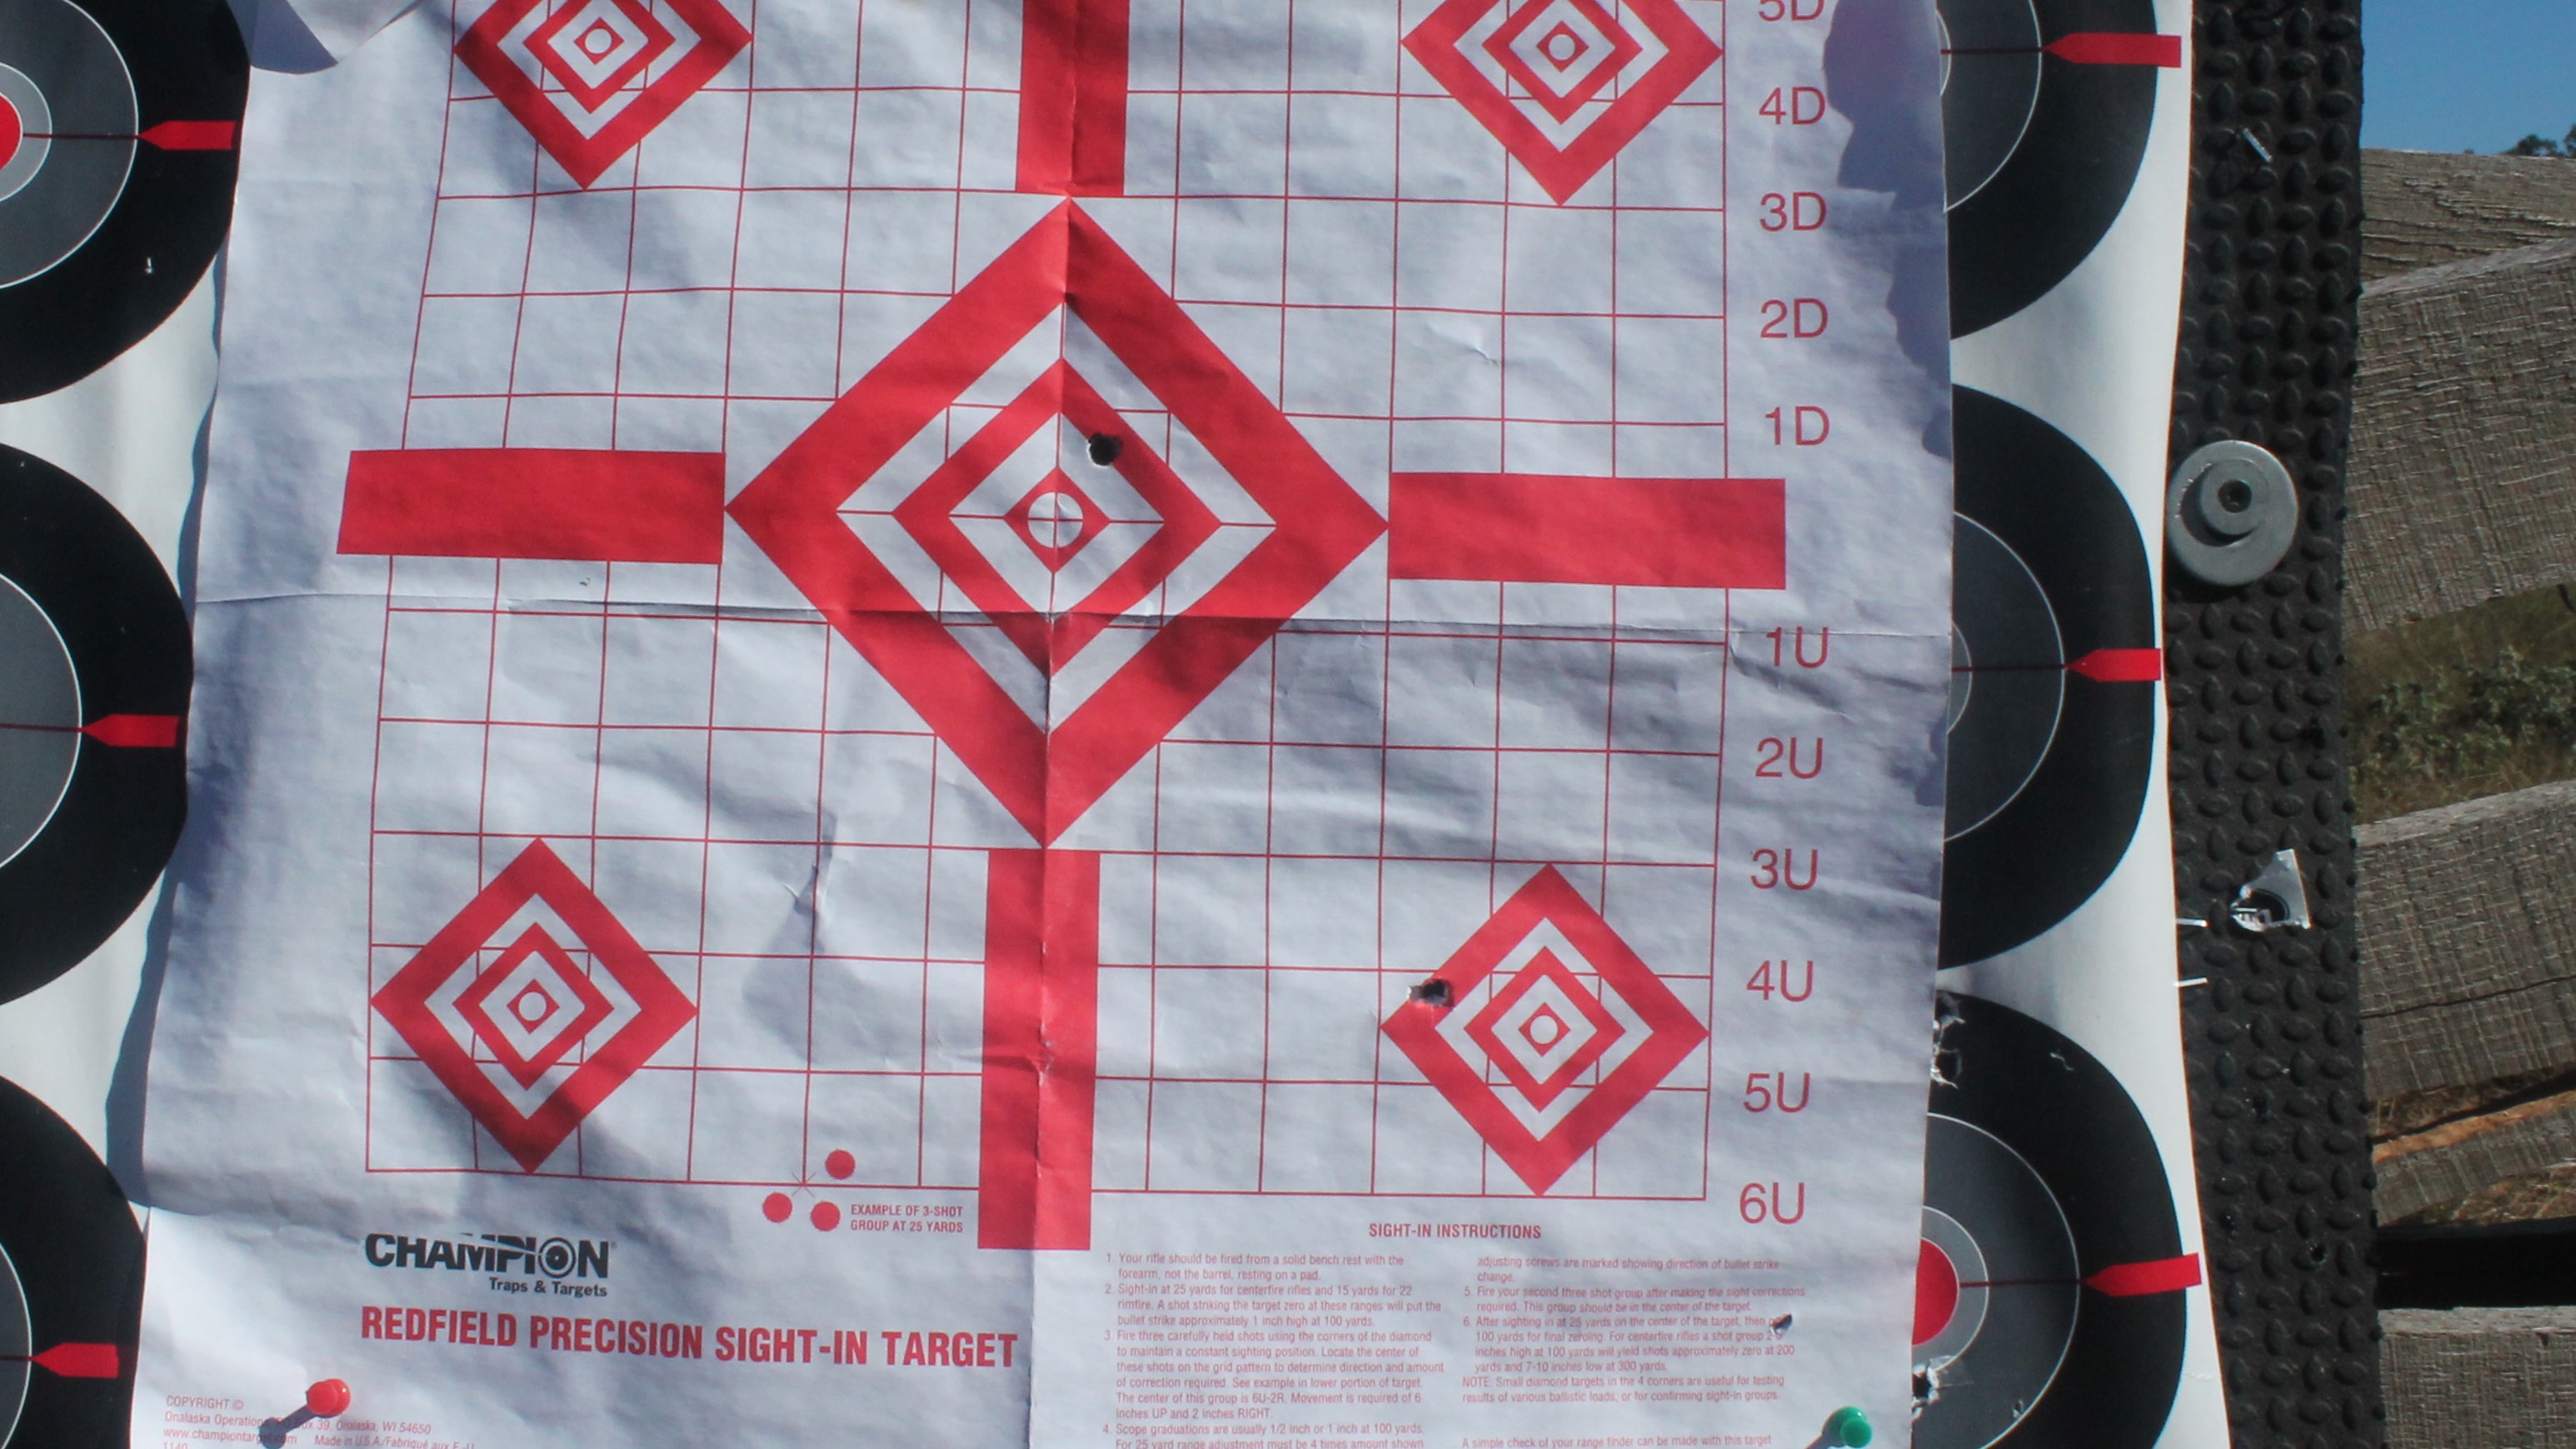
If it doesn’t, as mine didn't, take another shot without adjusting the reticle. This is to figure out whether to blame your miss on your gun or the scope. If it lands in roughly the same place, adjust the scope; if it hits a different part of the target, the gun might just be inconsistent.
Last Shot
If you’re confident in your rifle, you could pack it in after those two shots. If you’re not, it’s best to take another shot or two just to verify. Let the rifle barrel cool completely and take another shot at the bullseye. If it lands where you want it, great. If not, you’ll have to keep shooting groups until you figure out if you need to adjust the scope further.
Shop
Sign In or Create a Free Account
Related
Firearms
Video: How to Sight in a Rifle


Firearms
How to Zero a Rifle in Two Shots
