
If you spend enough time chasing game, exploring river accesses before daylight, or driving down two-tracks that barely qualify as roads, you’ll eventually realize that your truck isn’t just transportation, it’s a critical part of your gear system.
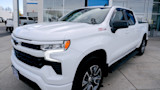
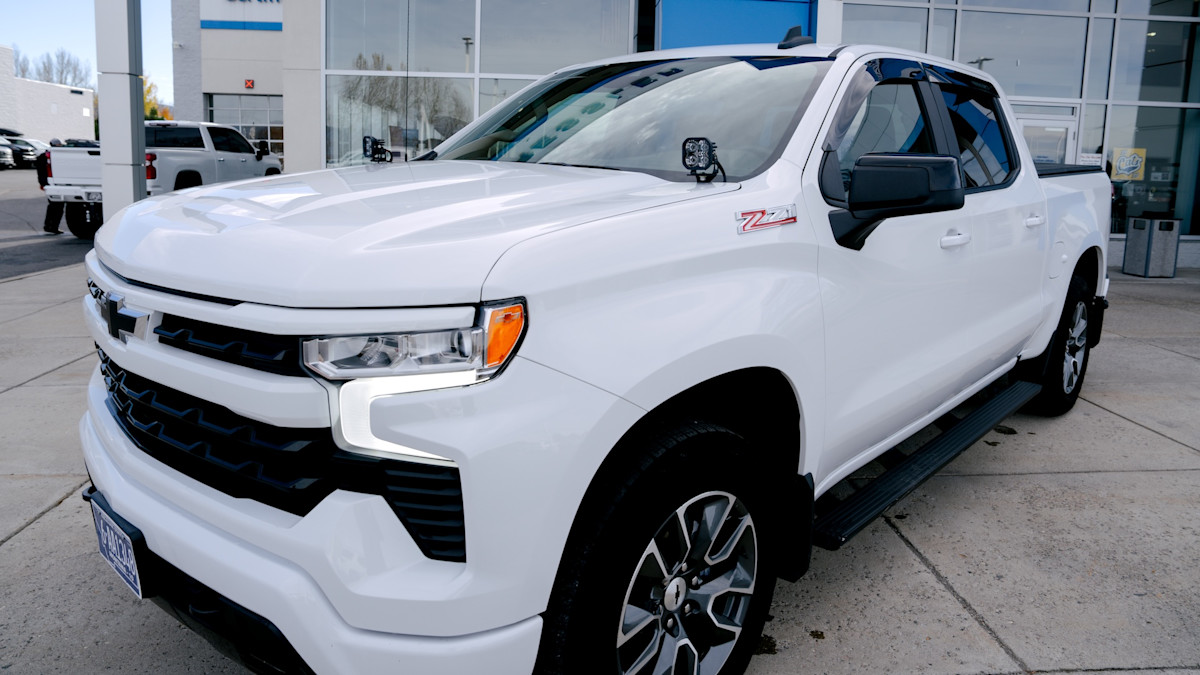
Over a few articles, we’re going to dive into practical truck upgrades that actually matter for outdoorsmen. Not the flashy stuff you see on YouTube or cruising main street on Friday nights, but upgrades that can help you get to your spot and back out safely. Our canvas for this series is a 2024 Silverado 1500 RST, sourced from our friends atRessler Chevrolet.

Most hunters like to hit the road well before sunrise and get home well after shooting light. Factory headlights, while much better than they used to be, only shine so far. Add in some dust, rain, snow, and an unlit back road, then suddenly, visibility becomes a real limitation. That’s where aftermarket lighting comes in.
I’ve personally avoided hitting at least a dozen deer in the past year thanks to better lighting. Good auxiliary lighting isn’t about turning night into day; it’s about seeing obstacles early, picking better lines, and reducing fatigue when you’re already running on little sleep and too much gas-station coffee. And it goes without saying, but these lights shouldneverbe used for spotlighting animals.

Why Install Auxiliary Lighting?
Now, if you’re sitting there telling yourself, “What the heck is this guy talking about? The lights on my new truck are great!” Then I’d tell you this: upgraded lights are sort of like having heated seats when you live in a cold climate. You never know how much you use or like them until you’ve tried them. Once you do, it’s hard to go back to not having them. Similarly, once you drive at night with some truly good lights, you won’t want to go without them.
For this upgrade, we kept it simple with a 2-light a-pillar setup paired with a clean switch or control box. A-pillar lights, or “ditch lights,” are a great entry point because they’re relatively easy to install and sit high enough to throw light where you actually need it—down the road, into corners, and off into the ditches. But there’s one important thing to note about installing lights in this location: light spill. I’ve run a wide array of lighting setups over the years, and one of the most common problems is light spill bouncing off the hood and blinding you, washing out your vision, and making it harder to see what’s ahead.

That’s where beam pattern and optics matter more than raw brightness. After using a number of different lights on the market, I prefer Diode Dynamics lights, specifically theirSS3pods. Their lens technology keeps light focused forward rather than bleeding everywhere, which means less hood glare and more usable light where your eyes are actually looking. When you’re navigating a narrow road with drop-offs, animals, or deadfall lurking just beyond the headlights, that control makes a noticeable difference.
Good lighting won’t make you a better driver, or help you dodge every deer that jumps out in front of you, but it will give you better information—and on long, dark, desolate roads in the middle of nowhere, that’s everything. This setup is a simple, effective, and budget-minded starting point that pays off whether you’re creeping into a trailhead at 4 a.m. or heading out long after the day’s work is done.

For the DIY’er
Not everyone wants—or needs—to pay a shop to install a simple lighting setup. The good news is that most two-light kits are well within reach for anyone with basic hand tools and the ability to follow instructions.
If you can turn a wrench, crimp a connector, and take your time, you can install a basic two-wire off-road light setup in your driveway in an afternoon. These systems are intentionally simple. Two wires. A power source. A ground. A switch. That’s it. Below is a simplified, universal guide for most auxiliary off-road lights with a positive and negative lead.

Basic 5-Step Wiring Guide
1. Mount the lights securely.Install the lights on your brackets or mounting location and leave them slightly loose so you can aim them later.
2. Disconnect the battery.Remove the negative battery terminal before doing any wiring.
3. Ground the negative wire.Attach the light’s negative wire to a clean metal ground point or directly to the negative battery terminal.
4. Run the positive wire to power through a fuse and switch.Connect the positive wire to a fused 12V power source, routing it through your switch (and relay if included).
5. Reconnect, test, and aim.Reconnect the battery, test the lights, then aim and tighten everything down once you’re satisfied.
Installing a simple two-light setup really is one of the most approachable upgrades you can do at home. Take your time, follow the instructions that come with your specific kit, and don’t rush it—this is well within reach for most DIY’ers with basic tools and a little patience.
That said, electricity can be dangerous, and working on your vehicle always comes with risk. This guide is meant to be a general, simplified overview—every truck, lighting kit, and wiring harness is a little different. Always follow the manufacturer’s instructions for your specific product, and if you’re unsure about any step, consult a qualified professional.

MeatEater assumes no responsibility for installation errors, vehicle damage, injury, or other harm resulting from the use of this guide. Work carefully, use common sense, and proceed at your own risk.
Sign In or Create a Free Account
Related
Gear
Truck Upgrades for the Field: Suspension

Hunting
Unstuck the Truck: Tools and Techniques for Hunting Season