4 Fishing Knots You Should Know and How to Tie Them


The best piece of fishing advice I can give you is this: Learn how to tie knots.
And it’s just good life advice, really, because a knot is simple and you never know when it may come in handy. You may need to tie a new leader on your fly line or secure a kayak to your trailer, and knowing the right knot in the right moment is not only handy and efficient—it also makes you look like a badass.
Of course, we’re here to talk about fishing knots, but the same rule applies. Whether you’re fly fishing, setting trot lines, tossing bass lures, or surf fishing for striper, one of these four knots is going to come in handy at some point during your angling life. Most likely, they’re going to come in handy from day one.
The trick is to practice. On paper, all of these knots are extremely simple, involving just a few steps. But, it’s a different story when your hands are numb, the fish are blowing up on top, and the afternoon sun is blinding you. The last thing you want is to be fumbling with your line or, worse, have a knot fail because you didn’t tie it correctly. So, spend some time practicing these knots from the comfort of your own home and get it down to muscle memory. Your future self will thank you.
Let’s dive into tying the four fishing knots you need to be effective on the water.
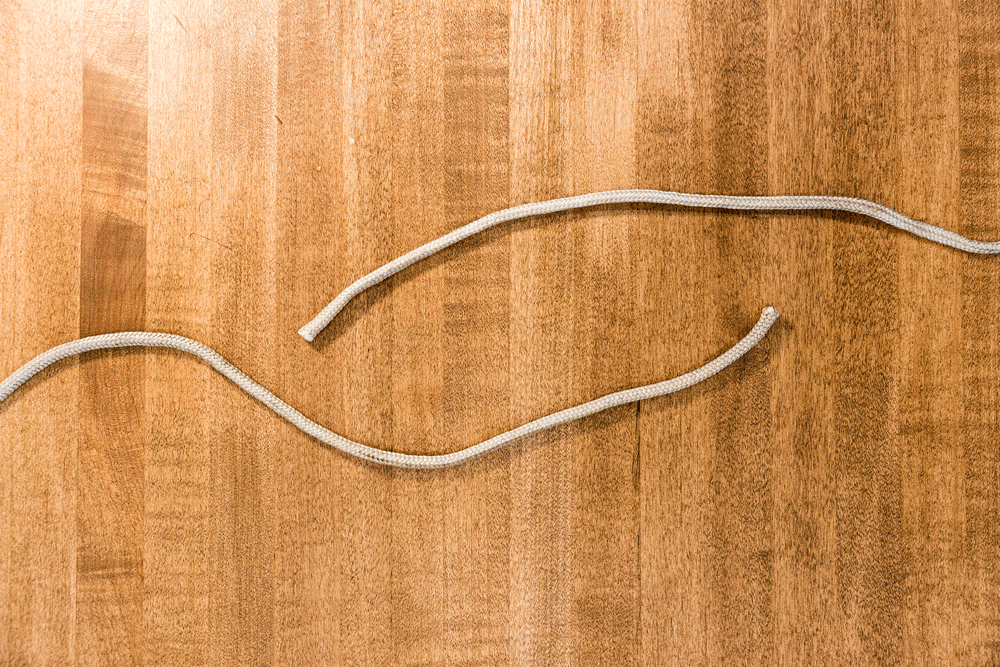
Line Thickness and Material
Before we get into the actual knots, let’s talk about line thickness and material. In most cases, fishing knots require a series of wraps to create tension—this is particularly important for the improved clinch knot and the blood knot, which you’ll see later in this article. The amount of wraps is highly dependent on the type of line you’re using. In general, the thicker the line, the fewer wraps you’ll need and the inverse is true for thinner lines. As for material, braided line will require fewer wraps than fluorocarbon or mono line, mainly because it has more natural friction.
Ultimately, you’ll learn quickly how many wraps are enough. Every time you tie a knot, give it a good tug to see how well it holds under tension. If the knot slowly slips, then you’ll need to give it another wrap or two. If, while tying the knot, it’s very difficult to cinch down, then you’ll know that you have too many wraps. Ideally, you want as few as possible without giving up the necessary friction to hold the knot because, with every wrap, the knot gets a little bulkier and possibly weaker as well.
Improved Clinch Knot
Use: tying a lure or hook onto your fishing line
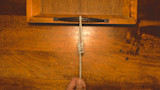
Chances are, if you’ve ever picked up a fishing rod, you know this knot. It’s the great-grandfather of all fishing knots—and for good reason. The improved clinch knot is simple and highly effective. With just a few minutes of practice you can get it down pat. Here’s how to tie it:
- Feed your tag end (loose end) through the eye of the hook
- Wrap the tag end around the standing end (line attached to your rod) four to eight times.
- Pass the tag end through the loop you’ve just created.
- Feed the tag end up back through the other, higher loop, you’ve created.
- While holding the tag end, lubricate your knot with saliva or water, and slow cinch it down to the hook eye.
- Give it a good tug to test and trim your tag end as close to the knot as possible.
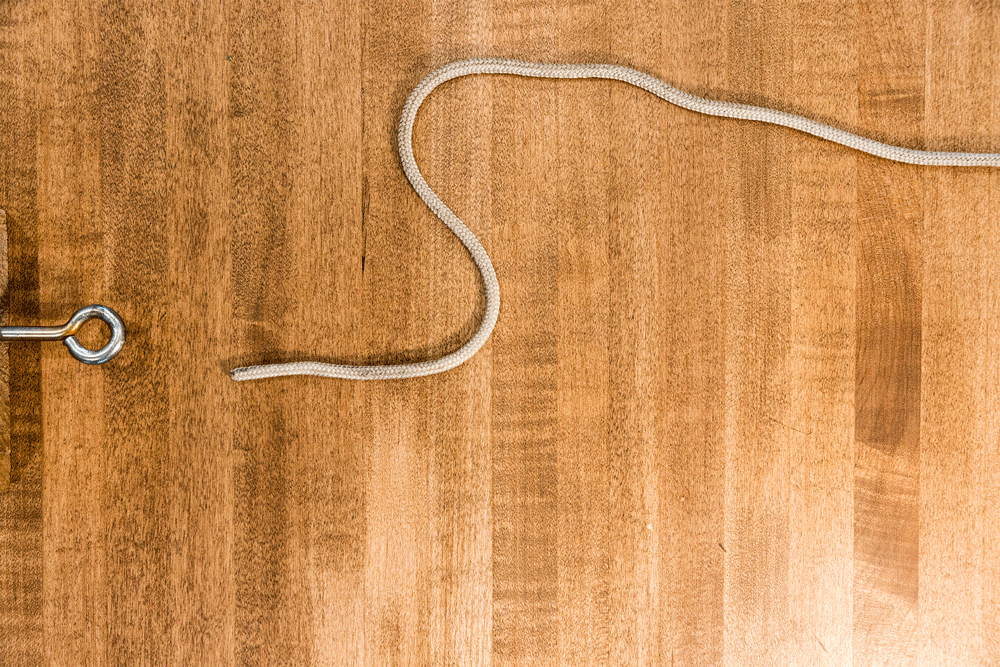
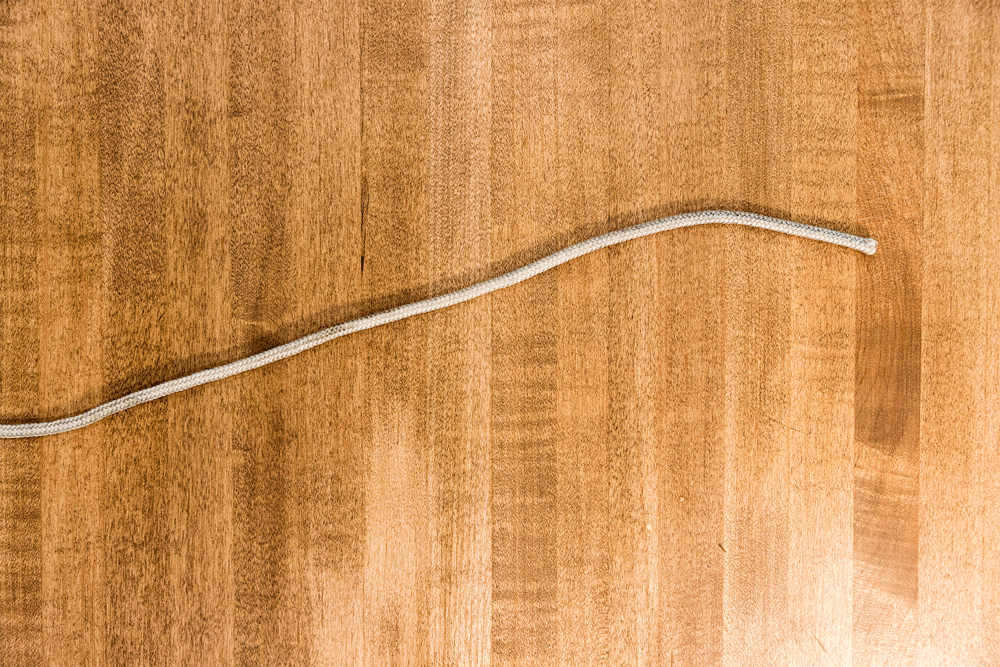
Perfection Loop
Use: creating a loop at the end of your line
Particularly for fly fishing, you’ll want to know how to tie a secure, non-slip loop at the end of your line, primarily for attaching leaders and backing when you’re spooling up a reel. The perfection loop is aptly named because after a little practice, it’s fast and simple to tie. It may seem a bit awkward at first, but this knot is worth knowing.
- Holding your line, create a loop where your tag end is laying on top of the standing end.
- Pinch at the intersection and create a second loop by passing your tag behind the line intersection and back up on the near side.
- Lay your tag end on top of, and in between, the two loops and pinch all of them together.
- If you’re right handed, you’ll now pass the right loop over your tag end and through the left loop. If you’re left handed, it’s the exact opposite.
- Holding onto the loop that passed through the other loop, gently pull on the standing end to tighten your knot. You may need to gently tighten the tag end as well to seat the knot.
- Trim your tag end.
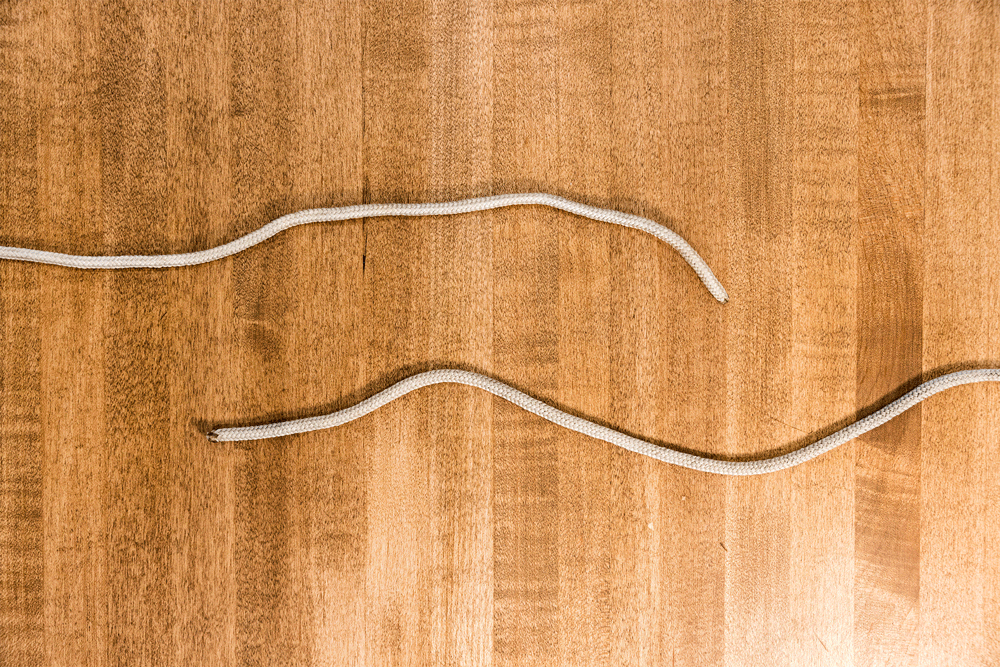
Double Surgeon’s Knot
Use: securing two sections of line together
The double surgeon’s knot is easy to tie and highly effective, with one caveat. As you’ll learn in the next section, the blood knot wins as far as effectiveness goes, but it’s a tad more involved difficulty-wise. The only con about the double surgeon’s knot is that it is a tad bulky, which tends to catch on guides and lines and lures and flies more often than the blood knot. But, in all honesty, when I’m on the river and want to tie a knot more quickly, I tend to lean towards the double (or triple) surgeon’s just because it’s so darn simple.
- Lay your two lines parallel to each other, pointing in opposite directions.
- Holding both lines, turn them over to create a loop. Pinch at the intersection.
- Pass the end of your line and the tag end that’s on the same side through your loop to create an overhand knot. Do not tighten.
- Now, repeat the same thing, passing the end of your line and its corresponding tag end through the loop.
- Pull on both tag ends and standing ends to tighten.
- Trim both tag ends as close to the knot as possible.
Note: For thinner lines, particularly like 5x, 6x, and 7x tippet in fly fishing, I like to tie the triple surgeon’s knot for a little added security. To tie the triple, simple pass your tag end and line end through the loop one more time.
Blood Knot
Use: securing two sections of line together
I saved the blood knot for last because it’s definitely the most difficult to tie on this list. Of course, it’s all relative because the prior three knots are all very easy to tie, and there are more complicated knots than the blood knot. But given the difficulty, why would you use the blood knot over the double surgeon’s? There’s a lot of debate about the strength of this know versus the double or triple surgeon’s knot, but what we know for sure is that it is more streamlined. So, if you’re fishing in a way where your line will pass through your guides a lot—nymphing with a fly rod, for example—then a blood knot is the way to go. Plus, it’s just a beautiful knot.
- Lay your two lines parallel to each other, pointing in opposite directions. You’ll want a fair amount of tag end on each side, maybe two to three inches or so.
- On one side, wrap your tag end over the standing end four to six times so it’s coming up on the side closer to you.
- Once wrapped, pass the tag end down and in between the intersection of the bottom of your wraps and the tag end. Pinch to hold.
- Now, repeat the process on the other side, except wrap four to six times in the opposite direction, under the standing end so the line points up on the side farthest from you.
- Once wrapped, pass the tag end down and in the space between the intersection of the bottom of your wraps and the tag end, next to the other tag end. It needs to pass in the opposite direction of the other tag end.
- Pulling on the standing ends, gently tighten your knot and moisten with saliva while doing so. The knots should seat together smoothly.
- Trim both tag ends as close to the knot as possible.
There are a lot of great fishing knots out there and, for some reason, anglers love to debate why their selection is the best. But, what I know for sure is that with these four knots in your arsenal, you’ll be able to do just about anything you need to do on the water, and that’s the most important part.
Animations via Steve Schwartz.
Shop
Shop AllSign In or Create a Free Account
Related
Gear
Knots You Should Know: The Double Fisherman’s + Prusik Knot

Hunting Gear
3 Knots Every Outdoorsman Should Know