Trail Cameras

Up until the advent of thetrail camera, a hunter had to do most of hisscoutingon foot. Guesses on the whereabouts of certain animals had to be made by studying sign. Then along came this new technology and, suddenly, a hunter can be in two places at once.
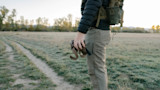
The use of trail cameras is easy. If you’re curious whether or not animals are using a certain area, or you want details about animals that you know to be using a certain area, just hang up the camera and see what images it captures.
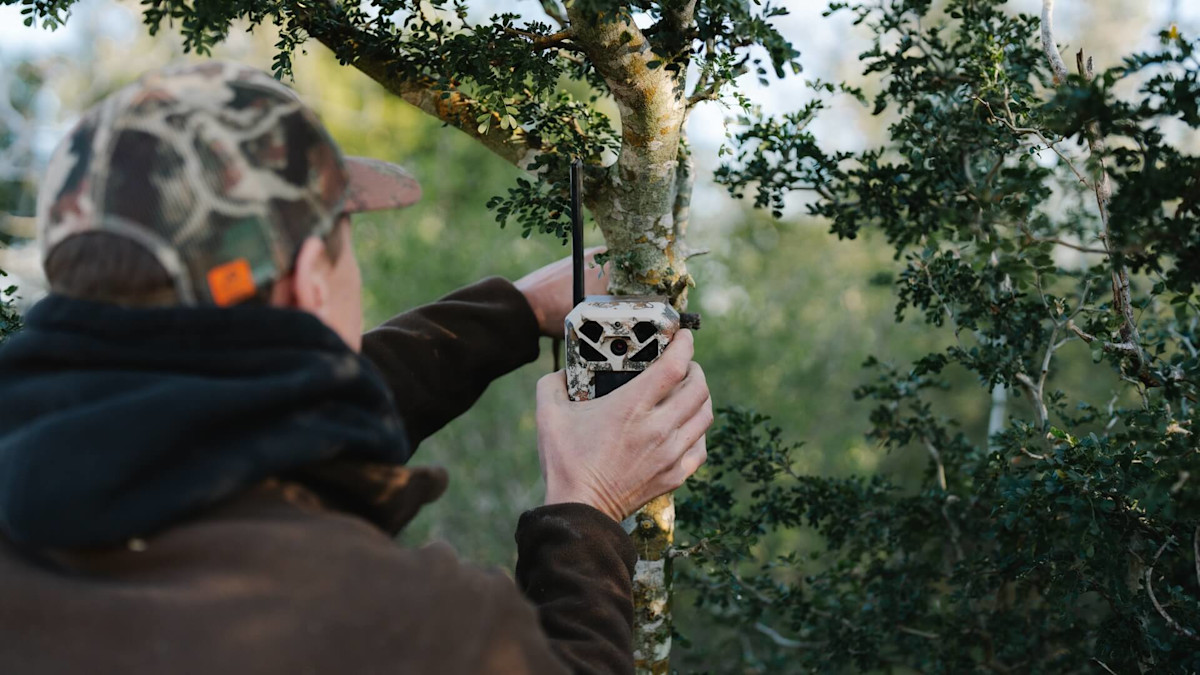
The only trick is posting the camera in places where animals will pass within close range of the trigger and lens, such as water sources, heavily used game trails, and natural funnels formed by topographic features. You can even hone in on specific animals by positioning the camera near an old boar hog’s wallow, a whitetail buck scrape, or a carcass killed by a predator.
The Value
Not only does the camera yield valuable insights about the size, quantity, location, and timing of animals that are using your hunting area, it can provide some big surprises as well. Besides having photos of your intended quarry, you’ll end up with an inventory of many incidental species of wildlife that are roaming your neck of the woods. This does not exclude the two legged version. With infrared technology available, trail cameras will monitor a property for trespassers and poachers.
Many hunters use trail cameras during theoff-season, which is great, but don’t make the mistake of thinking that the animals you captured will necessarily still be around in a few months. You can draw some insights, for sure, but you have to continuously monitor the areas in order to have an accurate idea of what’s going on as hunting season approaches.
During the actual season, a single camera can be packed along with you while hunting. You can set it near fresh sign to see what’s happening there, or post it near a prospective ambush location to see if anything passes through. Check your state’s hunting regulations before a trail camera during hunting season. Montana has banned their use during season, and more states may follow suit.
Set and Test
Once you’ve set up a trail camera, test it before leaving. Walk in front of the camera at different distances to make sure the camera will trigger, and then review the photos to make sure everything is functioning properly. If there are trees with low hanging branches within the camera’s trigger zone, shake them to make sure they don’t cause the camera to snap an image.
You don’t want to come back in a few days to find a thousand photos of the same branch blowing in the breeze. It’s also smart to point the camera due north to reduce the glare of the sun. If there are any cattle in the area, make sure to secure the camera out of their reach. Cattle love to rub trees, and they make no exceptions for those holding plastic-encased cameras.
Vandalism and Theft
Trail cameras set on private land are usually safe from theft, but thievery and vandalism of trail cameras are all-too-common on public land. Most trail camera companies sell locking kits to keep your camera where you left it, but this doesn’t stop some loser from smashing your camera out of jealousy or spite. The best deterrent on public land is to camouflage your camera and use it only in out-of-the-way places where it’s unlikely to be discovered by passersby.
There are dozens of trail cameras on the market today. A quick online search will result in a plethora of reviews and recommendations for units ranging from affordable to astronomic.
Shop
Sign In or Create a Free Account
Related

Scout
Time is a Whitetail Hunter’s Best Friend When it Comes to Trail Cameras


Gear
Why Trail Cameras Don’t Always Tell the Truth