
It took a few decades for red dot optics to catch on after they were introduced in the 1970s. But in recent years, hunters and sport shooters have adopted them for everything fromturkey huntingto competition shooting to self-defense, and even inexpensive models are useful and reliable.
Red dots are great once they’re sighted in, but that process can be frustrating for new shooters. The lack of magnification makes it difficult to aim precisely, and the turret adjustments aren’t always, shall we say, exactly accurate. The good news is that once you get the hang of it, zeroing a red dot is a simple process as long as you keep a few things in mind.
How Red Dot Optics Work
Red dot optics reflect a red LED onto a specially coated piece of glass to give the illusion that the dot is being projected downrange. The size and shape of that dot can vary depending on the model you choose.
The size of the dot is usually measured in MOA (or “minutes of angle”), and one MOA is equal to about one inch at 100 yards, two inches at 200 yards, etc. The size you choose depends on how you want to use your firearm. Smaller dots (1-3 MOA) are better for long-range shooting because the dot won’t cover up the target at those distances. Larger dots (3-6 MOA) are better for quick, close-range shooting such as duck hunting or pistol competition.
Some red dot optics also feature other reticle designs besides just a single dot. These can include a Chevron, a circle around the dot, a cross that resembles a traditional reticle, or a combination of these. Many of these models allow the user to toggle through the different designs to match the reticle with the intended application.
Red dot housings (the piece of metal and plastic that surrounds the optic) come in a variety of styles, but the two main categories are “tube” and “open” (open sights are often referred to as “reflex sights” but this is technically a category error we’re not nerdy enough to get into here).
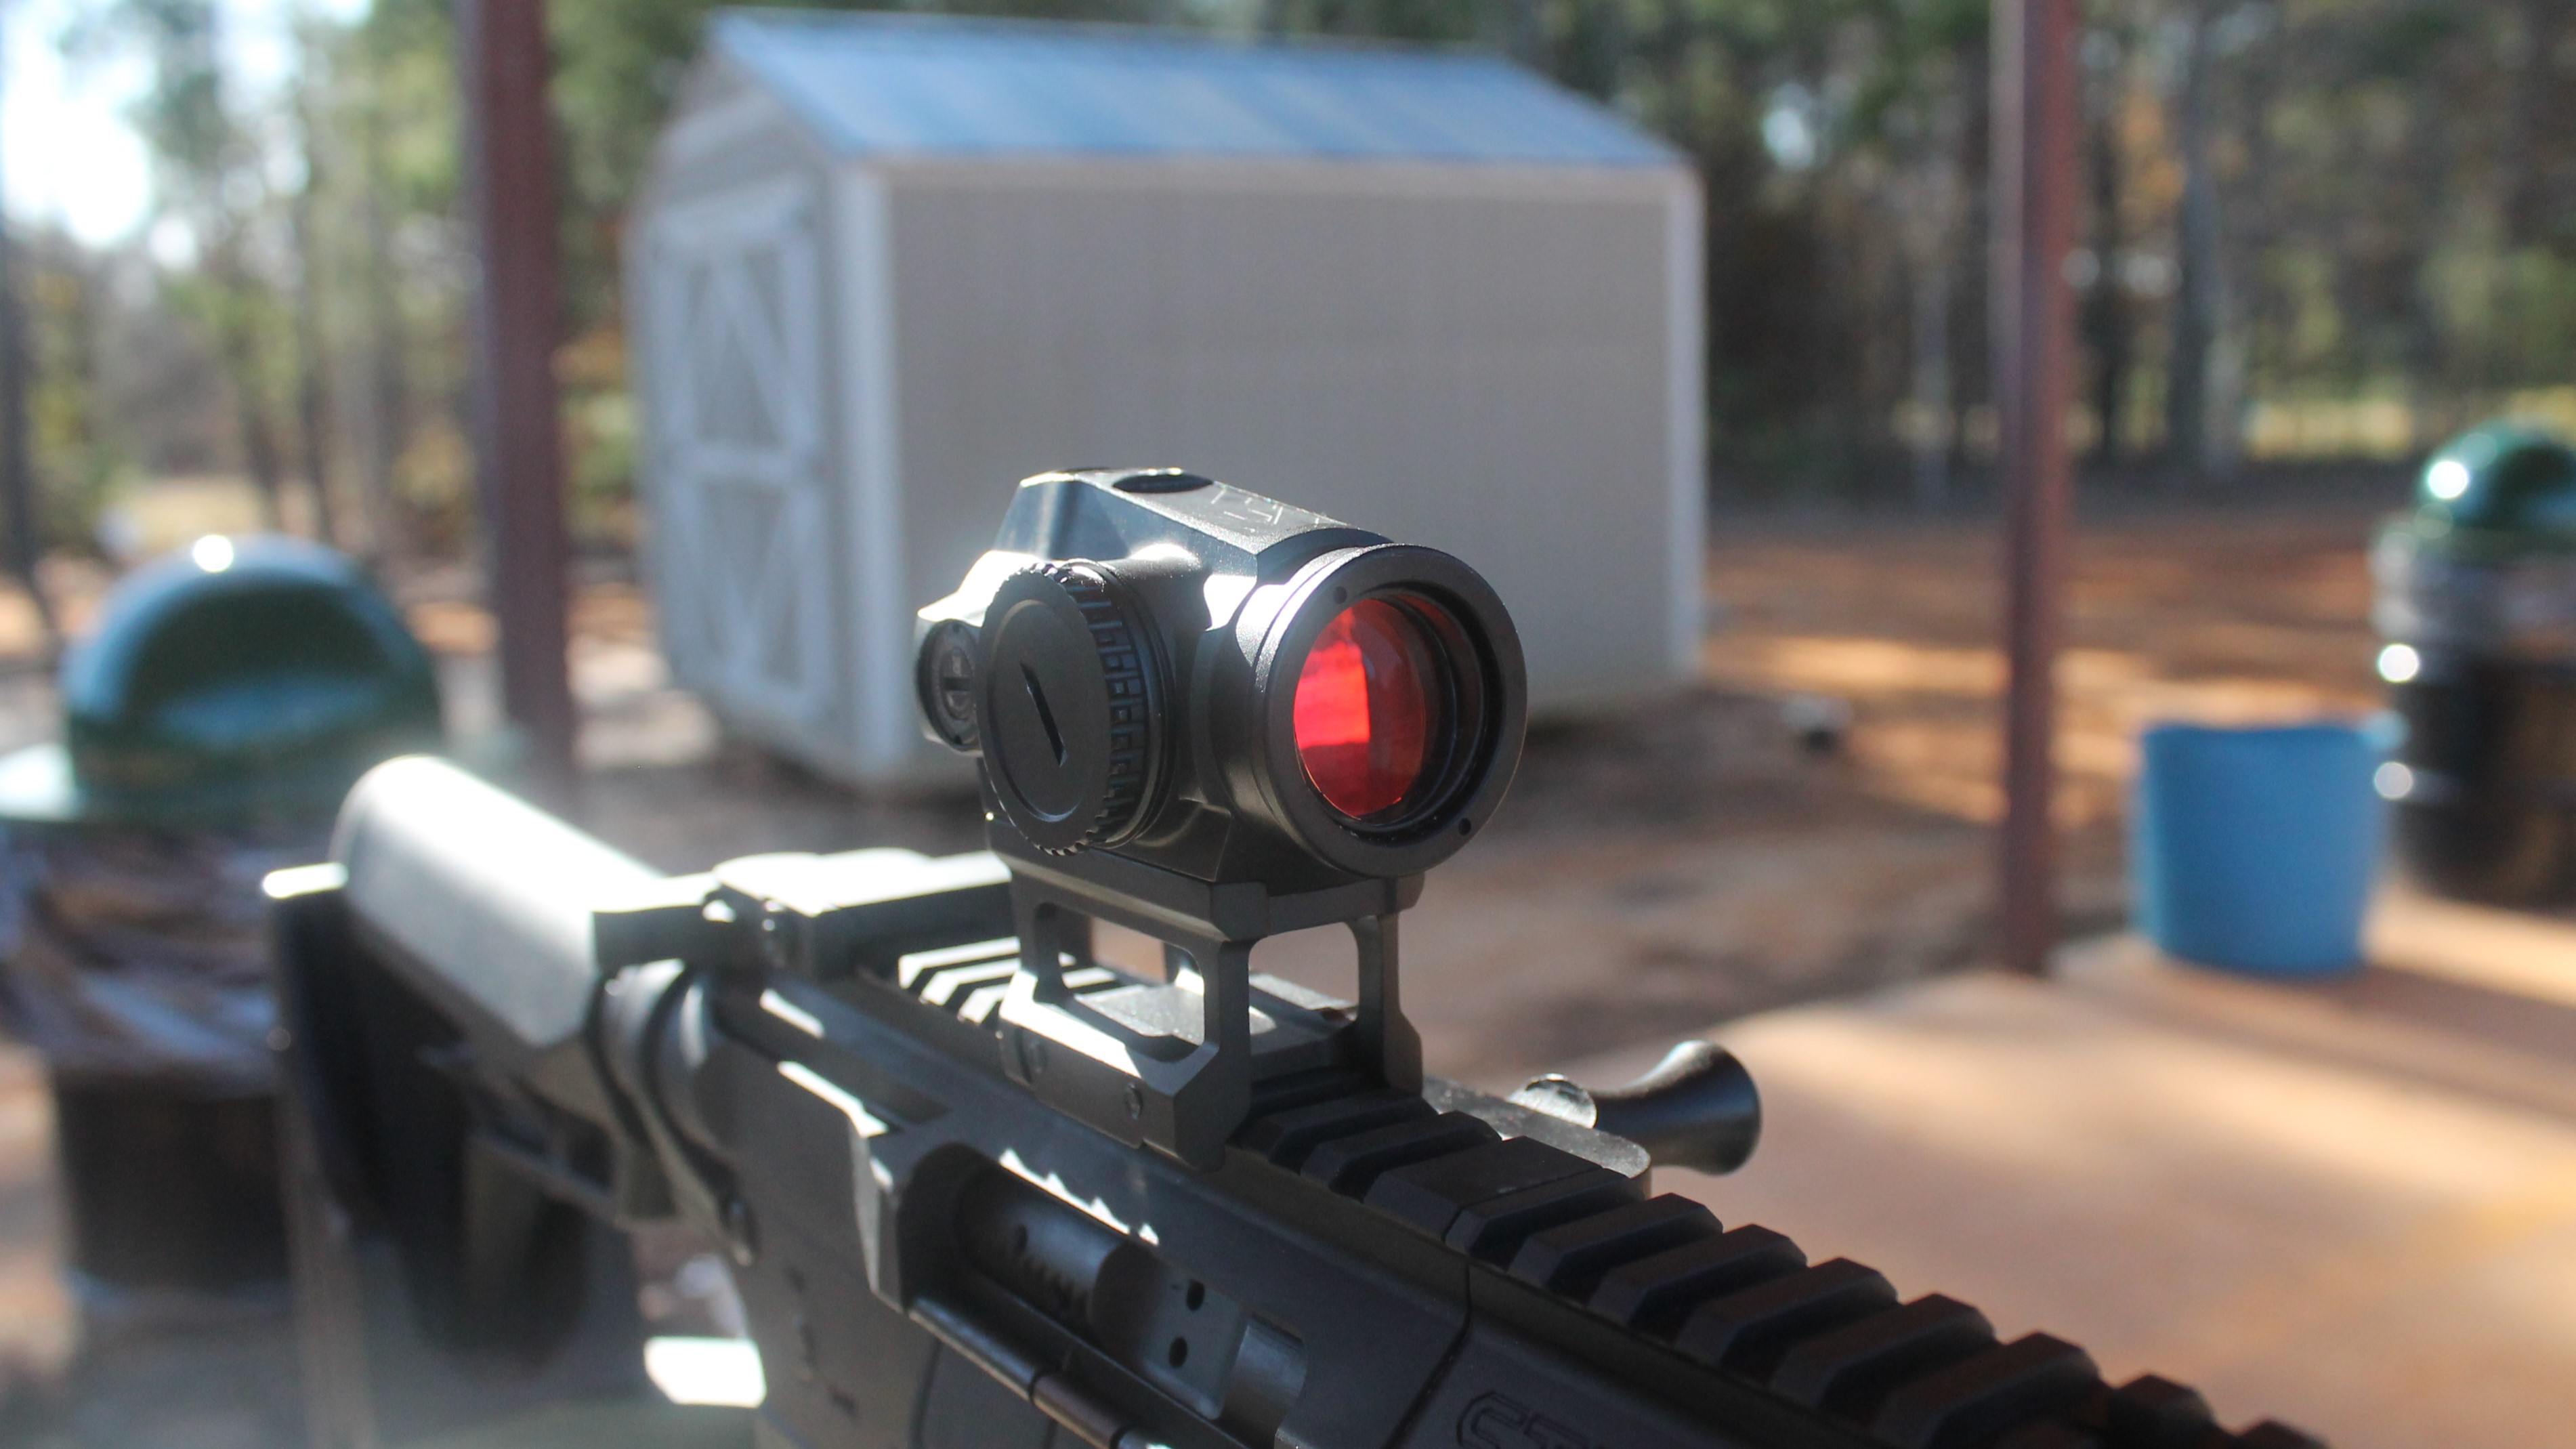
Tube sights look more like a traditional scope. They feature a tube that houses the LED and mirror, and they tend to be more durable and can project a brighter dot. Open sights are what you usually see mounted to a pistol. They offer a wider field of view and easier target acquisition, but the internal mechanisms of the optic tend to be more exposed.
Tube sights are usually mounted to rifles and are better for ranges beyond 100 yards while open sights are often used on pistols or shotguns and are better for quick, short-range shooting. But that’s a generalization. Both types of red dots can be used on any type of firearm. You should pick the one that will serve you best for whatever you plan to shoot.
How to Zero a Red Dot
These steps can be used for sighting in a red dot on any type of firearm. A shotgun will require centering the shot spread rather than adjusting the point of impact of a bullet, but the basic process is still the same: secure the firearm, get on paper, and get dialed in.
Step 1: Secure the Firearm
After you’ve properly mounted your red dot to your firearm per the manufacturer’s instructions, you need to find a way to support both the frontand the rearof the firearm. You can get pretty close using a bipod alone, but hunting requires more precision. If you’re shooting from a bipod, get a bag to support the rear of the gun as well. Better still, use bags on the front and rear of the gun, or use a Lead Sled or similar device.
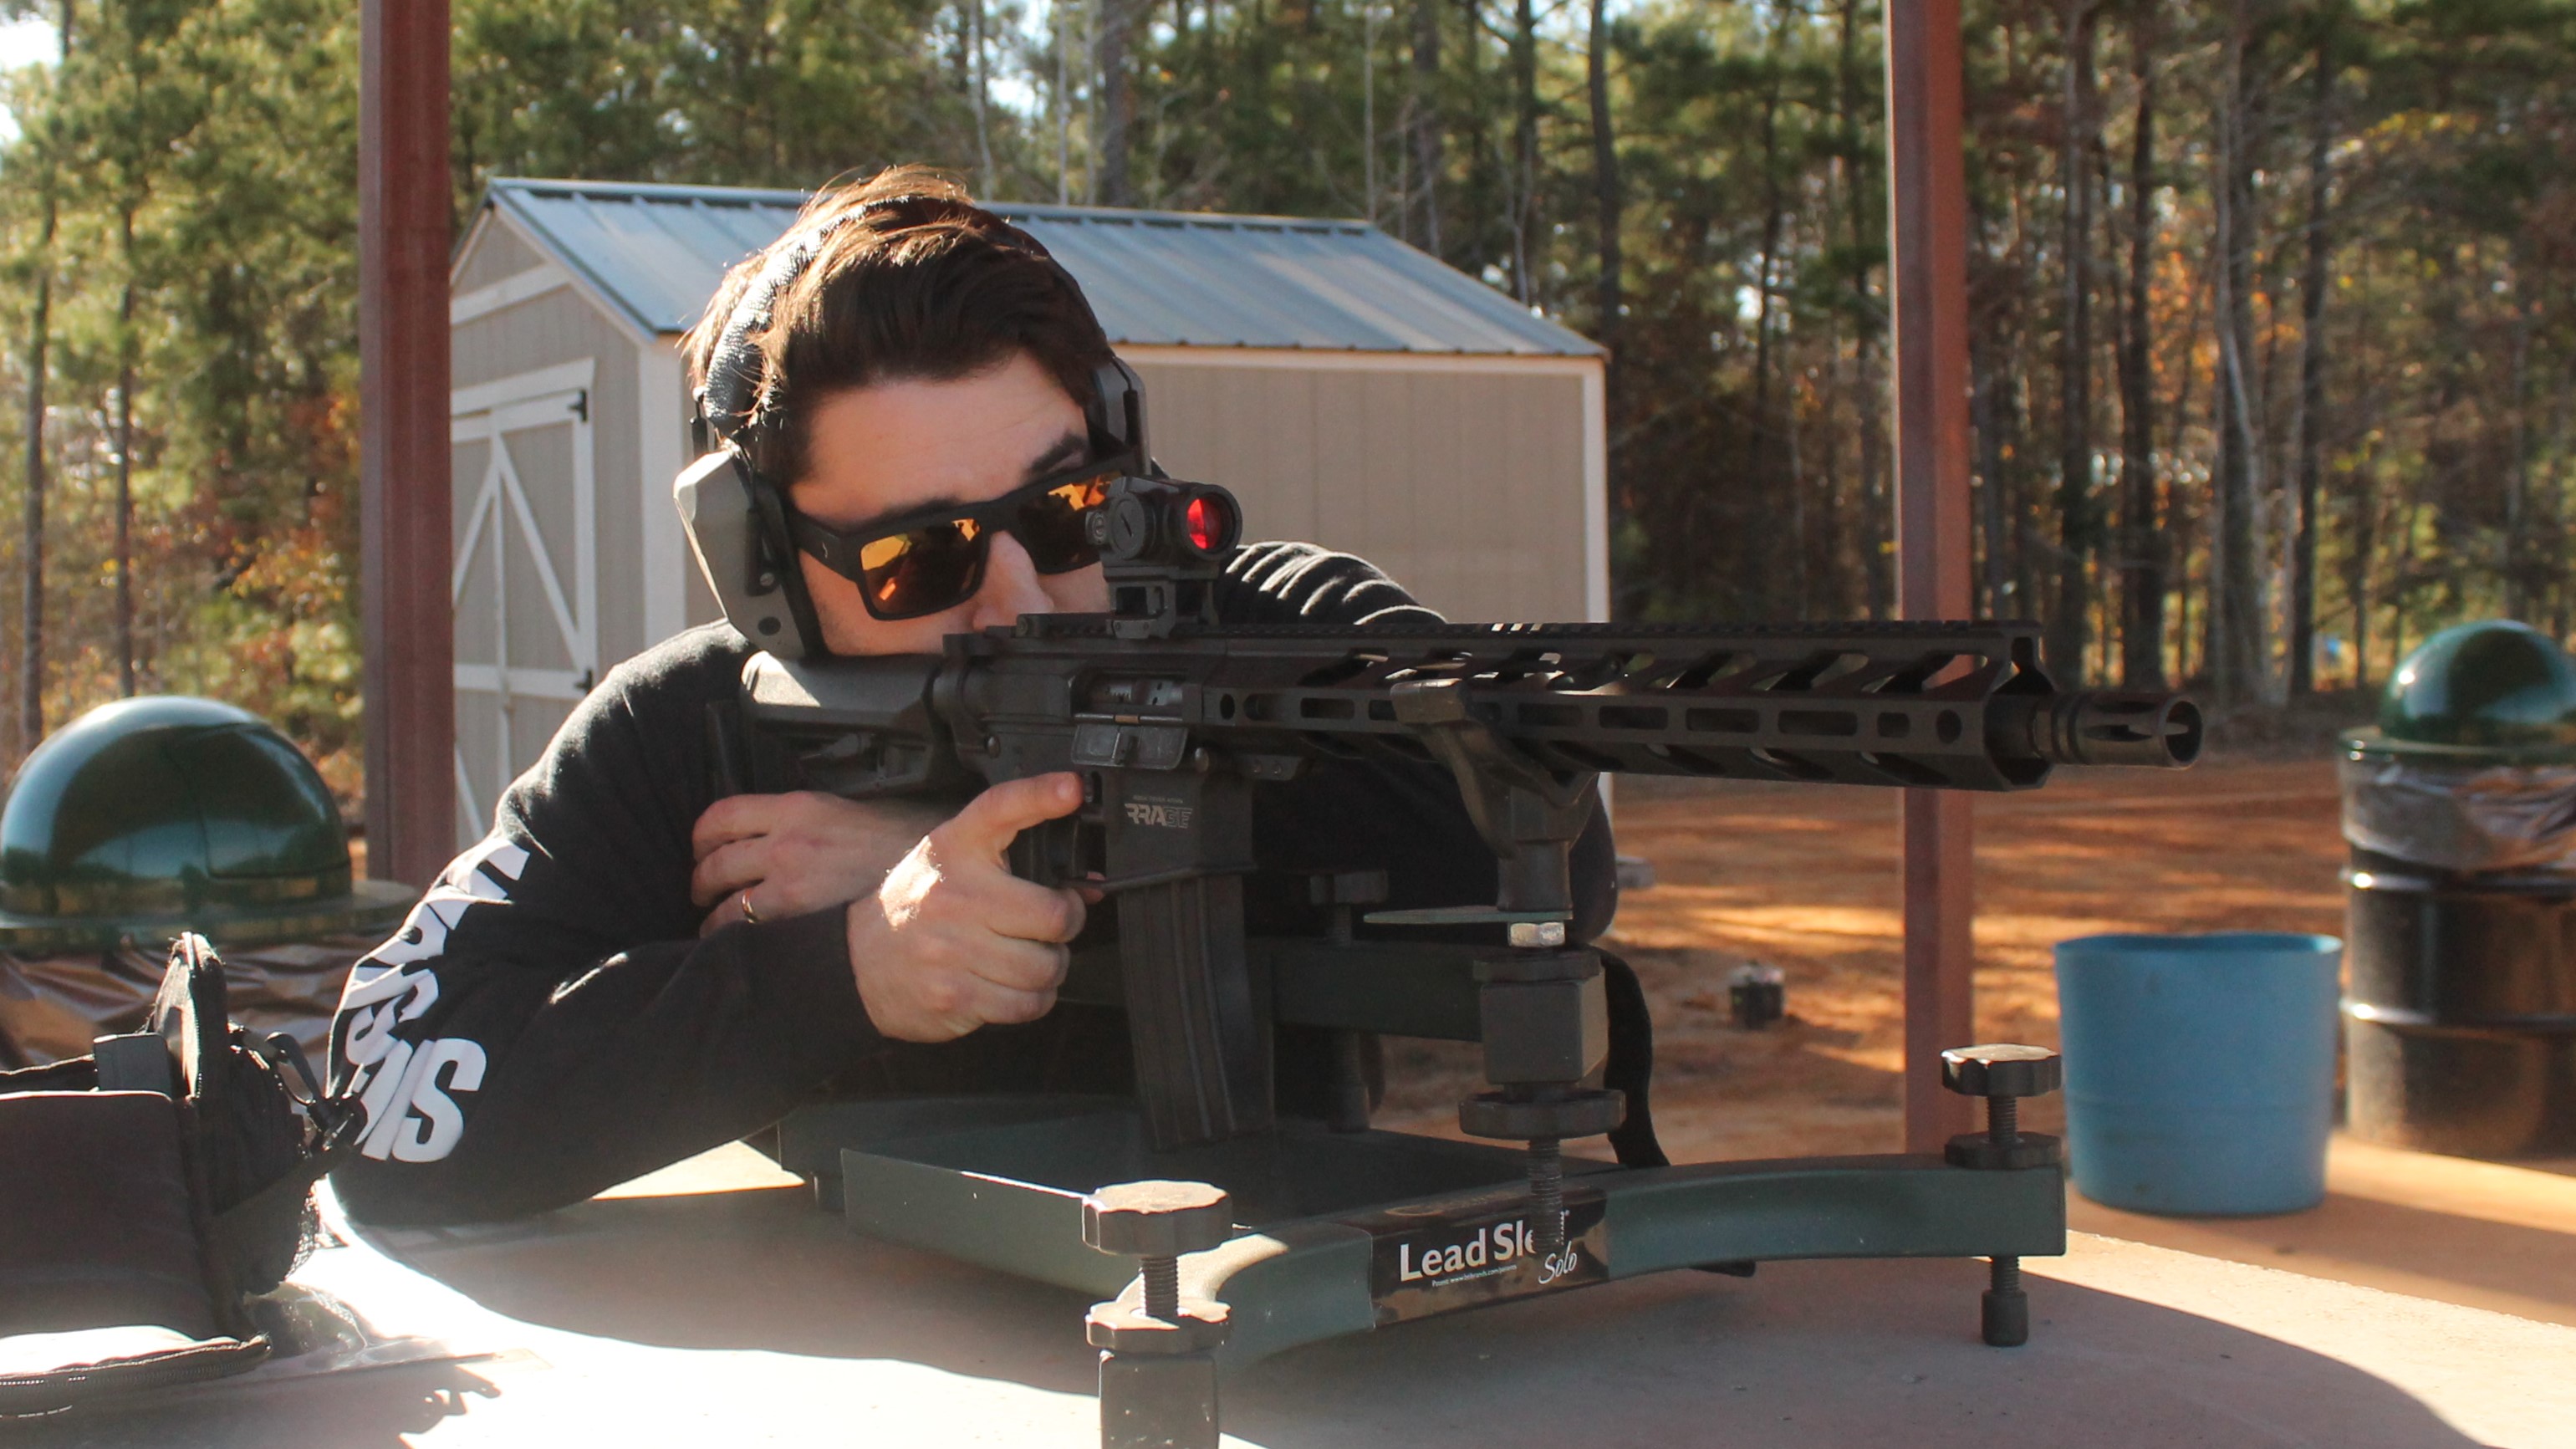
Personally, I prefer a Lead Sled. I know some folks prefer bags, and that method better simulates a real-world situation. But when I’m zeroing a rifle or testing for accuracy, I’m trying to take myself out of the equation as much as possible. For me, the Sled does that better than anything else I’ve tried.
Step 2: Get on Paper
This is the most difficult step in the zeroing process. The goal is to get a single shot on a paper target so you know how to adjust your red dot. Maybe it goes without saying, but use your cheapest ammunition for this step.
There are three basic ways to get that first shot on paper. First, you can use a laser bore sighter or similar device. I’ve had fairly good success with a cheap-o modellike thisat 25 or 50 yards. If you’re hoping to get a first shot on paper at 100 yards, you might need to go withsomething a little more spendy.
You can also use the traditional bore sight method. This involves taking the bolt out of the firearm and peering through the barrel until the target is perfectly in the middle of the bore. Then,without moving the gun, look through the red dot and adjust the dot until it also points at the bull’s eye. This method works fine on bolt-action rifles but is more difficult on AR-type rifles, lever guns, pistols, and shotguns.
Finally, you can walk out the target until it’s at the correct distance. Start with a paper target at 10 or 15 yards, take a shot, and adjust the optic. Then, move the target out to 25 or 30 yards and repeat the process. Once you get zeroed at 50 yards, you should be able to move the target back to 100 and still be on paper.
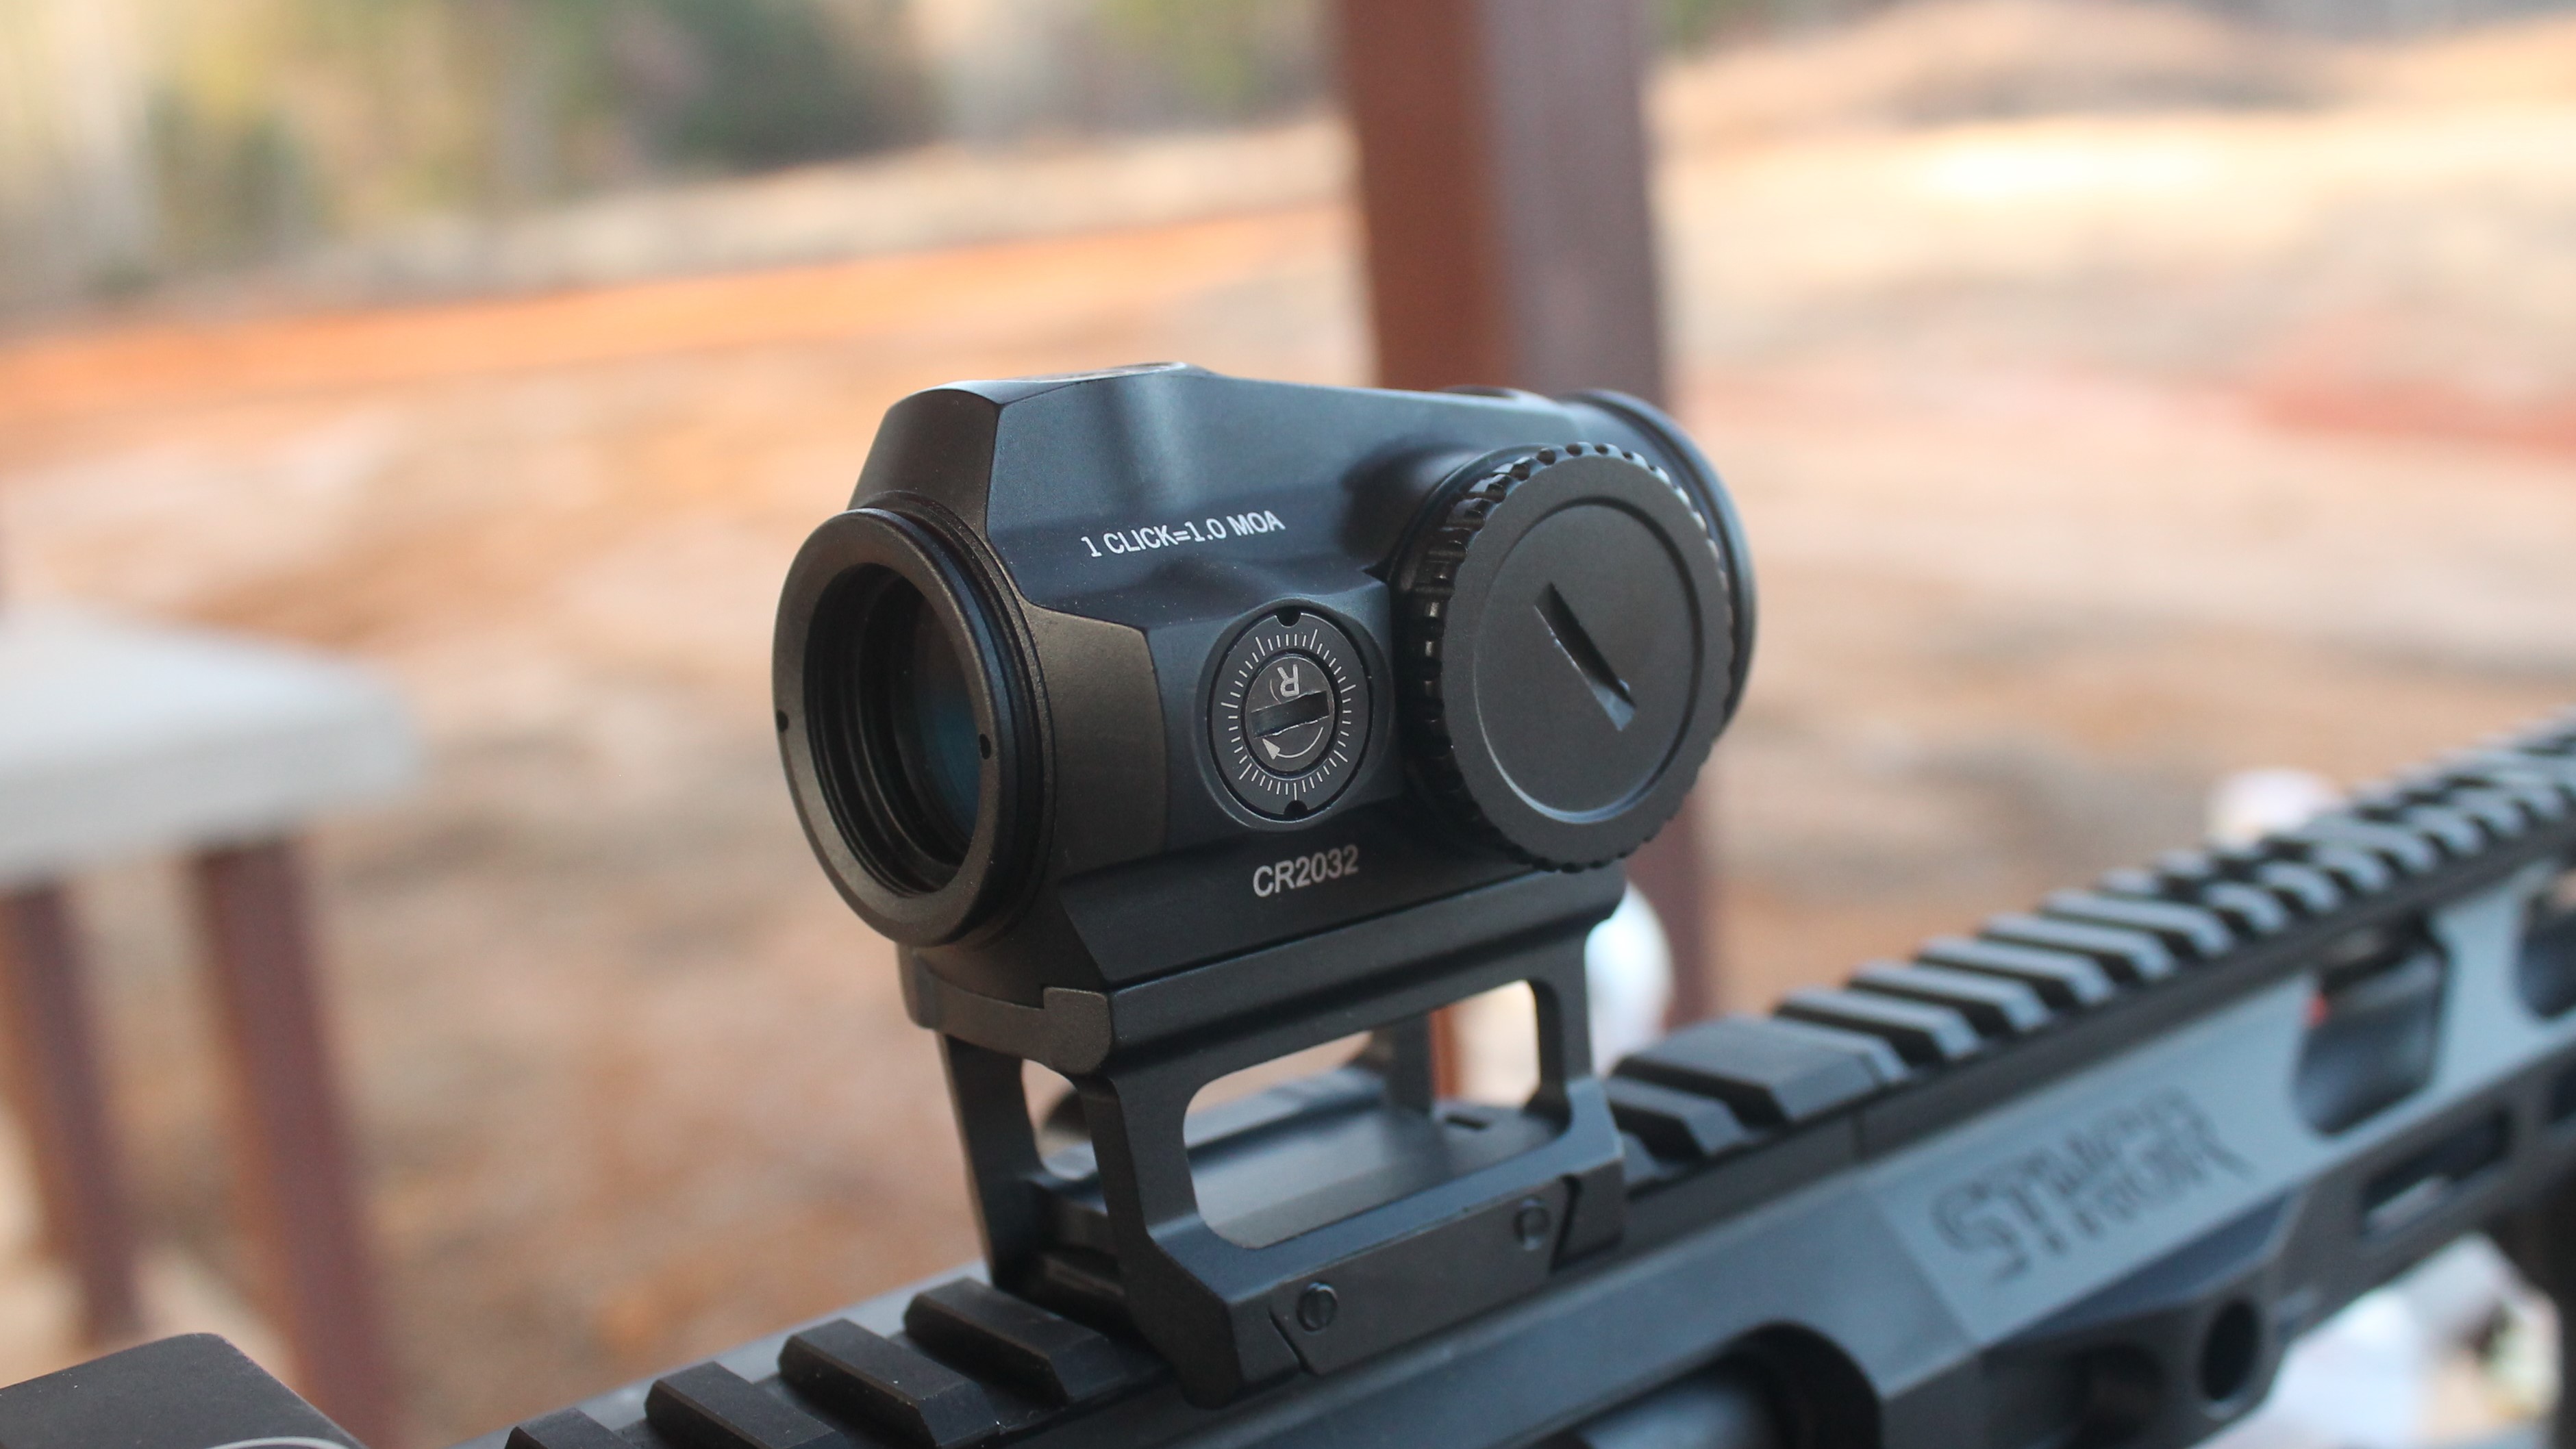
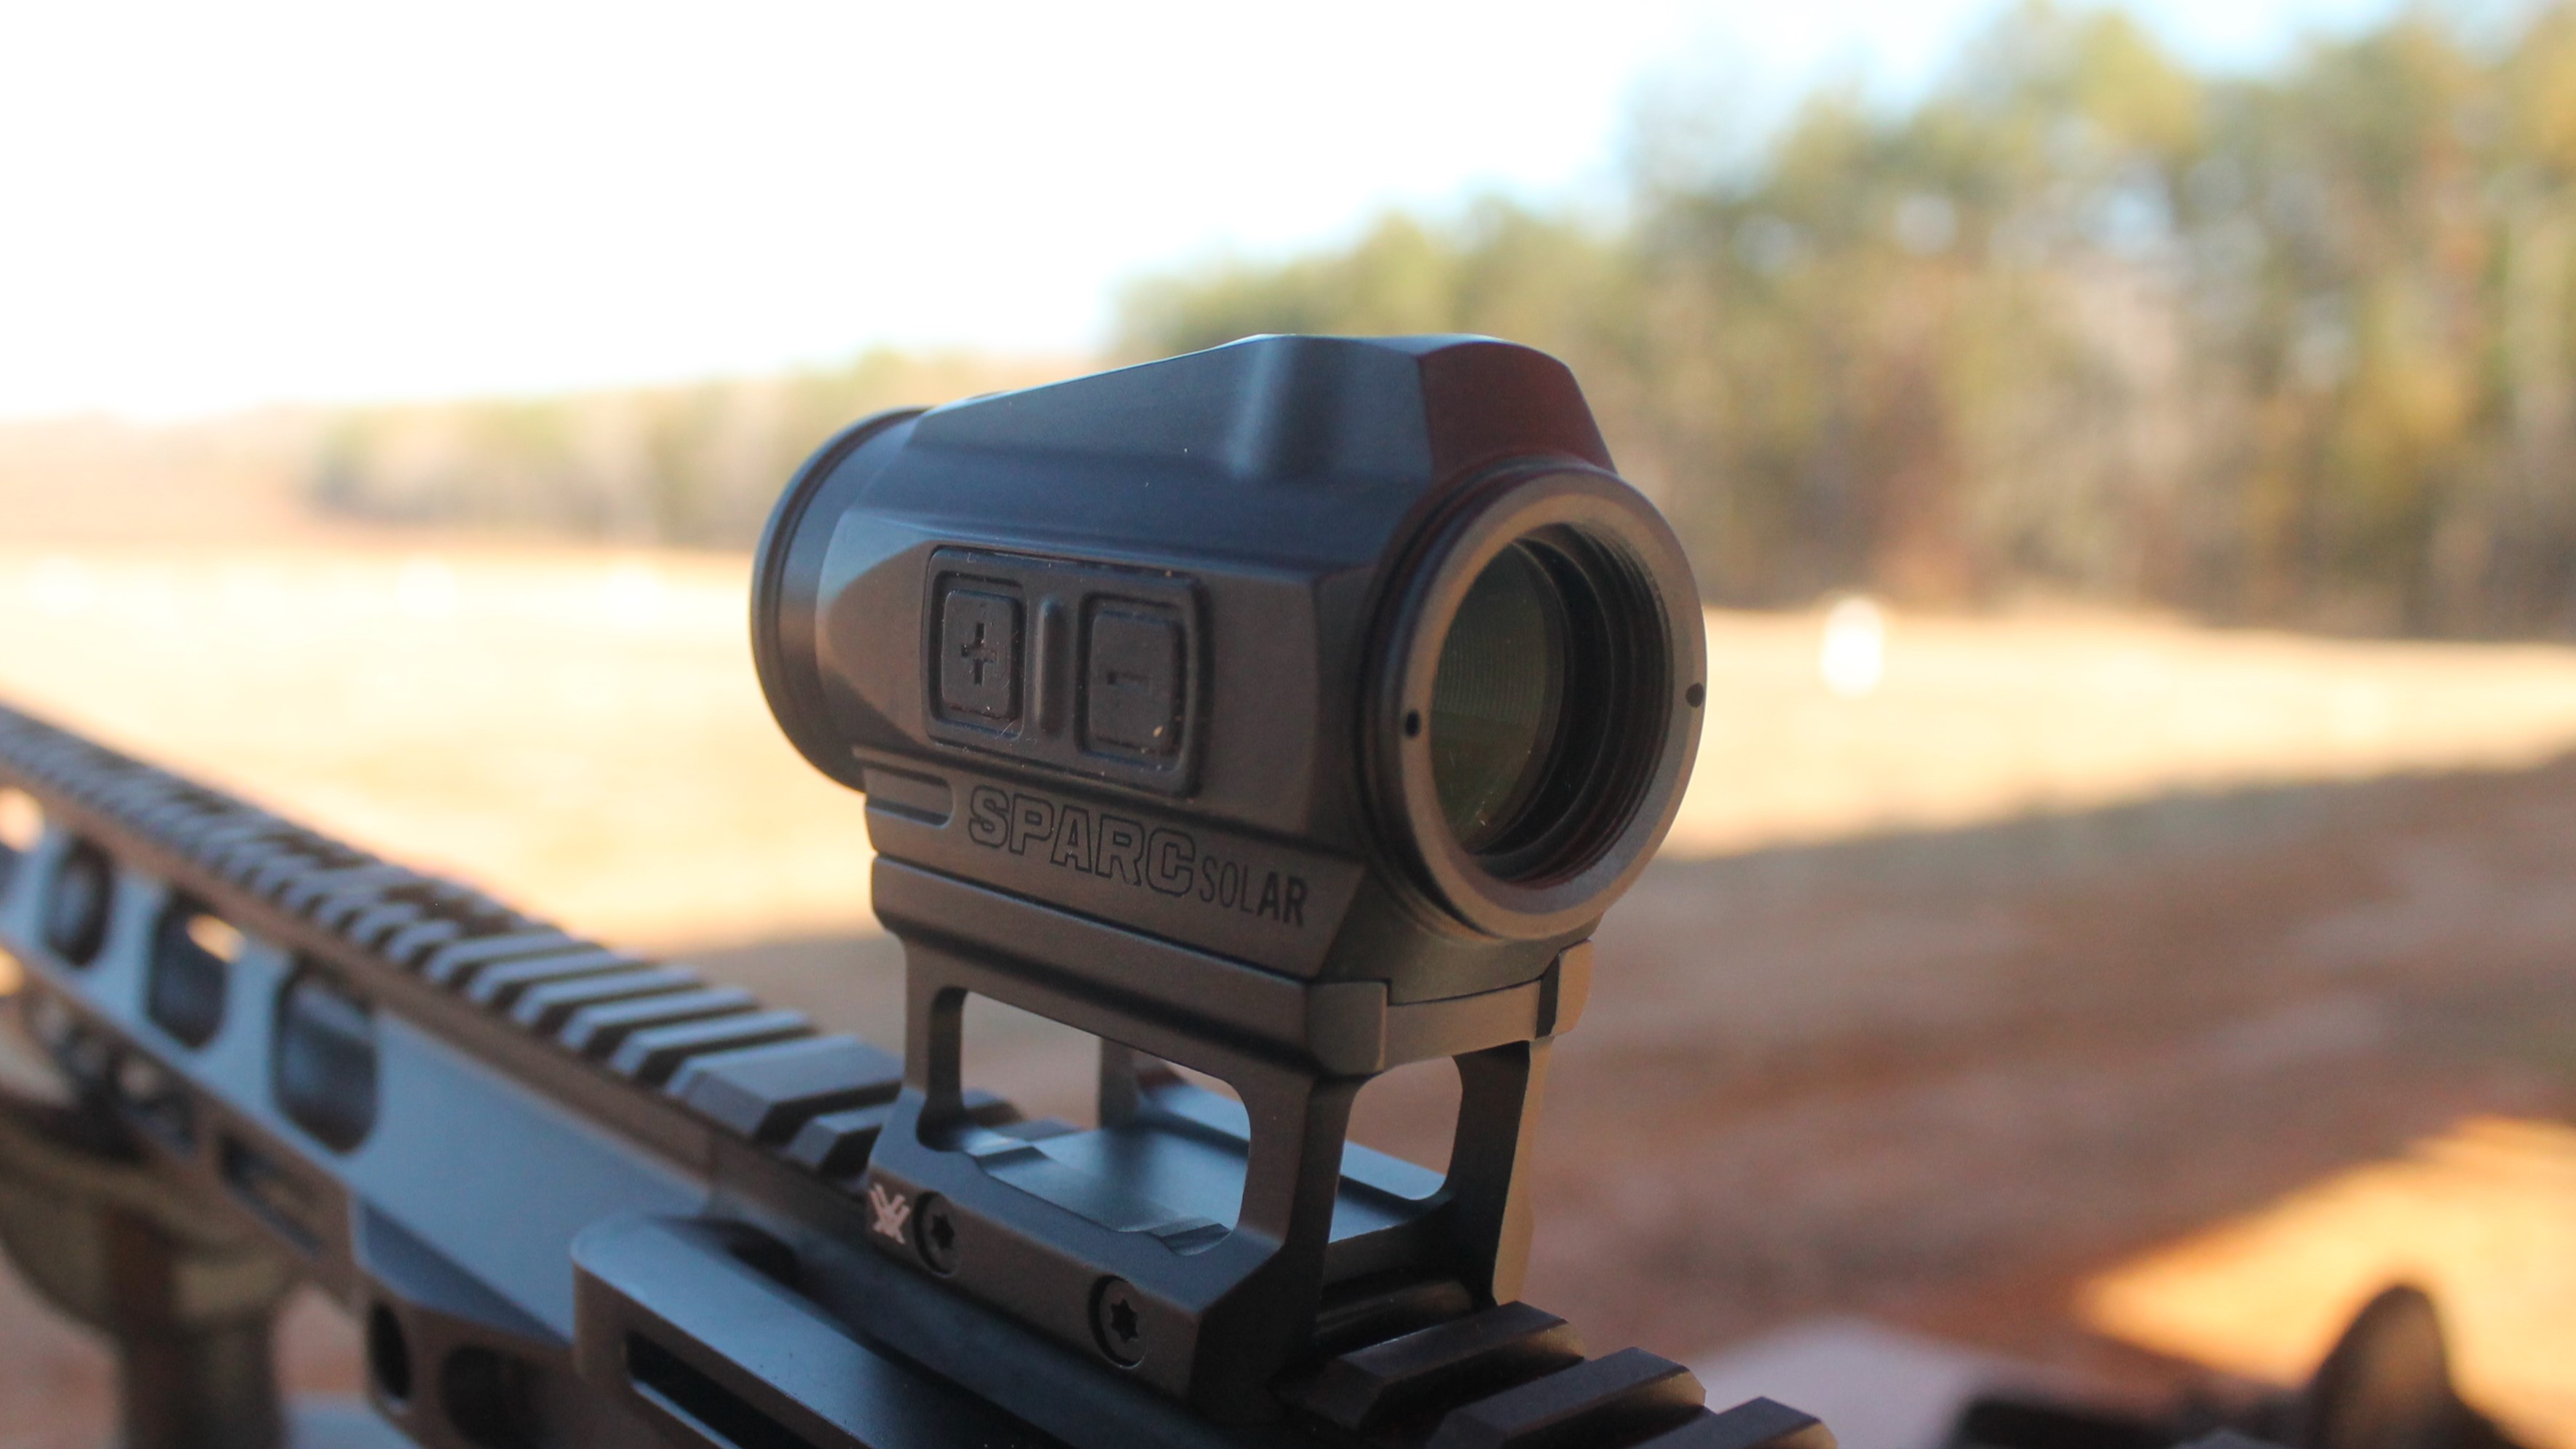
This last method is the one I used for sighting in myVortex Sparc Solarred dot. I only wanted to sight in at 50 yards, so it didn’t take long to get a few shots on paper.
Step 3: Get Dialed In
Once you have shots on paper, you’ll know how much to adjust your reticle.
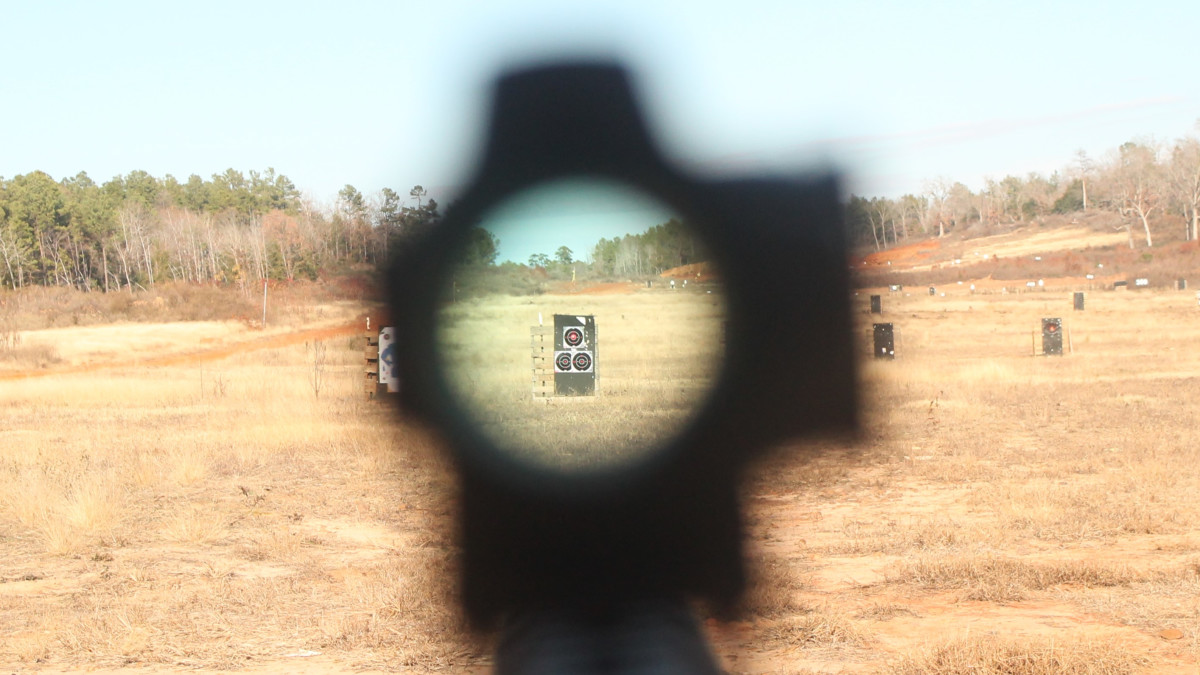
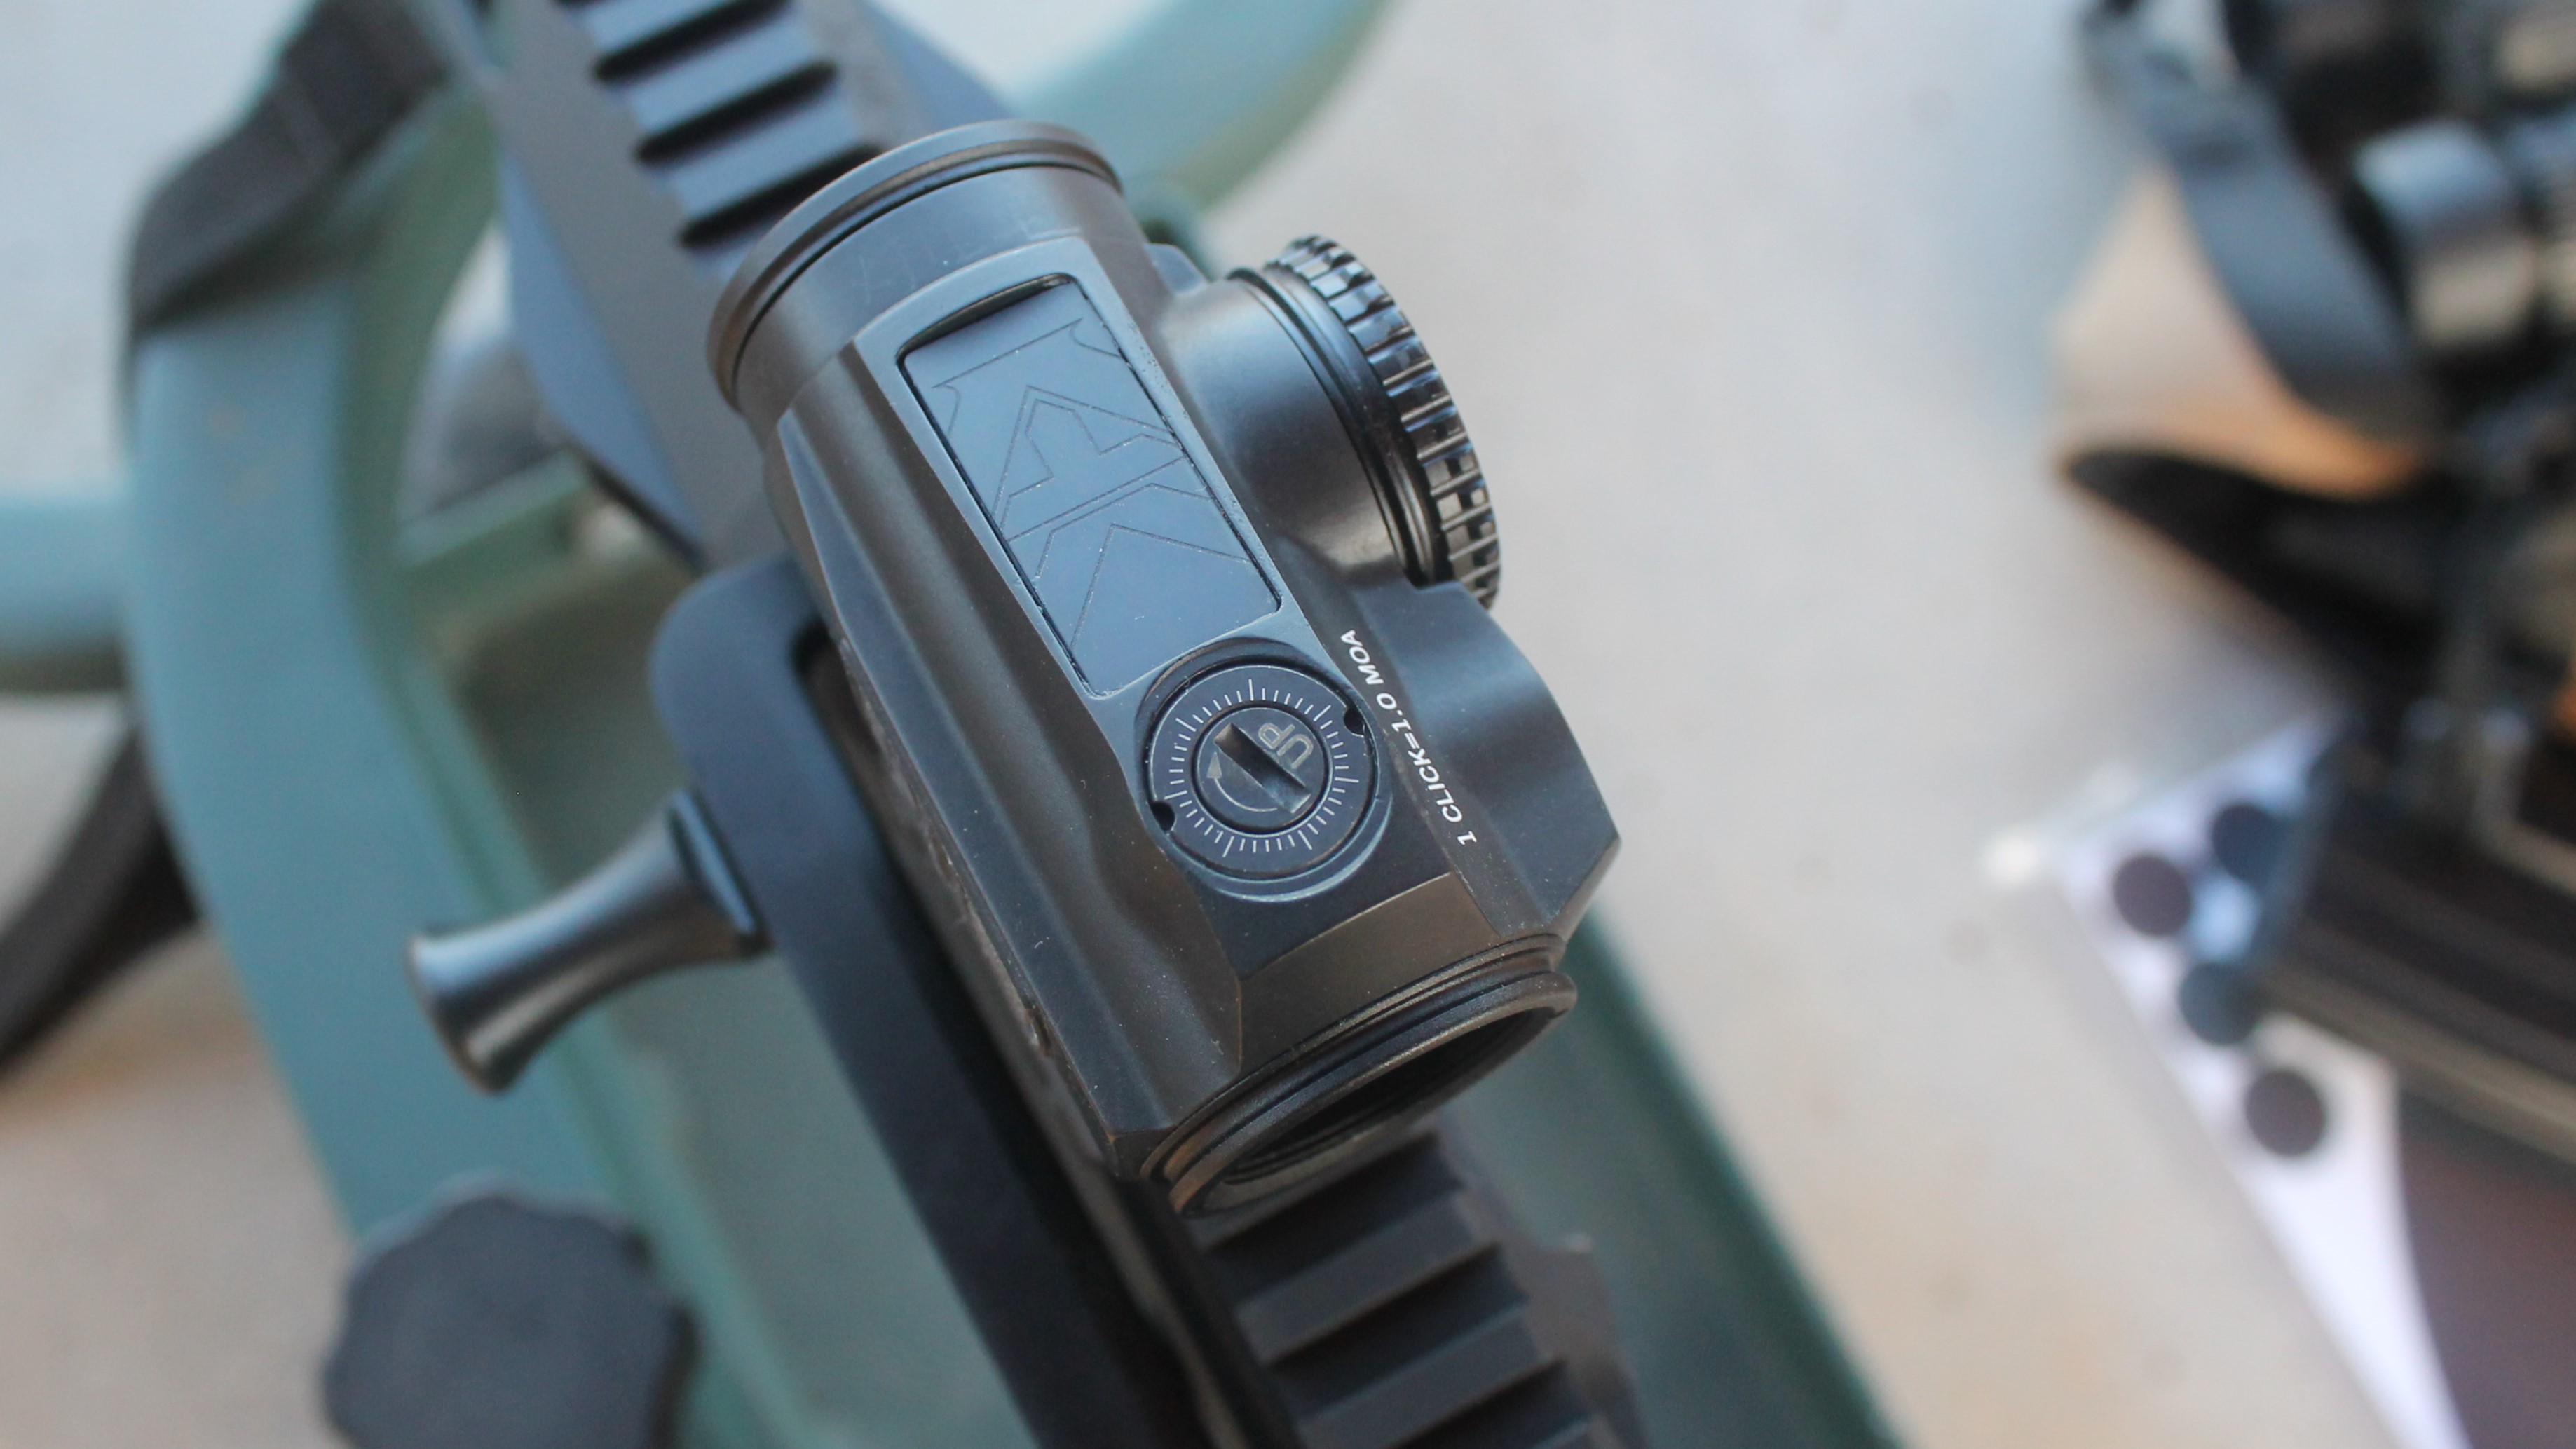
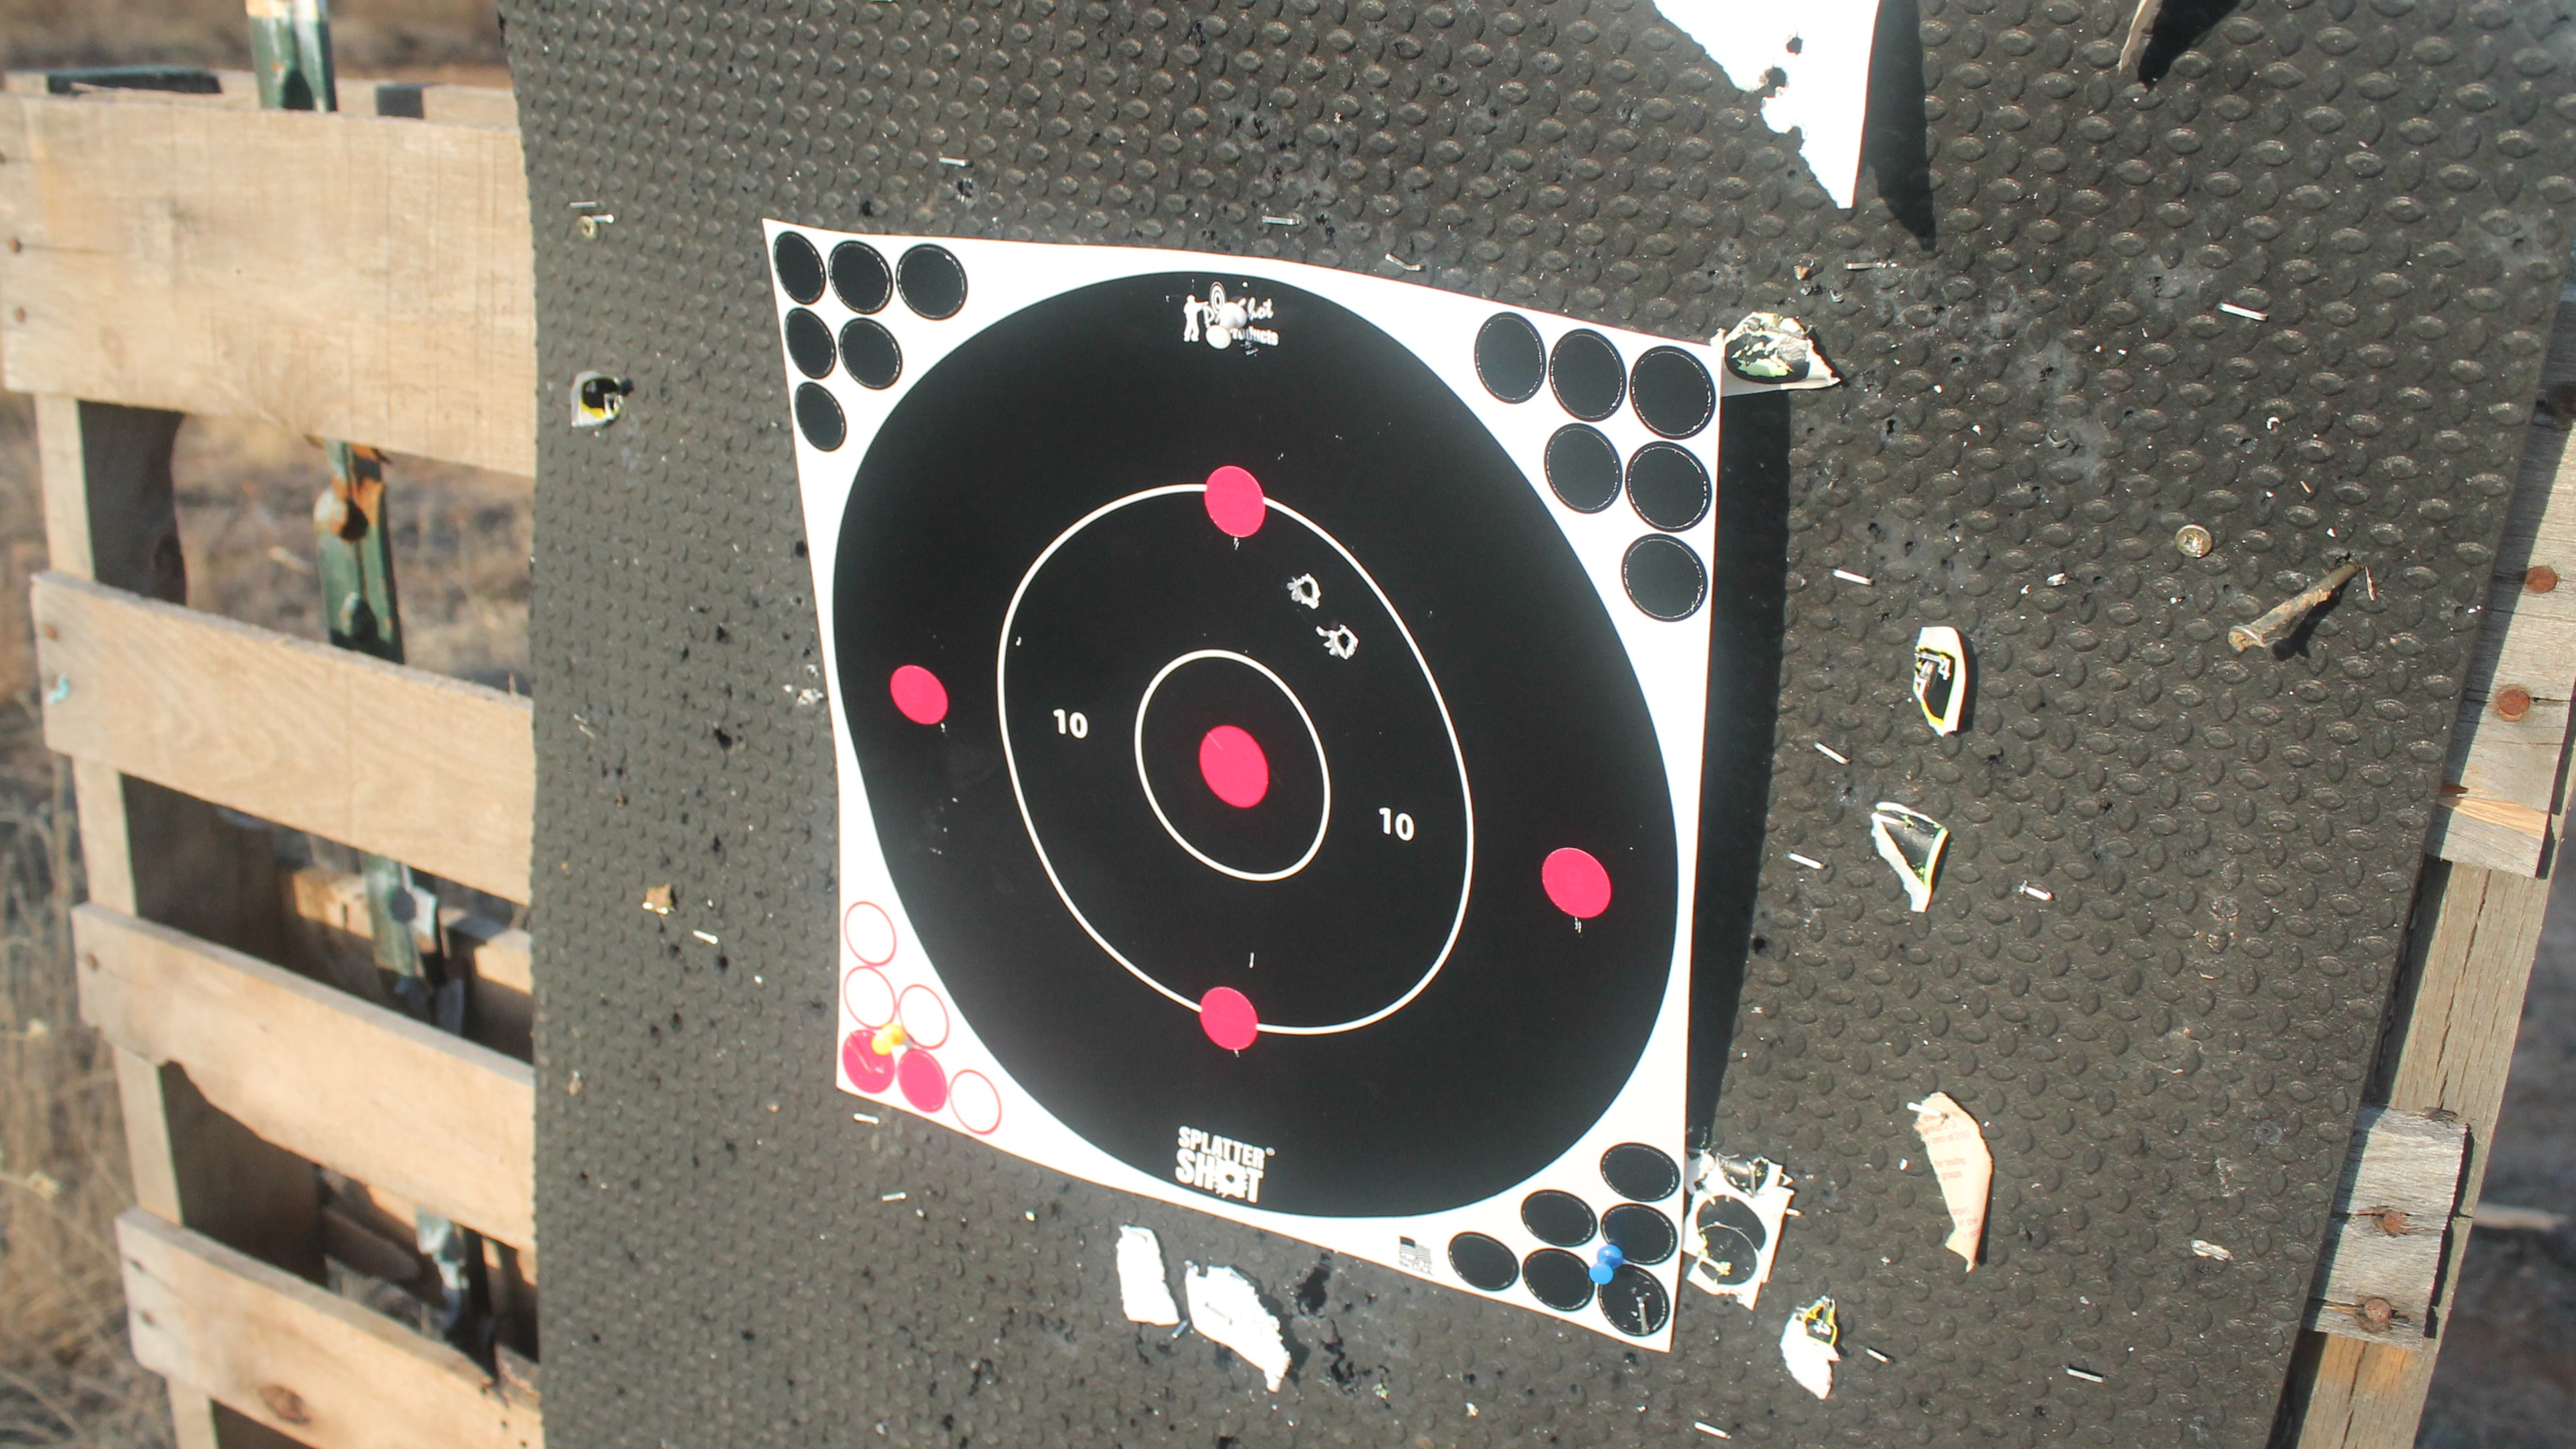
Some red dot turrets don’t say how far each click moves the dot, so this requires more guesswork than when adjusting a magnified rifle scope. As you can see, my first attempt was way off. I knew I needed to come down and to the left, but I went a little overboard. I dialed back up and to the right, and landed a shot near the bull’s eye.
One thing that frustrates new shooters about zeroing a red dot is that it’s hard to know exactly where you’re aiming. You often won’t be able to tell whether you’re aiming exactly at the bull’s eye, and this is especially true if you’re using a large dot or trying to zero at longer distances.
Instead of trying to hold the dot on the bull’s eye, I try to center the dot within the entire square target. You’ll never get the precision of a magnified optic, but you can still get pretty close.
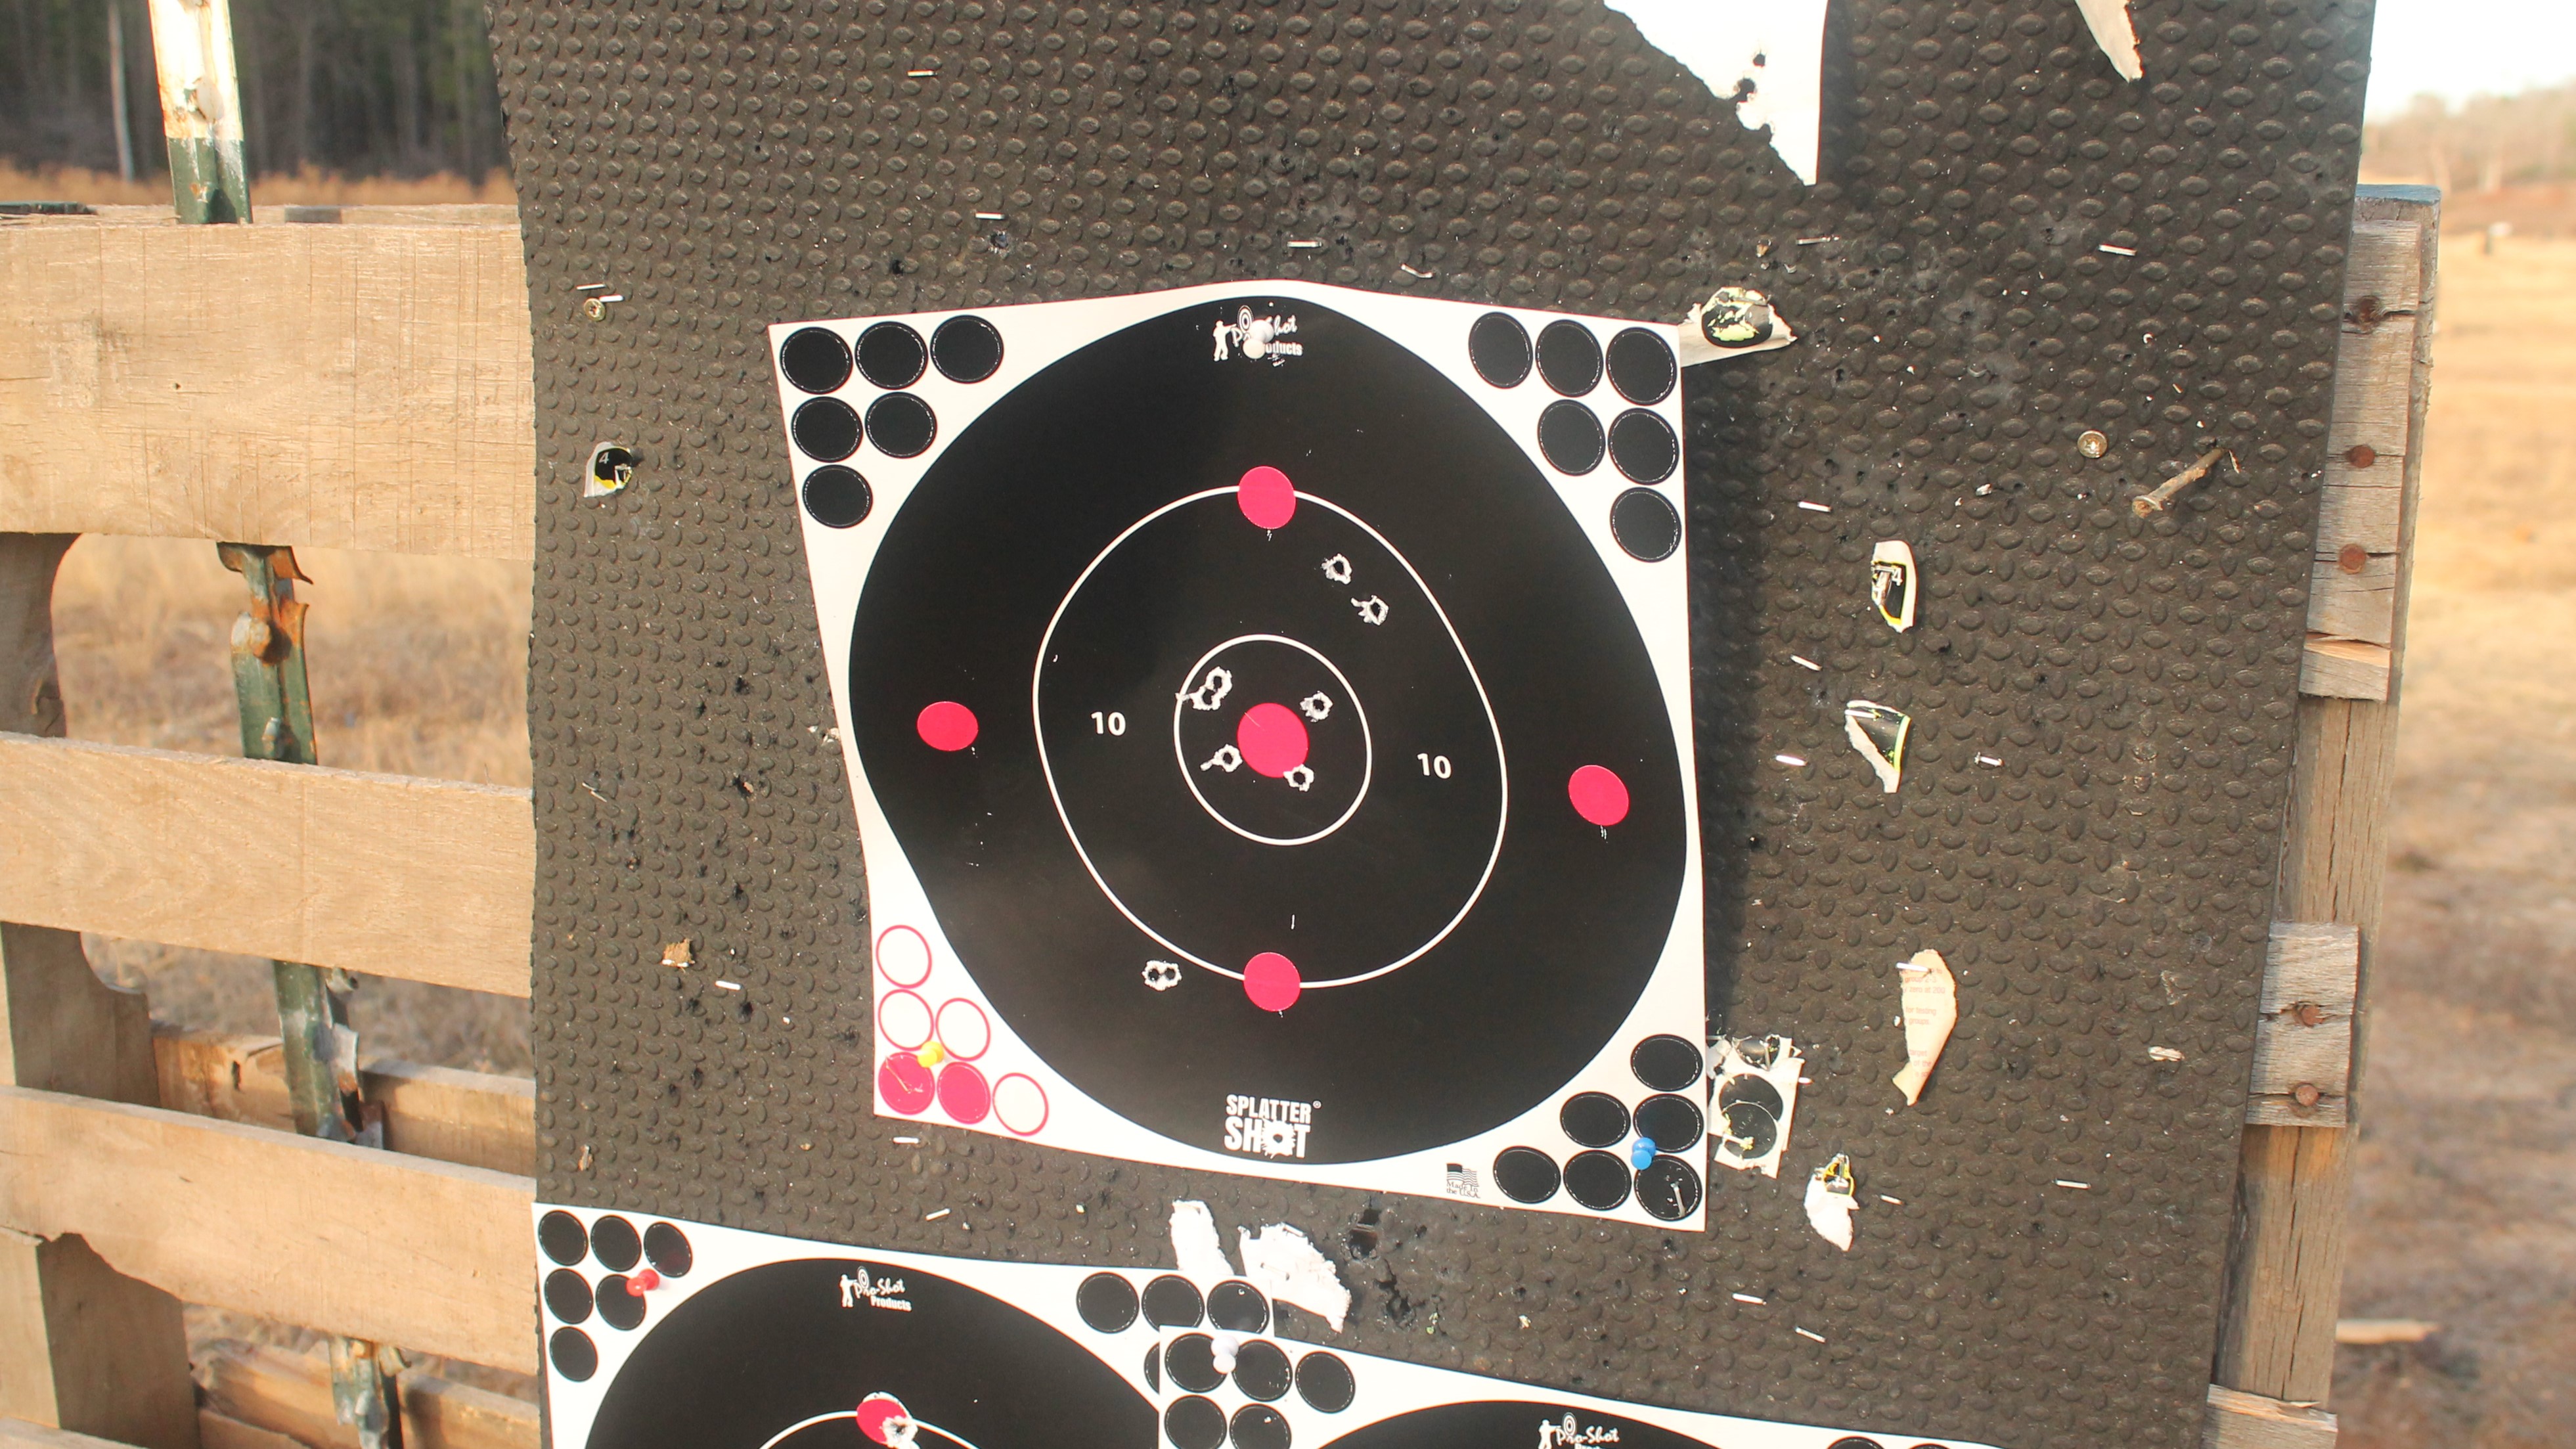
After you get one shot about where you want it to be, shoot a group of four or five shots. If the center of that group is on the bull’s eye, you’re good to go. If not, adjust the red dot further and shoot another group.
Last Shot
Red dots today are more often associated with warfare or self-defense than with hunting, but they were actuallyinvented by hunterswho wanted to take quick shots on fast-moving game (think, wild pigs). They’re stillused in those contexts, but they offer something for everyone.
Hunters with aging eyes can benefit from a clear, single dot rather than varying magnification or iron sights. Big woods hunters can use red dots to take a quick shot on a stationary buck that’s about to bolt. Red dots are also great for kids. Trying to explain eye relief to a six year old is like trying to speak English to a martian, but everyone understands red dots. Keep both eyes open, put the dot on the target, and pull the trigger. There’s nothing simpler–or more fun–than that.
Shop
Sign In or Create a Free Account
Related
Firearms
3 Reasons to Put a Red Dot on Your Turkey Gun

Firearms
Video: Red Dot Turkey Sights in Jani’s Gear Shed